-
-
The Dual Switching Extruder has been tested to work with the latest version of the Marlin Firmware.
-
Other firmwares may be compatible but have not been tested.
-
-
-
Changes that need to be done to the marlin firmware are all in the Configuration.h file.
-
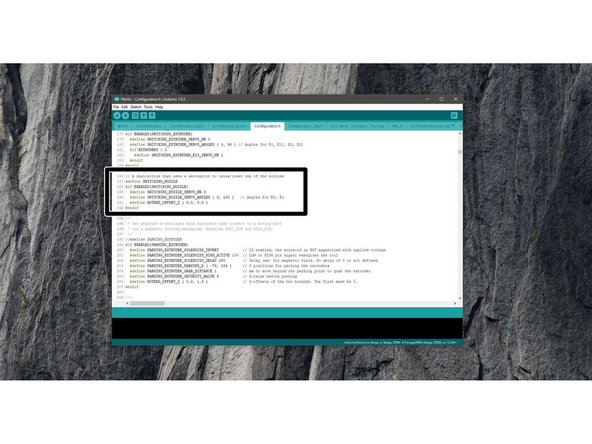
Line 149:
-
Set Extruders to 2
-
-
-
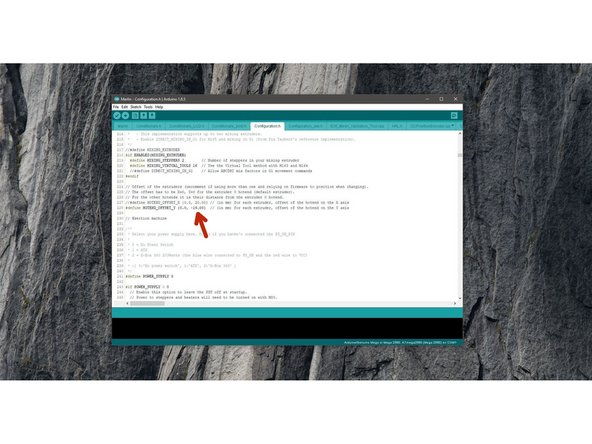
Depending on the direction the hotends are switching in on your printer:
-
HOTEND_OFFSET_Y {0.0, -19.00}
-
HOTEND_OFFSET_X {0.0, -19.00}
-
-
-
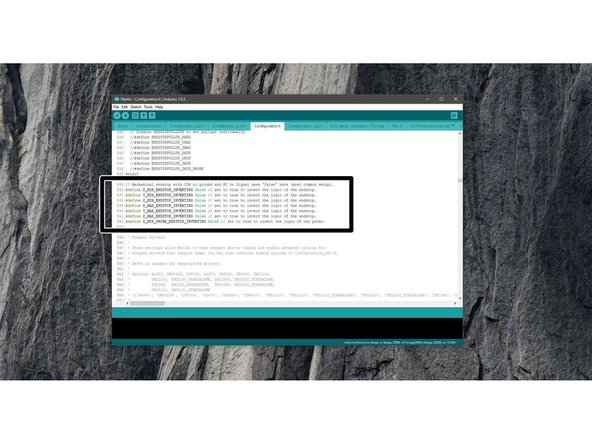
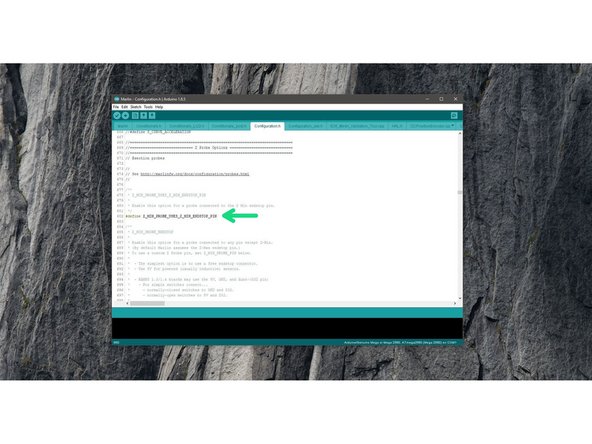
Make sure both are set to false:
-
Z_MIN_ENDSTOP_INVERTING
-
Z_MIN_PROBE_ENDSTOP_INVERTING
-
-
-
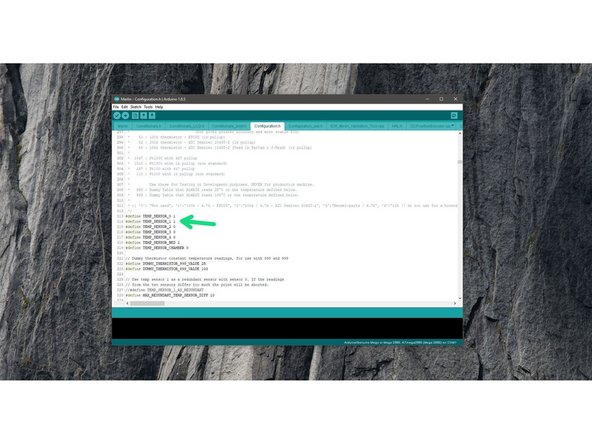
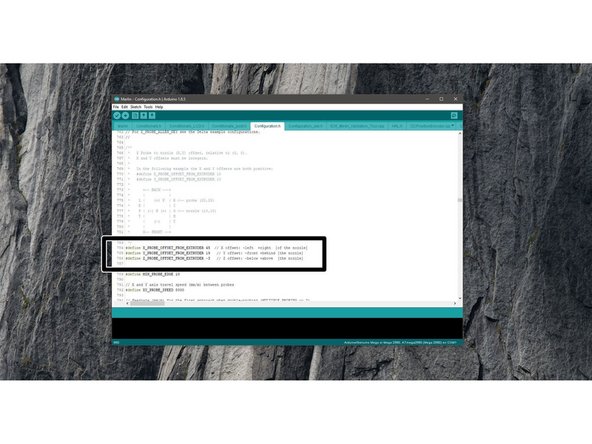
The Probe is offset from Hotend #1 (left Hotend). Lines 784-786.
-
You may need to swap the X/Y values around if your Hotends switch in the X-direction.
-
X Offset: 45
-
Y-Offset: 19
-
Z-Offset: -3
-
-
-
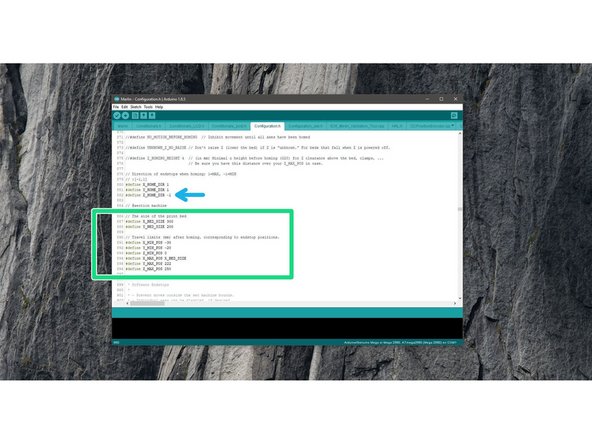
Line 882:
-
Make sure the Z-homing direction is set to -1
-
Lines 891-896:
-
Adjust your build platform size accordingly to fit the DSE assembly.
-
Note, the Z-height will be reduced by aprox. 50mm.
-
-
-
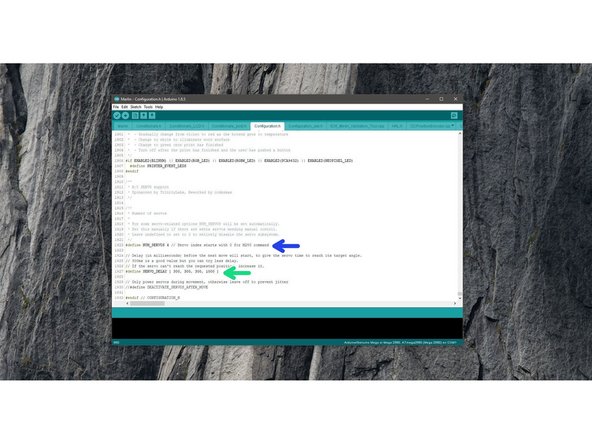
Because of a bug in the current release of the marlin firmware we're setting the servo settings this way:
-
Line 1922:
-
NUM_SERVOS 4
-
Line 1927:
-
SERVO_DELAY { 300, 300, 300, 1000 }
-
-
-
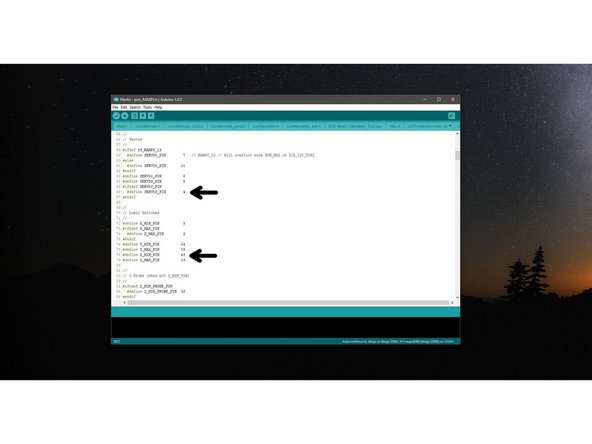
Make sure to correctly map the pins you have connected signal cables from the servo and probe to pin numbers in your specific board-pins config.
-
The image shows the pins_RAMPS.h as an example.
-
-
-
Once happy with the configuration, upload the firmware to your printer.
-
Run through motion checks, enstop checks and homing.
-
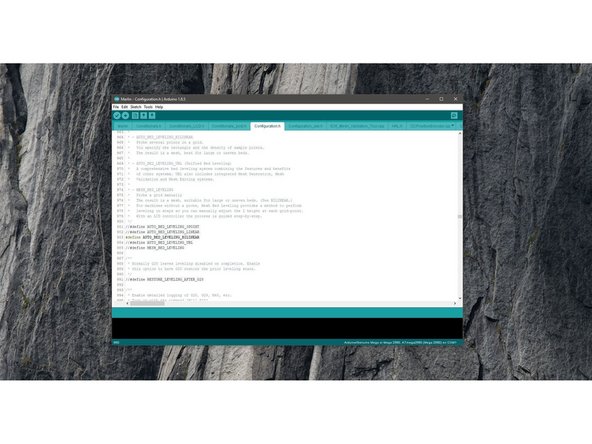
Check that the auto levelling (G28 G29) is working as expected.
-
Also check that everything is heating up as it should.
-