-
-
This step is the same as the last step from the previous stage.
-
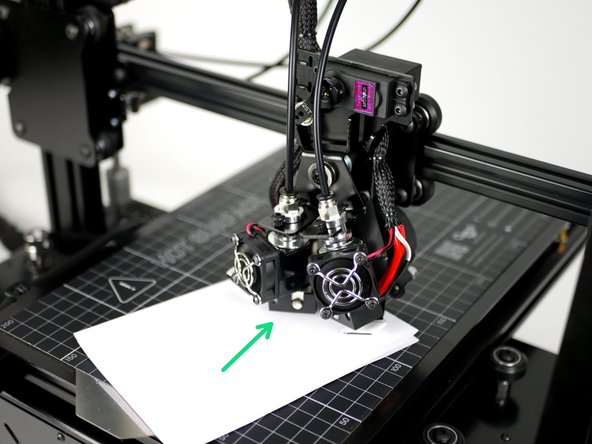
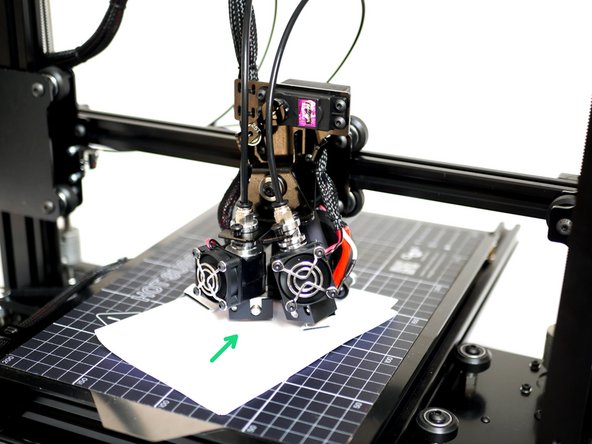
After homing all of the axes place a folded piece of paper between the print surface and the nozzle of Hotend #1.
-
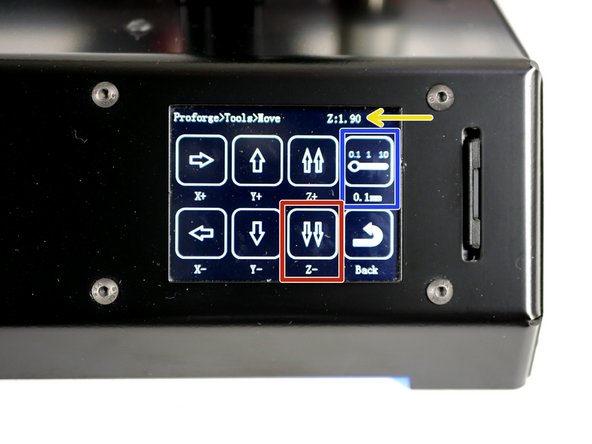
Go to tools -> Move.
-
Lower the Hotend in 0.1mm increments until the paper begins to be gripped by the nozzle.
-
Make a note of the Z height displayed on the top right of the touch screen when the paper begins to be gripped. (This value will be 3.00mm to begin with, this is normal.)
-
In this case it ended up being 1.90mm when the paper began to be gripped, but this value will likely be different for everyone.
-
-
-
Go to Tools -> More -> Button 2
-
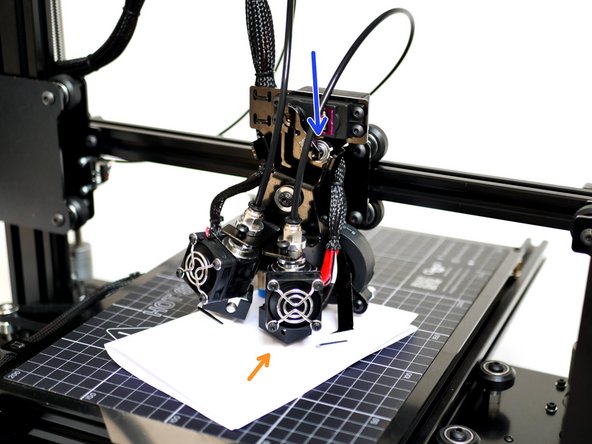
Hotend #2 should now be selected.
-
The folded piece of paper should now also be between the nozzle of Hotend #2 and the print surface.
-
-
-
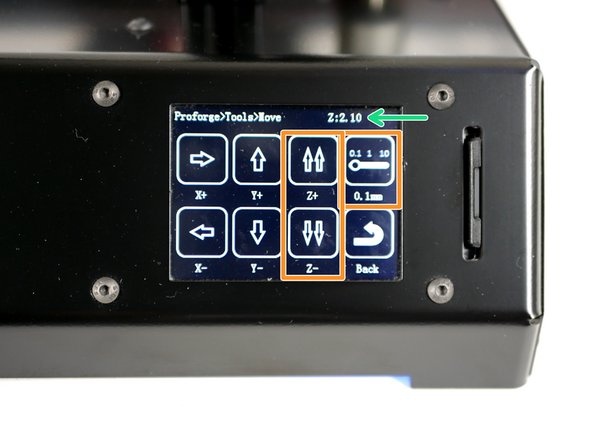
Go to Tools -> Move
-
Raise or lower the Hotend in 0.1mm increments until the friction between the paper and nozzle is the same as what the friction between the paper and the nozzle of Hotend #1 was.
-
To compare again you can go back to More -> Button 1 to switch back then move the gantry to the Z value from step 1 (in our case 1.9).
-
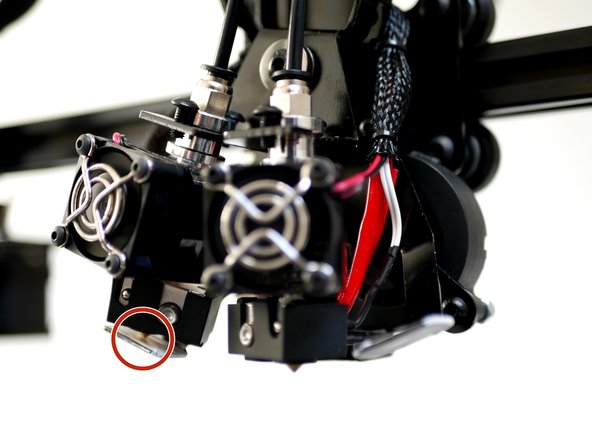
Once happy, make a note of the Z position of Hotend #2.
-
In our case this was 2.10mm when the paper began to be gripped, but this value will likely be different for everyone.
-
-
-
To find the offset value we need to do:
-
(Step 1 Z value) - (Step 3 Z value)
-
So in this example:
-
Offset = 1.9 - 2.1 = -0.2
-
-
-
Power off the printer and disconnect the touch screen.
-
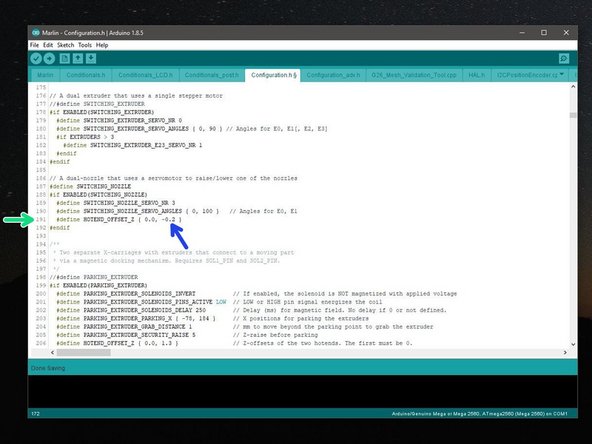
Open up the marlin.ino firmware file in the Arduino IDE, go to the Configuration.h tab.
-
Scroll down to line #191
-
Enter in your calculated Z-offset value.
-
In our case this was -0.2
-
Connect your computer to the printer and upload the firmware.
-
-
-
Home all of the Axes.
-
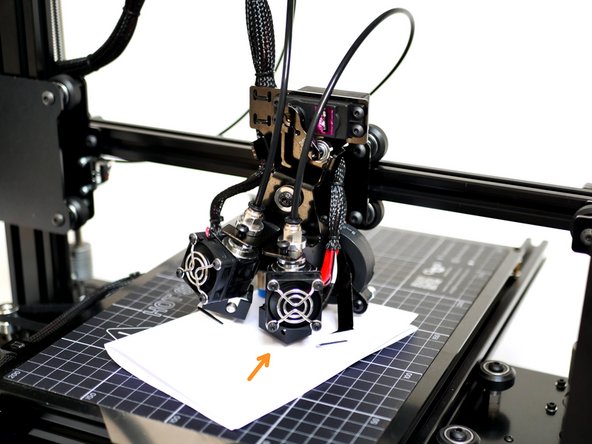
Place the folded piece of paper onto the print surface under Hotend #1
-
Lower the Z-Axis to your Z-offset height from Step 1. In our case it was 1.9mm.
-
You should now be able to feel some friction between the paper and nozzle.
-
Go to Tools -> More -> Button 2 to select the second Hotend.
-
You should now also be able to feel the same friction between the paper and Hotend #2's nozzle.
-
-
-
Less friction with Nozzle #2:
-
Increase the offset by 0.05, so new offset would become in our case -0.15
-
More friction with Nozzle #2:
-
Decrease the offset, so new offset would become in our case -0.25.
-
Re-upload the firmware and check again as outlined in the previous step until you are happy with the offset.
-
-
-
Check that when one Hotend is selected the other has it's nozzle against the ooze shield.
-
You can correct the ooze shield by carefully bending it to adjust the position of a sled.
-


Cancel: I did not complete this guide.
12 other people completed this guide.
