
Parts
No parts specified.
-
-
Cut 50CM of braided sleeving.
-
Use a lighter to melt the ends to prevent fraying.
-
-
-
Slide the braided sleeving onto the heated bed cables.
-
Tie the end with cable ties to hold in place.
-
-
-
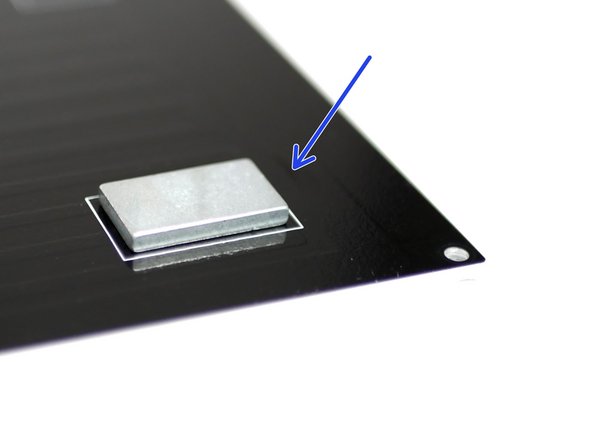
The included magnets are very strong and should be handled with care. Magnets are also brittle and should never be slammed together. Keep clear of metal objects. Always slide a magnet to separate it from a surface.
-
Carefully slide the magnet off the stack. The easiest way to remove a magnet from the stack is to first twist it and then slide and pull it off.
-
Use either double sided tape or clear tape to fix the magnets to the heated bed.
-
Arrange the magnets according to the boxes marked on the platform.
-
Apply the tape to the same side/pole of each magnet. This is easy to do by making sure that each magnet is taken from the same side of the stack and is fixed down on the same side.
-
-
-
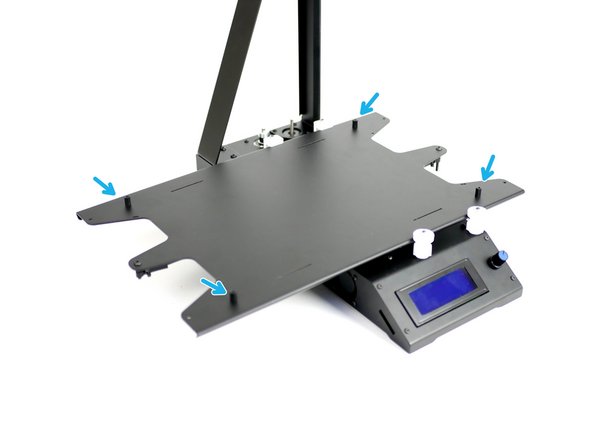
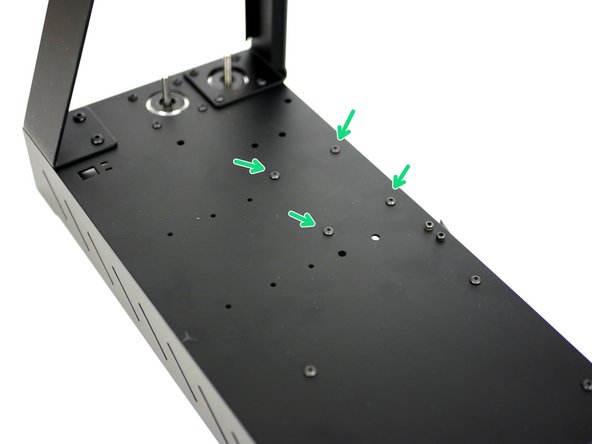
Fix four M3 x 10mm stand-offs onto the top side of the platform.
-
M3 x 10mm stand-off
-
M3 x 6mm bolt
-
-
-
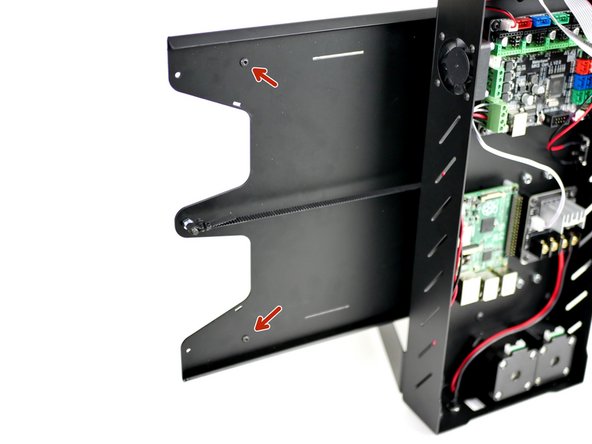
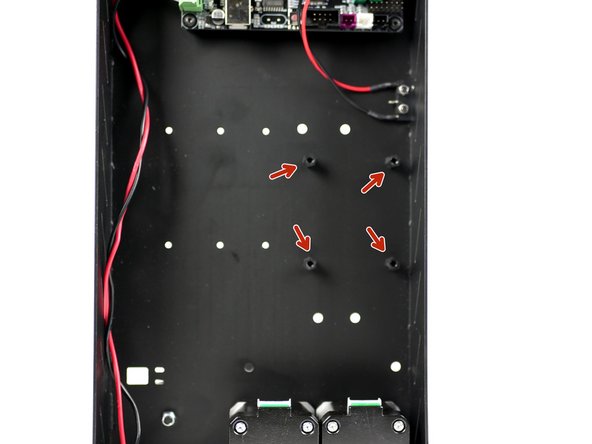
You should already have mounts installed for the MOSFET from stage 1.
-
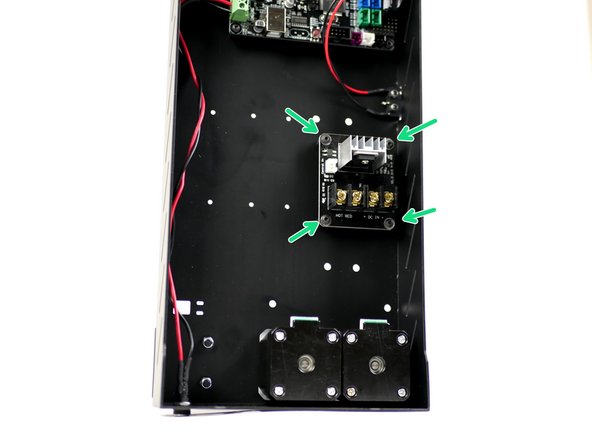
Mount the MOSFET if you haven't already. These fasteners are from the stage one fastener pack of the main build.
-
M3 x 10mm stand-off (x4)
-
M3 x 6mm bolt (x8)
-
-
-
This step should also have been completed in stage 1.
-
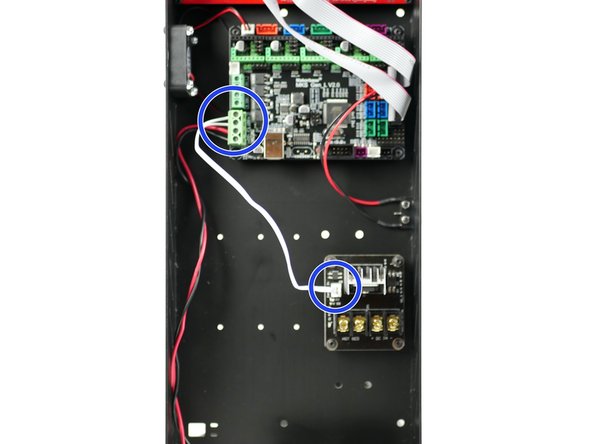
Connect the short white signal cable from the MOSFET to the control board.
-
The polarity into the control board doesn't matter.
-
You may find it easier to install by unmounting the control board first.
-
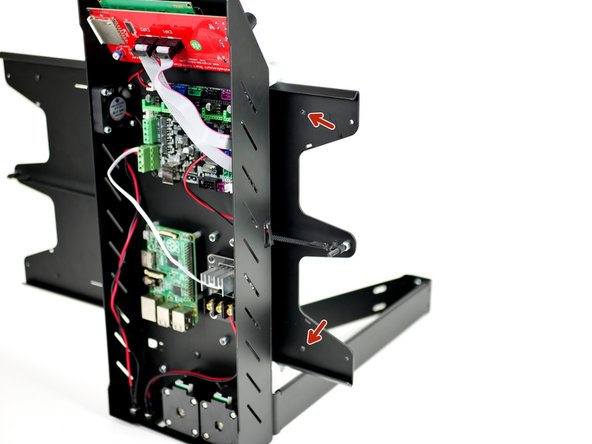
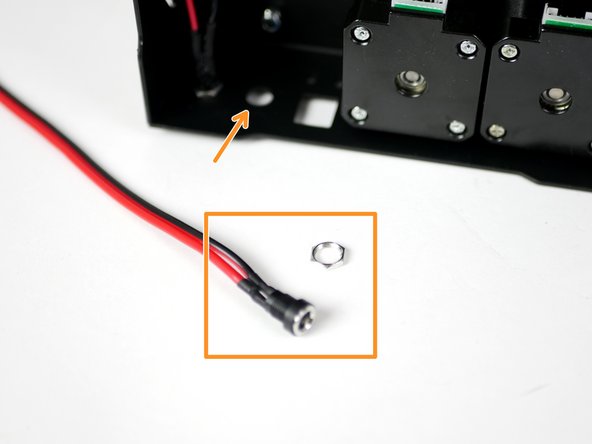
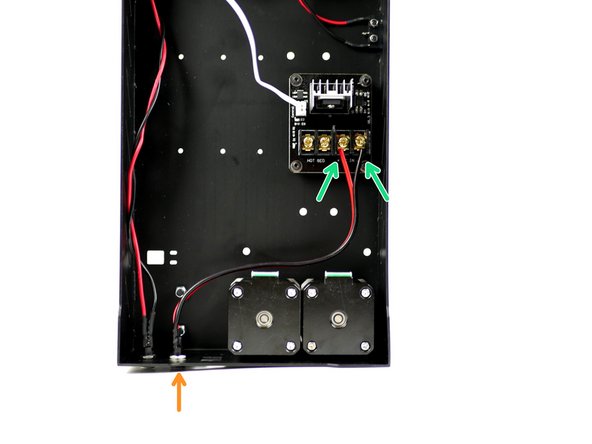
Fix the power mount for the heated bed to the back of the Base.
-
Connect the power mounts cables to the MOSFET like shown. Red to positive and black to negative.
-
-
-
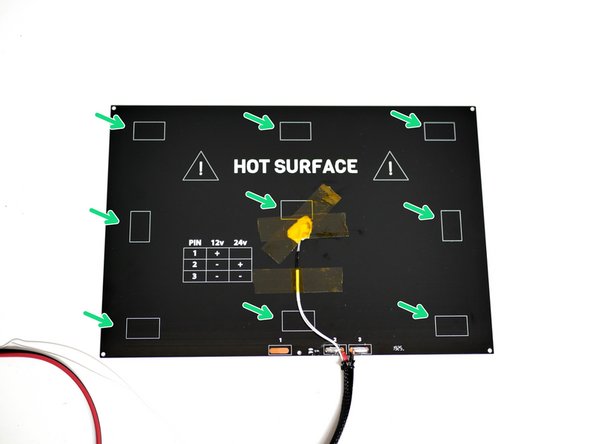
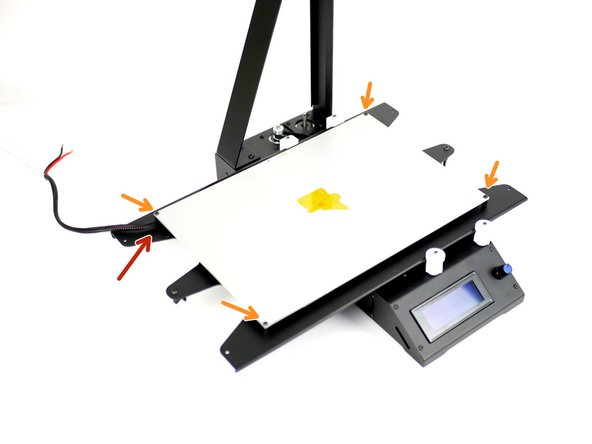
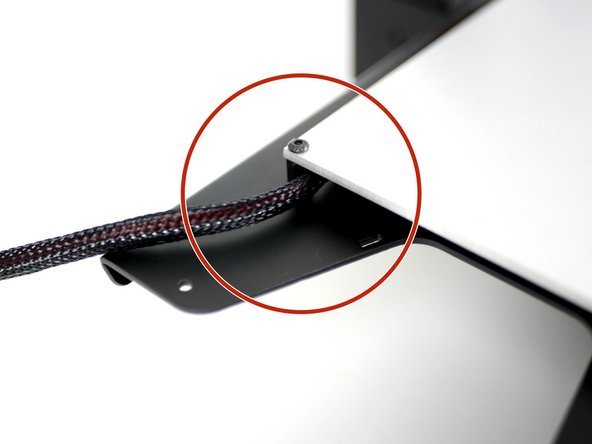
Mount the heated bed, artwork side down, like shown.
-
Four M3 x 6mm bolts
-
Make sure that the cables are towards the back and on the inside of the left mount, like shown.
-
-
-
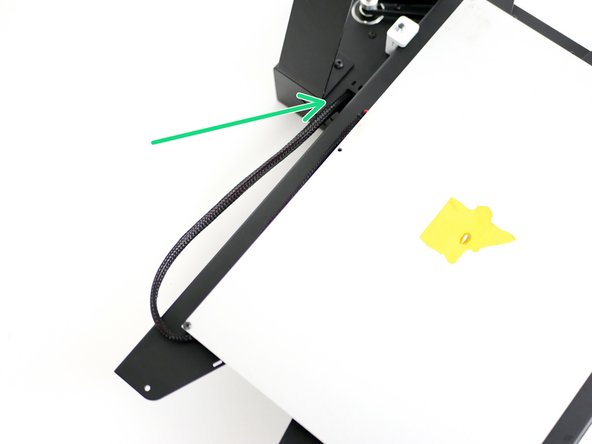
Feed the cables through the base.
-
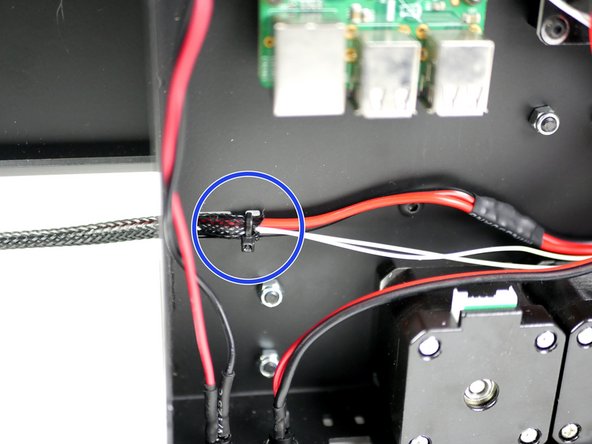
Use cable ties to fix the cable in place.
-
-
-
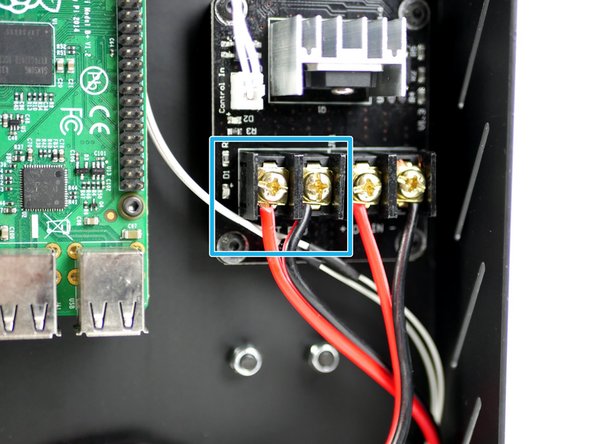
Connect the heated bed power cables to the MOSFET terminals like shown.
-
Red to positive and black to negative.
-
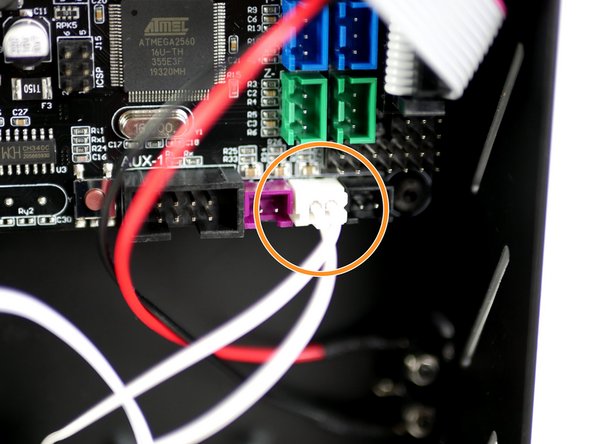
Connect the thermistor cable to the control board like shown.
-
-
-
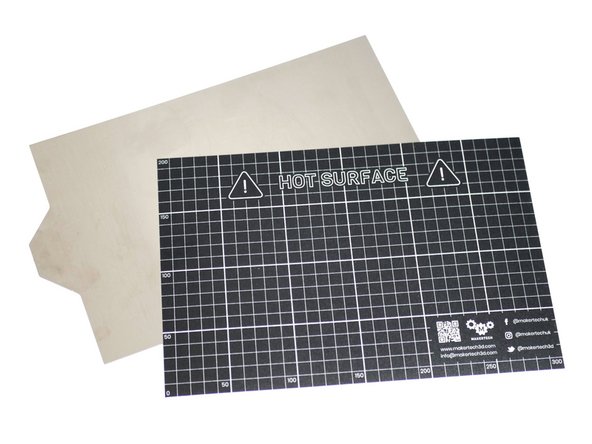
Before starting make sure the flexplate surface is clean.
-
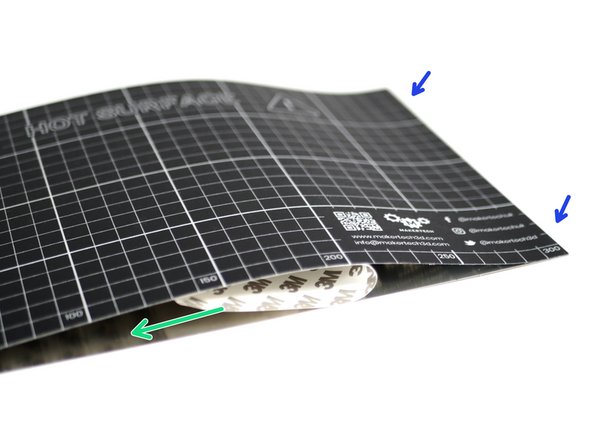
Peel away the backing from the right side of the surface sticker.
-
Fix the sticker onto the edge of the flexplate making sure to carefully align it with the top and bottom edges.
-
Pull away the backing paper and press down the sticker.
-
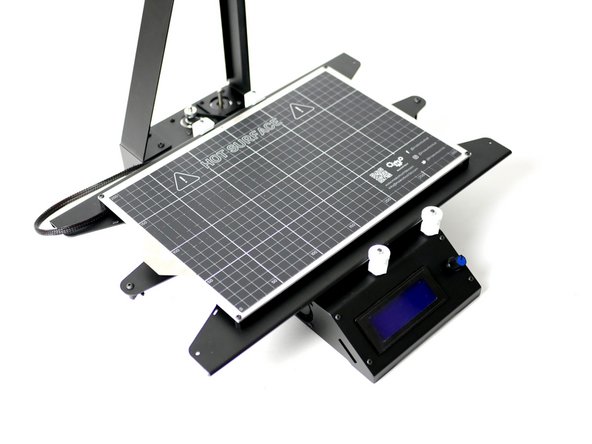
Check that the flexplate attaches well to the heated bed.
-


Cancel: I did not complete this guide.
23 other people completed this guide.
