-
-
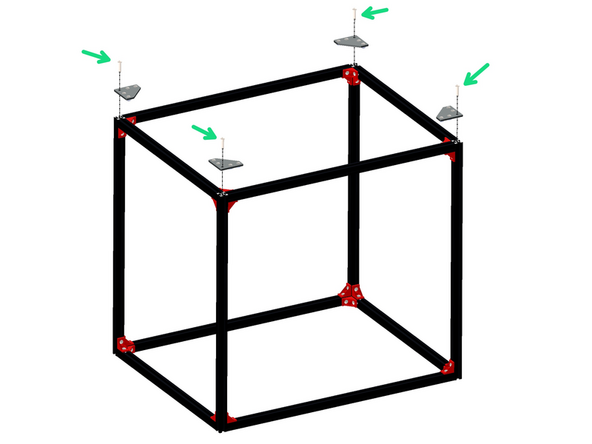
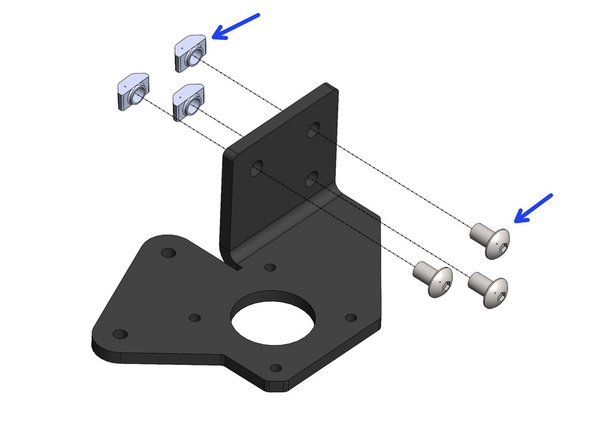
Prepare 24 of the Corner Brackets as shown.
-
M5 x 8mm Button
-
M5 T-Nut
-
Do not tighten these nuts, they just need to be placed on by a few turns - they will be tightened down later in the next step.
-
-
-
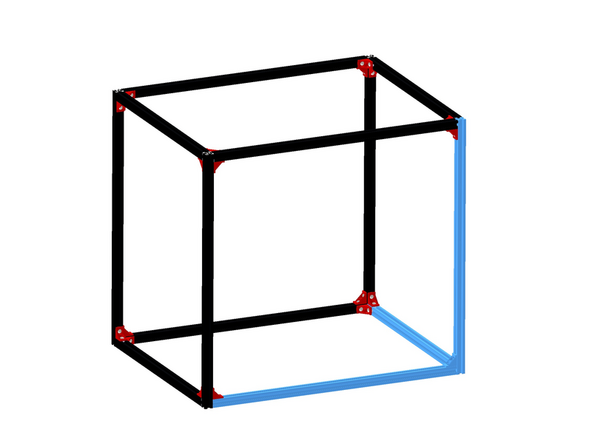
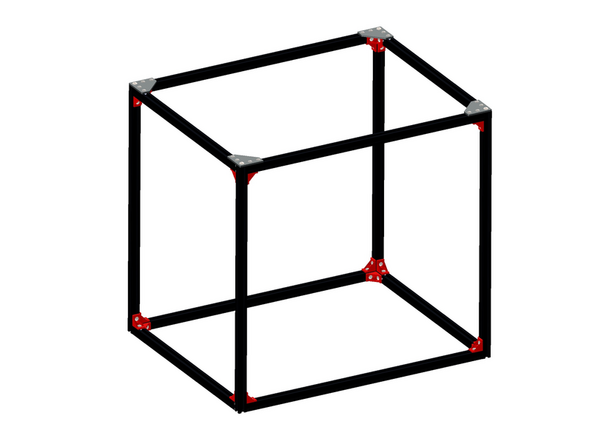
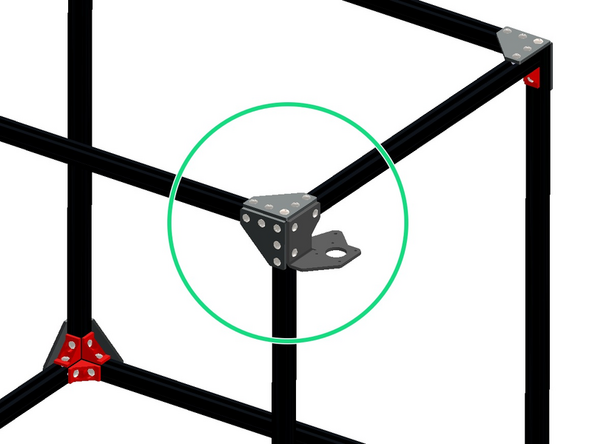
Assemble the corner of the frame as shown.
-
Take care in orientating the beams as shown.
-
600mm Extrusion
-
470mm Extrusion
-
Corner Bracket Assembly (x3)
-
Ensure the end of the 600mm Extrusion is flush against the sides of the other extrusions as shown.
-
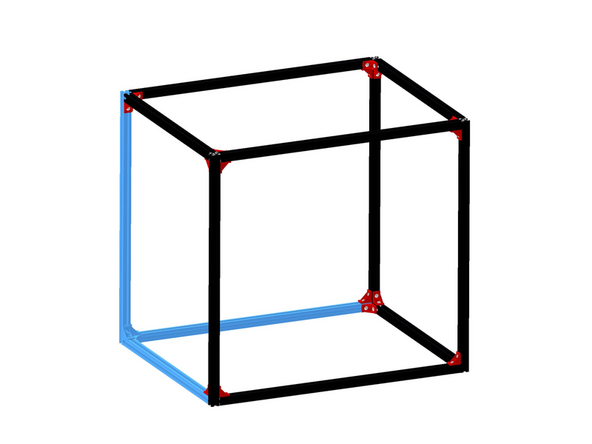
Assemble a total of four of these.
-
-
-
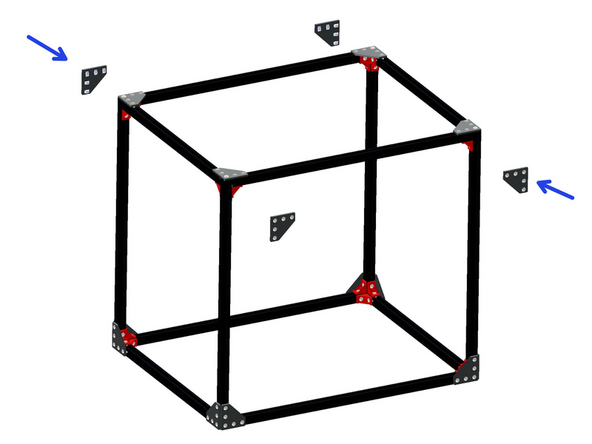
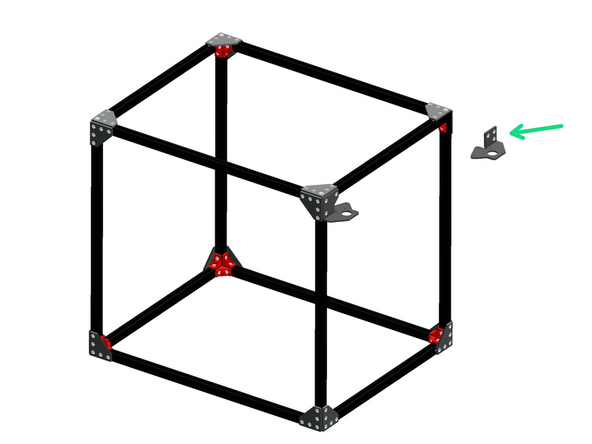
Assemble the four corner assemblies together to create the full frame.
-
-
-
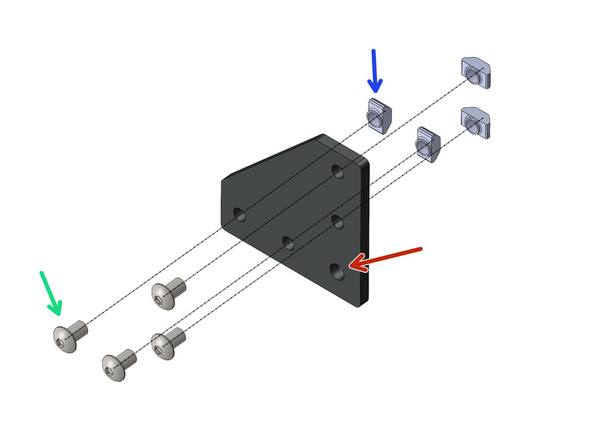
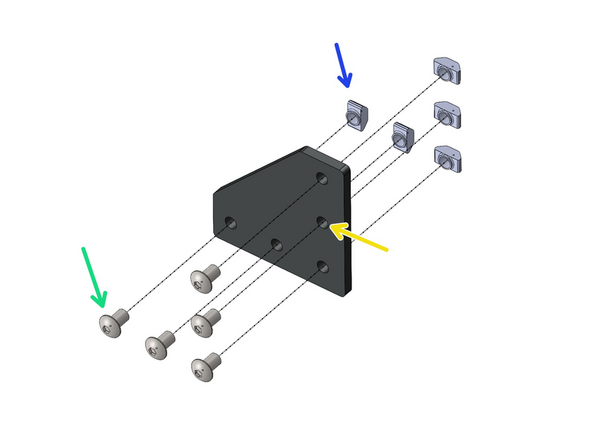
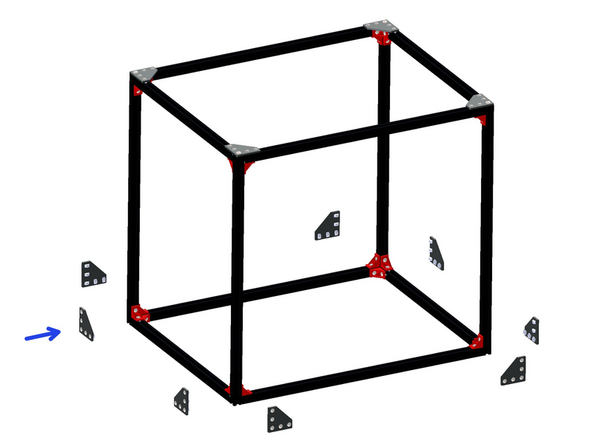
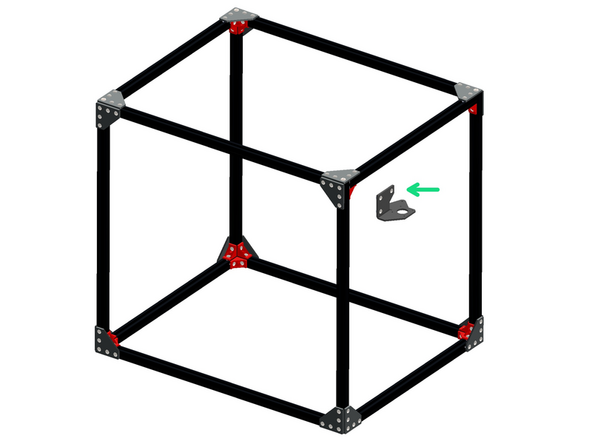
There are three types of L-brackets that look similar. We need to take the two types shown and described below. To these need to be added M5 x 8mm bolts and T-nuts.
-
M5 x 8mm Button
-
M5 T-nut
-
Do not tighten down yet, just fasten on the T-nuts by a few turns.
-
The first type has one 6mm hole in the corner as shown. (x4)
-
The other type only has 5mm holes around the edges. (x12)
-
The third - which is not used yet - has a threaded M4 hole on its diagonal edge. (x4)
-
-
-
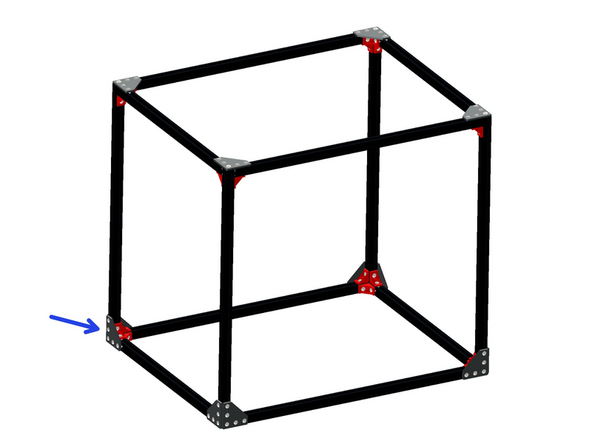
Fix the top brackets (these are the ones with 6mm holes in the corners) to the top side of the frame as shown.
-
M6 x 25mm Button
-
-
-
Next using the remaining bracket assemblies attach them around the base of the frame as shown.
-
-
-
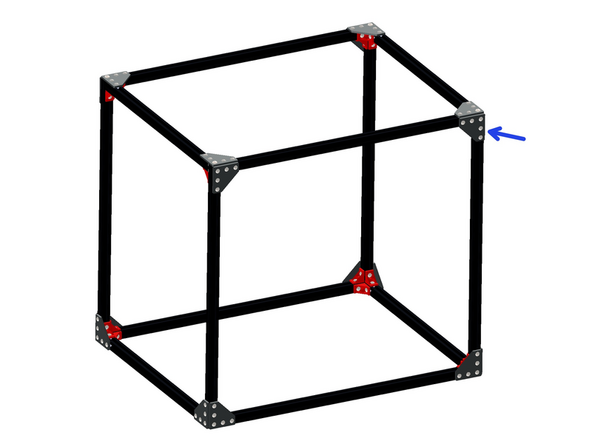
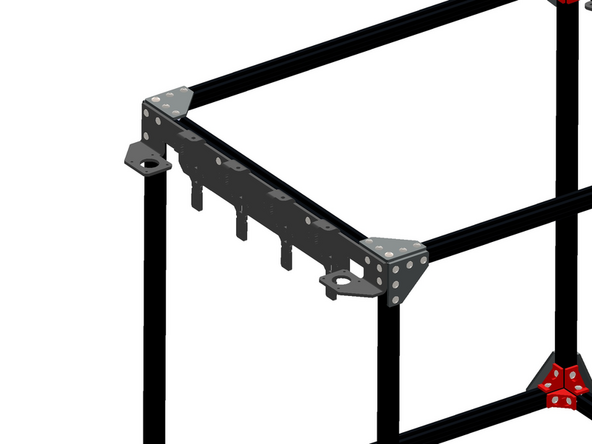
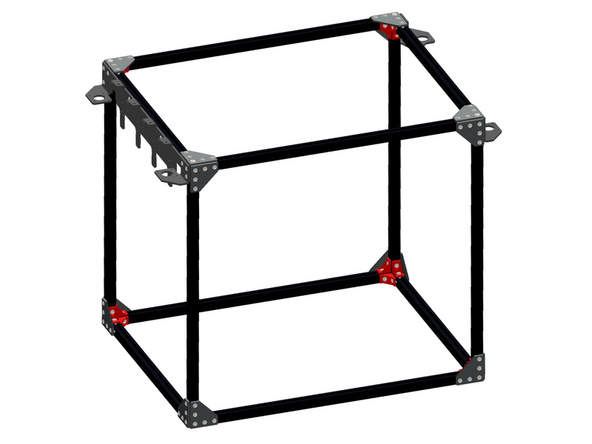
Fix the remaining four bracket assemblies to the top front and rear sides of the frame as shown.
-
These brackets go on the long edge.
-
-
-
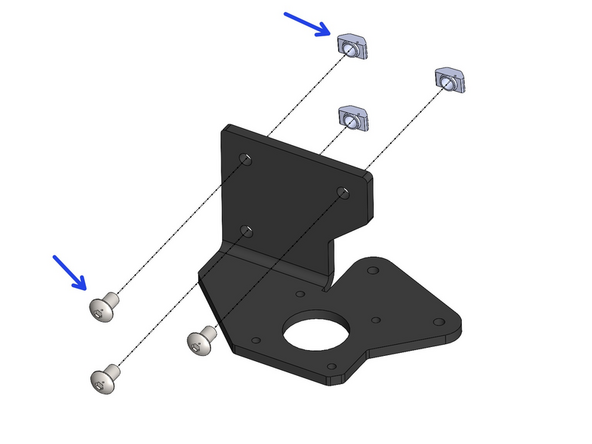
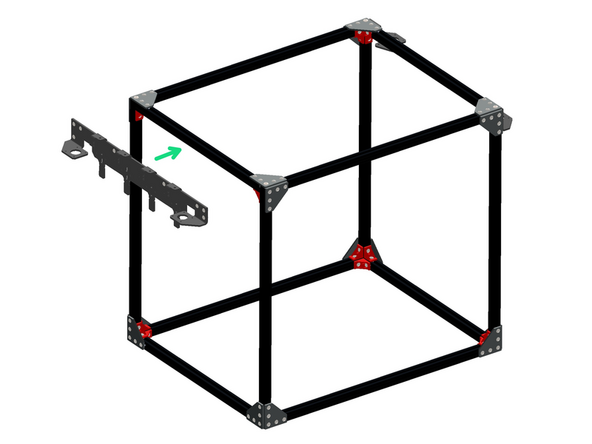
Prepare the Front Motor Bracket with M5x8mm Button bolts and T-nuts
-
Fix the bracket onto the front right side of the frame as shown.
-
-
-
Prepare the Rear Motor Bracket with M5x8mm Button bolts and T-nuts
-
Fix the bracket onto the rear right side of the frame as shown.
-
-
-
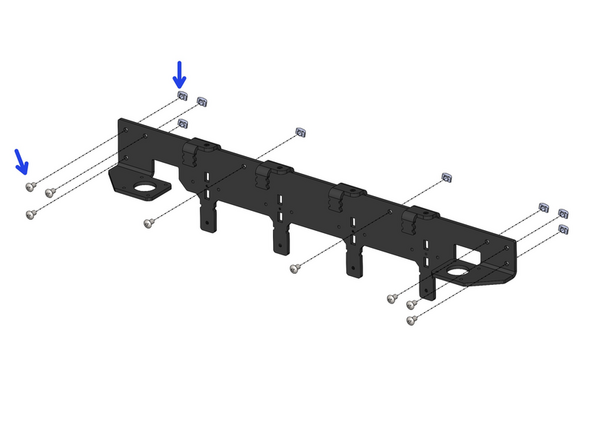
Prepare the Tool Dock with M5 x 8mm bolts and T-Nuts as shown.
-
Fix the Tool Dock onto the Left side of the frame as shown.
-
-
-
Congratulations, you have completed the first stage of the build!
-