Difficulty
Moderate
Steps
8
Time Required
- Stage 01: Hardware 8 steps

In Progress
This guide is currently being written. Reload periodically to see the latest changes.

Private
This guide will not appear in search results and can only be viewed by team members!
Quiz
0
-
-
Before installing this upgrade you will need a Raspberry Pi board. If you don't already own one from a previous project you can purchase one relatively easily locally.
-
We also sell the Raspberry Pi B+ (recommended) here on our webstore.
-
-
-
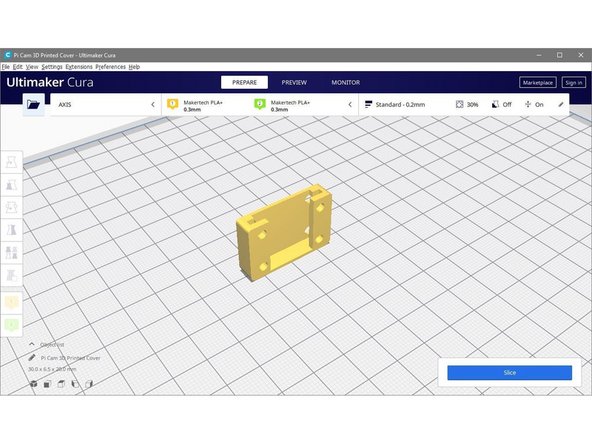
Download the Pi Cam Cover here.
-
3D print the cover.
-
-
-
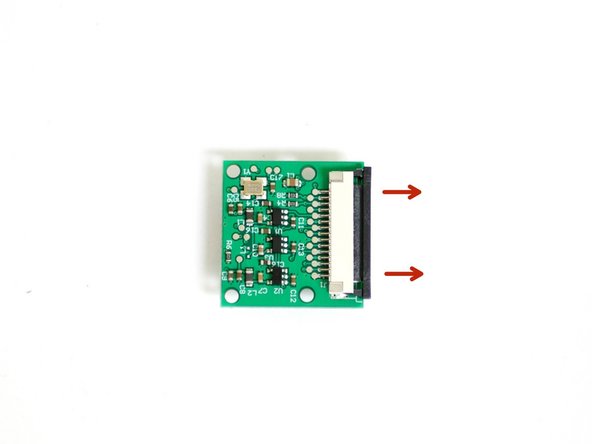
Carefully pull back the black bar on the connector on the back of the Pi camera.
-
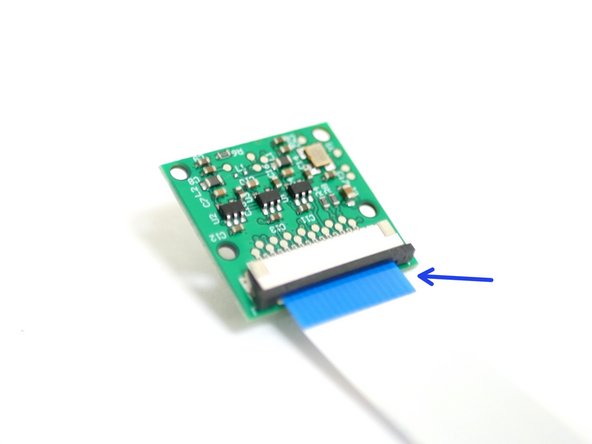
Connect the 60cm ribbon cable to the Pi Cam with the blue tab facing towards you.
-
-
-
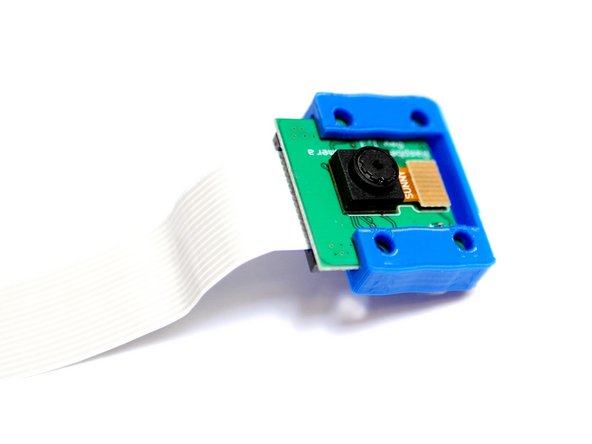
Slide the camera into the 3d printed cover like shown.
-
-
-
From Stage 1 of the main build you should have already mounted the standoffs and the Pi board.
-
M2.5 x 6mm bolt
-
M2.5 x 10mm stand-off
-
-
-
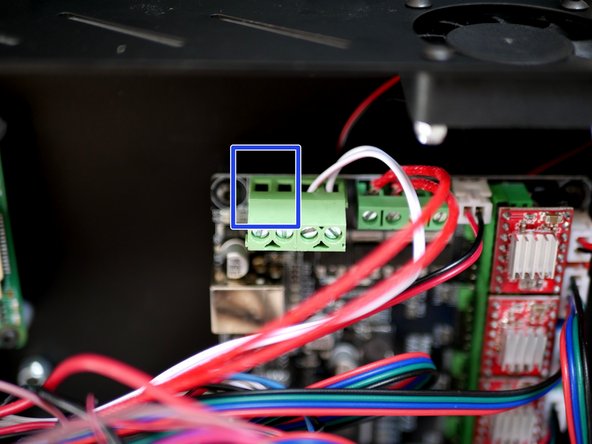
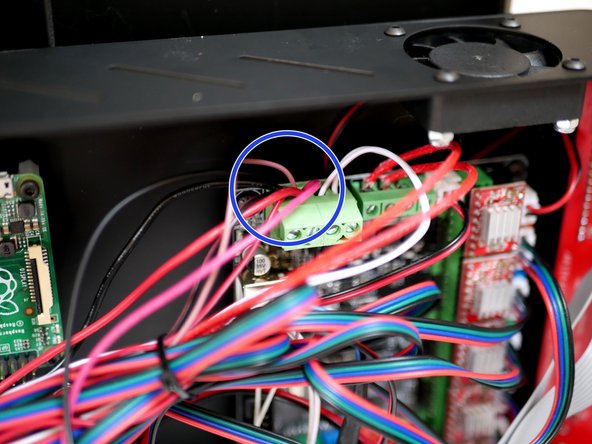
Connect the USB convertor in line with the power supply cables at the control board.
-
Make sure to connect the red cable to the positive terminal and the black cable to the negative terminal.
-
-
-
Plug one side of the micro USB cable into the Raspberry Pi.
-
Plug the other end into the convertor.
-
Use cable ties to tie the convertor and cable down to the rest of the cables.
-
-
-
Connect the blue USB cable from the control board to a USB port on the Raspberry Pi.
-