-
-
Replace the 3D printed probe mount with the aluminium one.
-
Start by pushing the probe through the new mount and then secure it in place.
-
M2.5 x 6mm bolt
-
-
-
Replace the steel heatbreaks with the new Copper/Titanium ones.
-
You may need to heat the heat block to free the old heatbreak, if this is the case you can use either a lighter or wait until you have completed the build and heat the hotend via a gcode command.
-
Replace the thermistor with the new one.
-
Connect them to the control board.
-
-
-
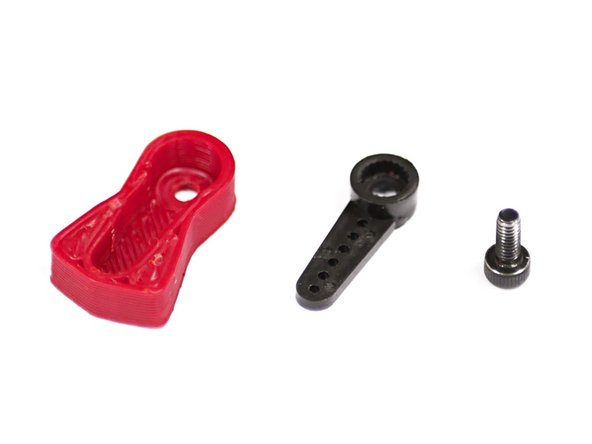
The servo arm design has been updated to incorporate the small arm included with the servo.
-
The 3D printed part of the arm can be found here, we recommend printing it in ABS.
-
If the injection moulded arm does not fit, there is a large version of the arm that can be found here.
-
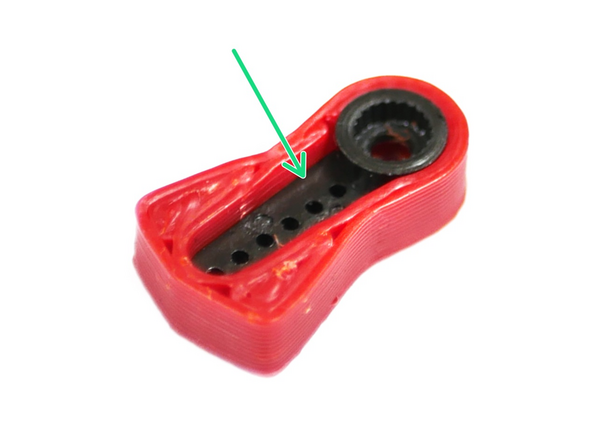
Drop the injection moulded arm that comes with the servo into the 3D printed arm.
-
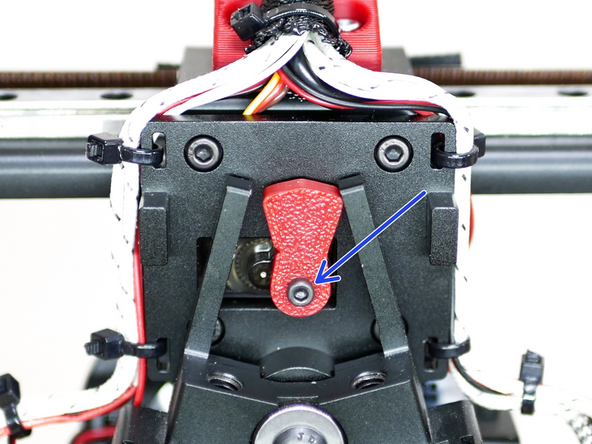
Attach it to the servo shaft as shown with an M2.5 x 6mm bolt.
-
-
-
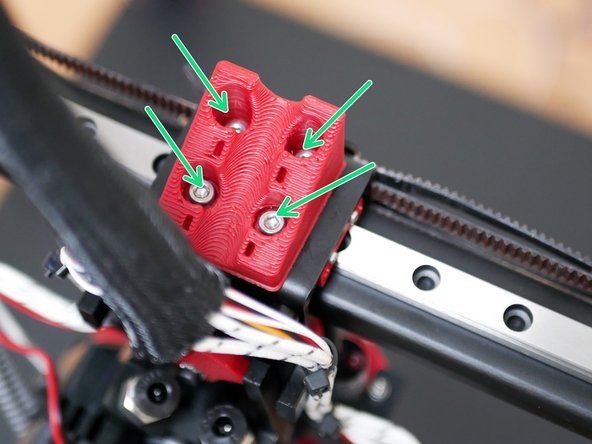
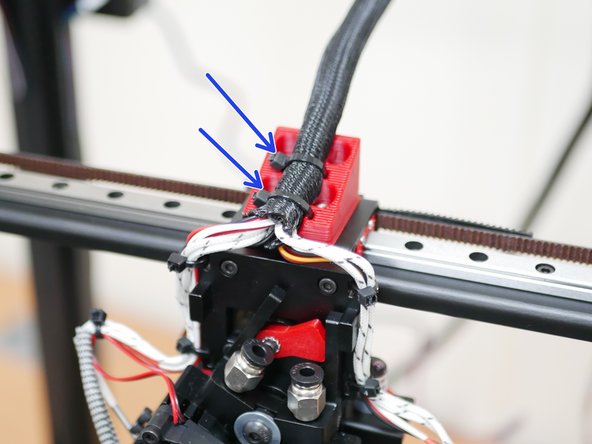
Fix to the tool carriage the 3d printed cable relief bracket.
-
M3 x 10
-
Use cable ties to secure the cable loom to the bracket.
-
-
-
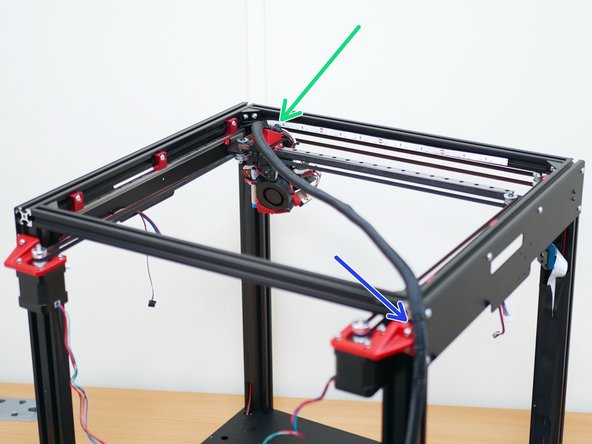
Move the print head to the near right of the print area.
-
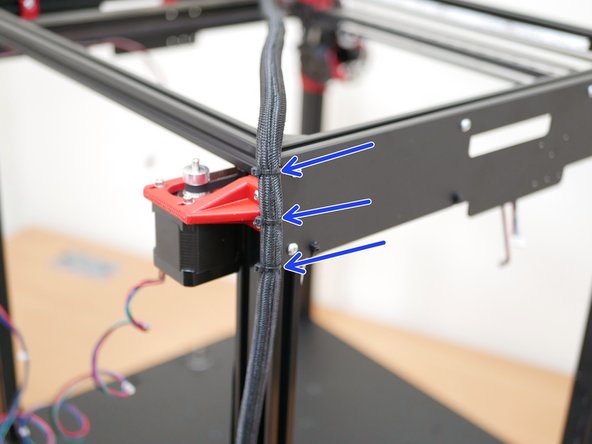
Use cable ties to secure the loom to the side panel.
-
Cancel: I did not complete this guide.
One other person completed this guide.


