
-
-
Unpack the touch screen.
-
Connect the 30CM ribbon cable to it by lifting up the black tab on the connector as shown.
-
Connect the ribbon cable with the blue tab facing down.
-
Press the black tab down to secure the ribbon cable in place.
-
-
-
Drop the touch screen into the 3d printed case by first sliding the ribbon cable through the slot on the side.
-
Use four M2.5 x 6mm bolts to secure the touch screen to the 3d printed case.
-
-
-
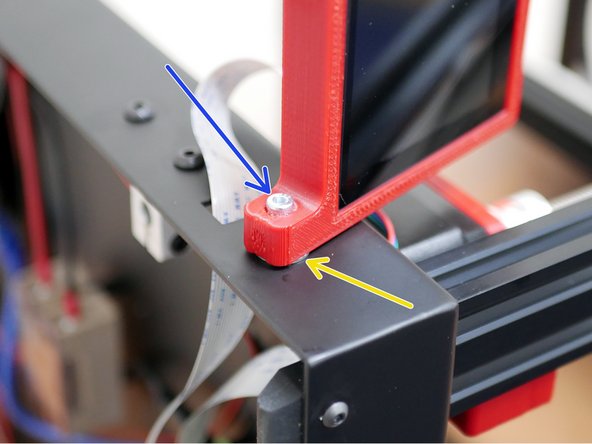
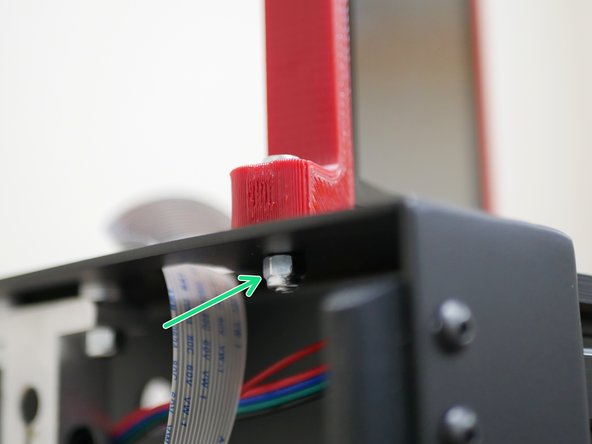
Mount the Touch Screen assembly to the base as shown:
-
M4 x 20mm Bolt
-
M4 Penny Washer
-
M4 Nyloc Nut (from previous assembly)
-
-
-
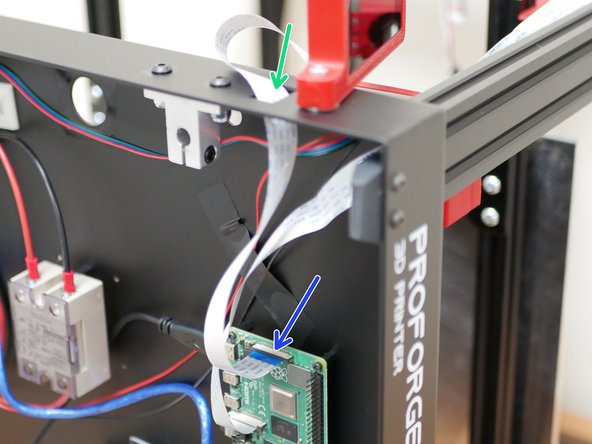
Feed the ribbon cable through the hole on thew side of the base.
-
Connect the end of the cable to the Raspberry Pi board with the blue tab facing towards the screen.
-


Cancel: I did not complete this guide.
2 other people completed this guide.
