-
-
Double check everything is correctly plugged in.
-
Double check that heater cables are plugged in firmly and not loose.
-
Power up your printer.
-
Check that the two 30mm heatsink fans are spinning.
-
-
-
Hold a metal item under the probe, check the red light on the top of the probe comes on.
-
Connect to your printer and send an M119 command. With a metal object held under the probe check weather the probe reports back triggered.
-
-
-
Send an M106 command to turn on the fan. Send M107 to switch it off.
-
-
-
Send an M280 P0 S80 to turn the servo.
-
P0 = servo index
-
Sxx = servo angle
-
-
-
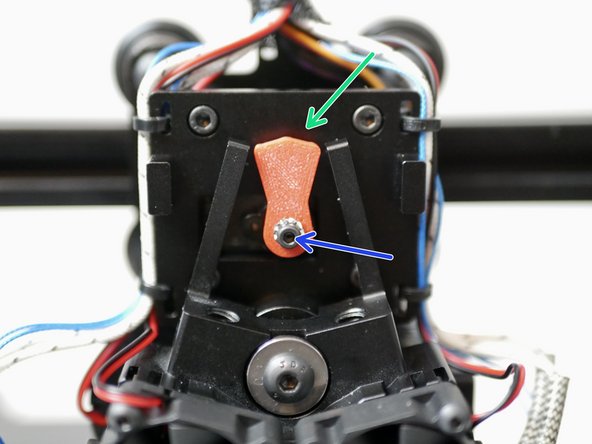
Before installing, make sure that the servo is set to the vertical position. Set this by sending "M280 P0 S80".
-
Secure the servo arm with an M2.5 x 6mm bolt and M2.5 shakeproof washer.
-
Install the servo arm vertically like shown.
-
Tighten firmly, doing your best to make sure that the servo's position is not changed.
-
-
-
Sending T0 will select the left hotend.
-
Sending T1 will select the right hotend.
-
-
-
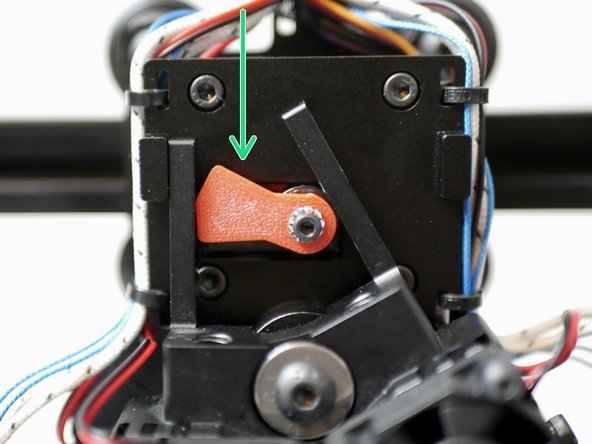
Send M280 P0 S165
-
The left hotend should now be active.
-
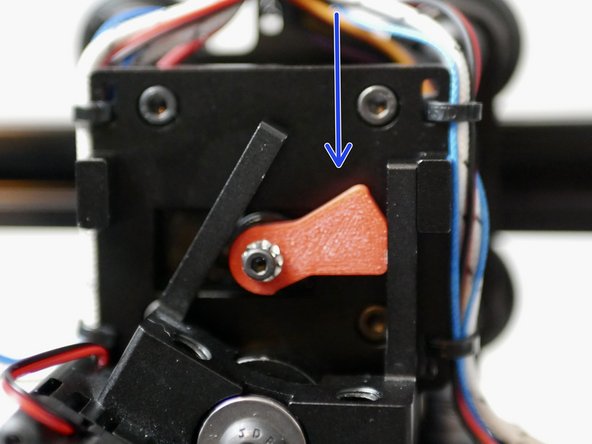
Send M280 P0 S0
-
The right hotend should be active.
-
Adjust the S value until switching results in the arm firmly holding the hotends position.
-
-
-
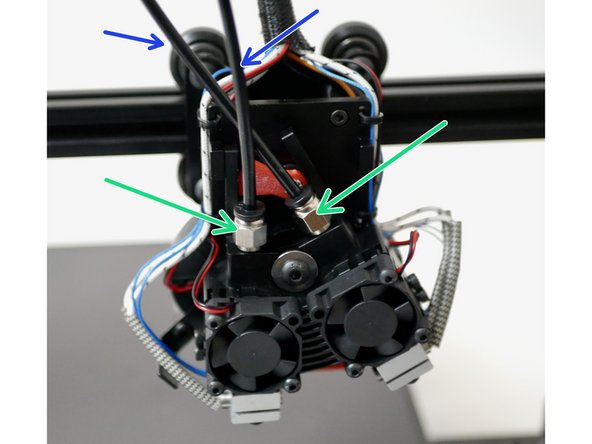
Fix two PC4-M6 couplings onto the heatsink of the switching hotend.
-
Cut the PTFE tubing to the length you need and slide one end into the heatsink and push the other end into your extruder.
-
The PTFE tubing should slide approximately one inch into the heatsink.
-
-
-
Check the thermistor status, they should both be reading room temperature.
-
Turn on the heaters and monitor the temperature rise.
-
-
-
Heat the hotend up to it's max temps. That's 250C for the low temp configurations and 400C for the high temp configuration.
-
When up to temperature tighten the nozzles against the heatbreak.
-
Make sure that the two bolts on the side of the heatsink are also tightened and are holding the heatbreak securely.
-
Take caution when doing this step as the hotend will be hot enough to cause severe burns. Use two pliers, one to hold the heater block and the other to tighten the nozzle.
-
-
-
Load filament into the switching hotend and send an extrude command to your printer.
-
You should have a smoth flow of filament coming through both hotends.
-
-
-
Set the z-offset for your printer as you normally would. Do this against the first hotend (left side).
-
We recommend doing this with the hotend and heated bed up to the temperature that you would be printing at.
-
-
-
With Hotend 1's nozzle brought down to your bed, use a piece of paper to judge the distance between the tip of the nozzle and print surface.
-
Send a T1 command to switch to the second hotend.
-
Check that the friction between the second nozzle and print surface is the same. If it's not, adjust the height of the second hotend by loosening the two M3 x 12mm bolts holding it in place.
-