Difficulty
Moderate
Steps
23
Time Required
- Stage 08: Programming 23 steps

In Progress
This guide is currently being written. Reload periodically to see the latest changes.

Private
This guide will not appear in search results and can only be viewed by team members!
Quiz
0
-
-
Download the Marlin firmware depending on your configuration:
-
24V Heated Bed
-
MIC-6 Heated Bed
-
Copy the firmware.bin file over to the micro SD card.
-
Insert the SD card into your control board.
-
-
-
Download the displays firmware here.
-
Copy the files onto the SD card.
-
Insert the SD card into the display.
-
-
-
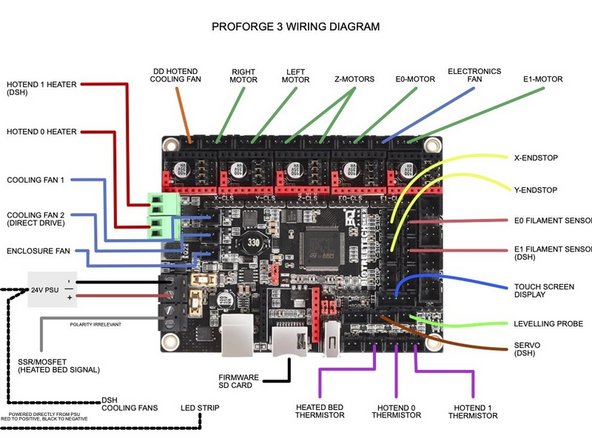
Double check all of your wiring with the wiring diagram.
-
In particular, your wiring of the power supply and heated bed.
-
-
-
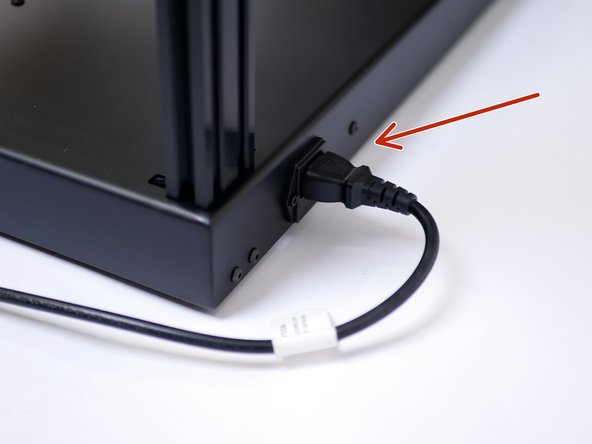
Plug the power cable into the back of the printer.
-
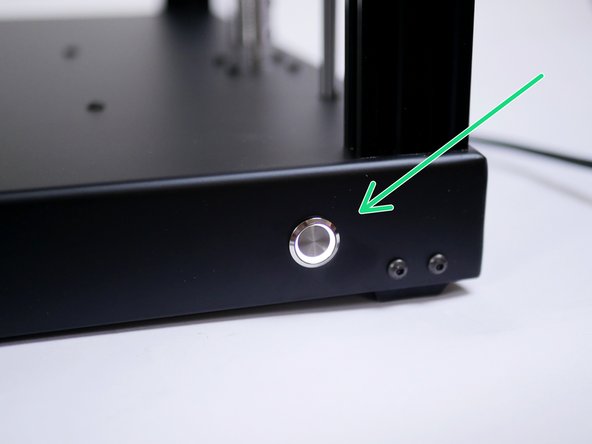
Power on with the switch on the fron of the base.
-
-
-
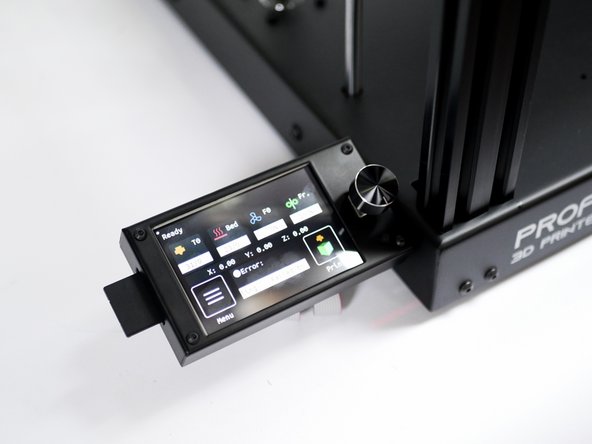
Powering on for the first time should result in the following:
-
The Touch Screen Display should power on and begin updating.
-
The Hotend cooling fan should spin.
-
The electronics fan should spin.
-
The LED's should light up.
-
-
-
Once the touch screen has been updated remove the SD card.
-
Delete the contents of the SD card, it should now be ready to use with your printer.
-
-
-
Thermistors should read room temperature.
-
You may find that the hotend thermistor is a little off, that's OK as it's a high temp thermistor it may be slightly inaccurate at temps below 100C.
-
-
-
Before starting, make sure that none of the endstops are being triggered.
-
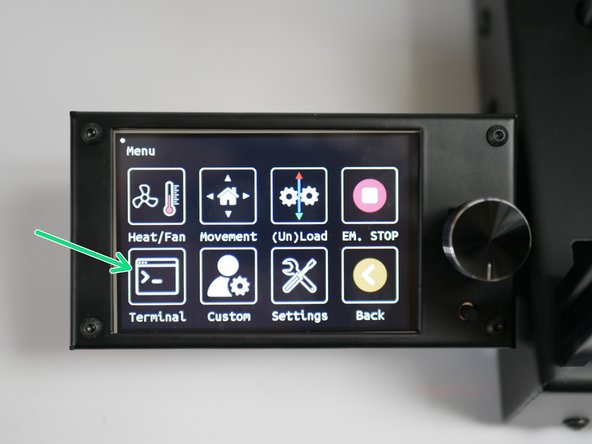
Click on Menu
-
Select terminal.
-
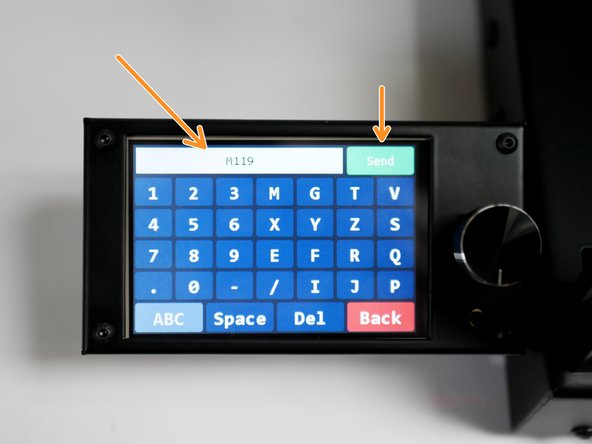
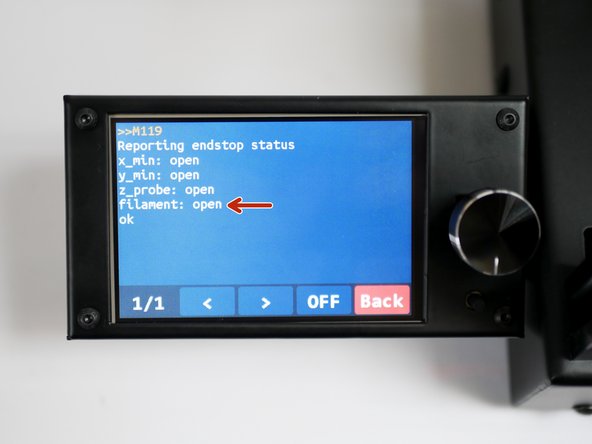
Send an M119 command.
-
You should receive back that X and Y enstops are open.
-
The Z probe should also be open, and the filament sensor should be triggered (as there's no filament loaded).
-
-
-
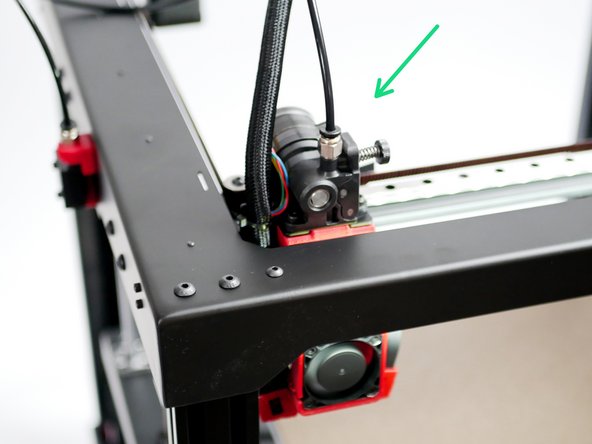
Move the tool head to the bottom left as shown.
-
Both the X and Y endstops should be triggered.
-
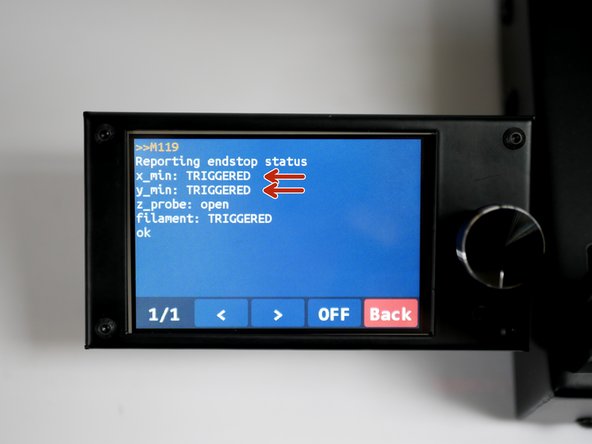
In the terminal send the M119 command again.
-
You should receive the following back with the X and X endstops reporting as triggered.
-
-
-
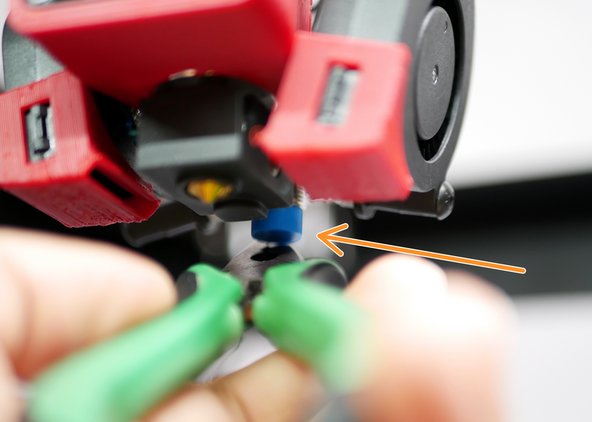
Use a piece of filament to check that the sensor is working.
-
Sending M119 should return back OPEN.
-
-
-
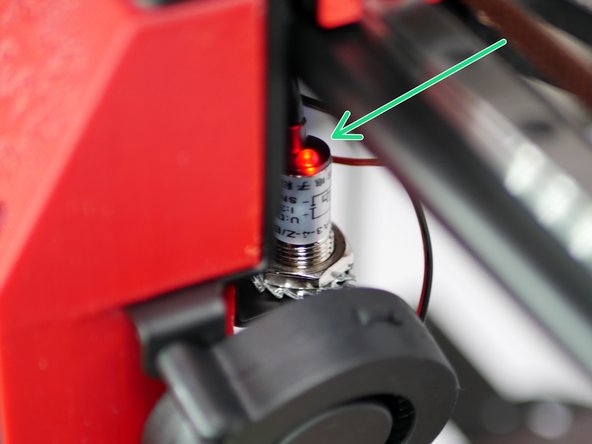
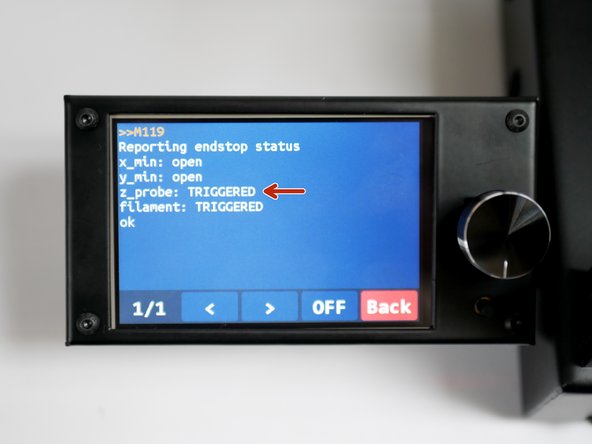
Place a metal object underneath the probe.
-
The LED on the probe should now light up.
-
With the metal object still under the probe, send the M119 command again, and it should return as TRIGGERED.
-
-
-
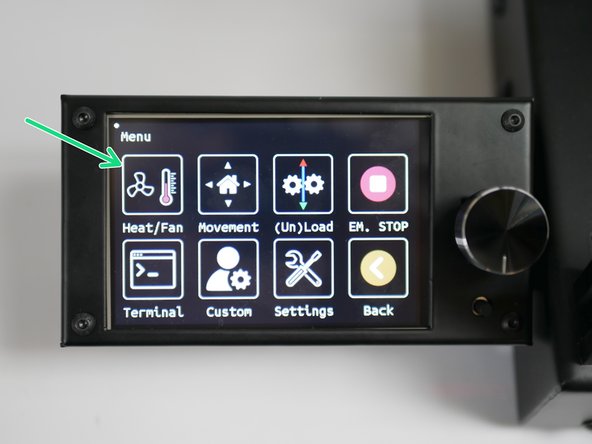
In the menu screen, go to Heat/Fan
-
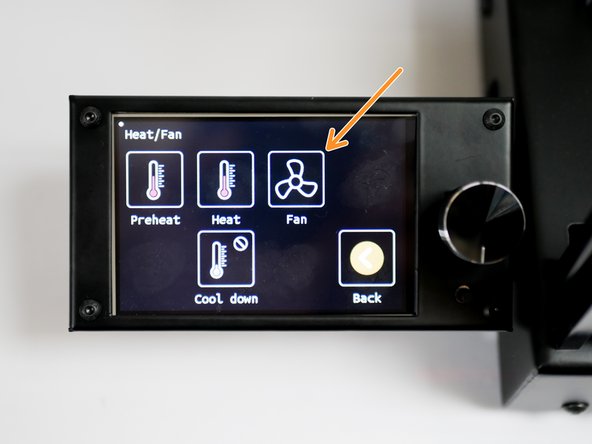
Click on Fan
-
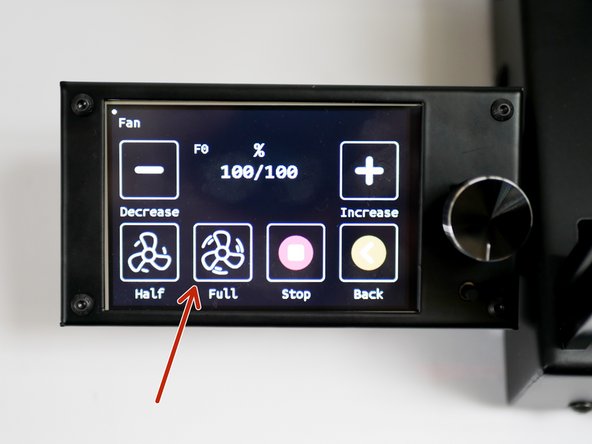
Set fan to Full
-
-
-
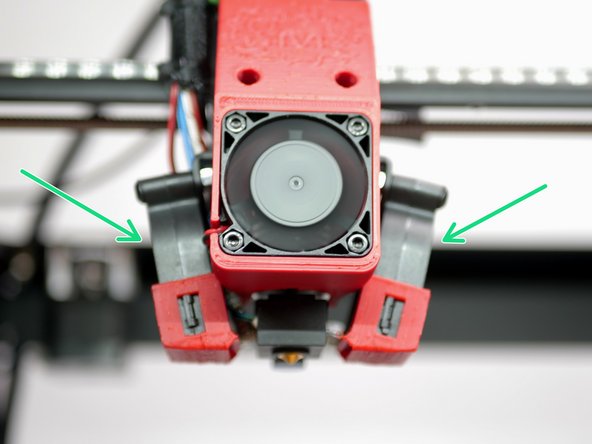
Both part cooling fans should be spinning.
-
Switch the fans off when done.
-
-
-
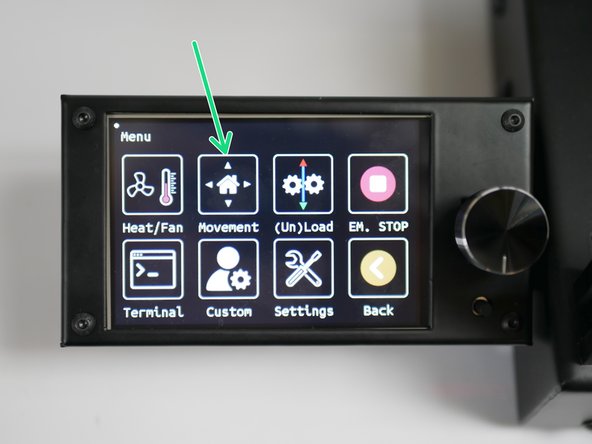
In the menu go to Movement
-
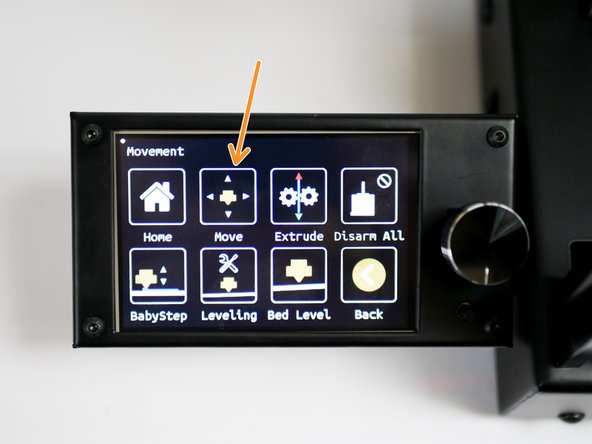
Click on Move
-
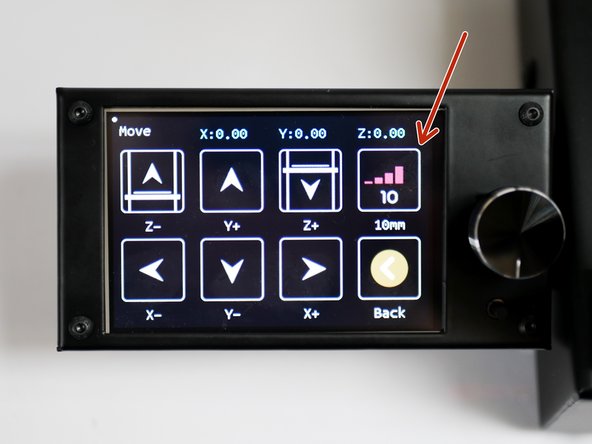
Set the motion increments to 10mm.
-
Use the buttons to move the axes around and confirm that the printer is making the desired movements.
-
-
-
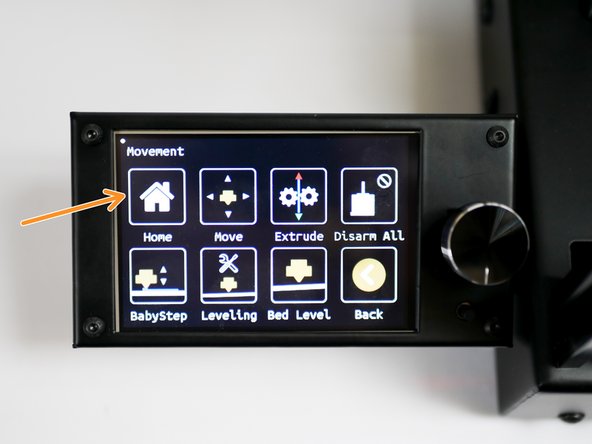
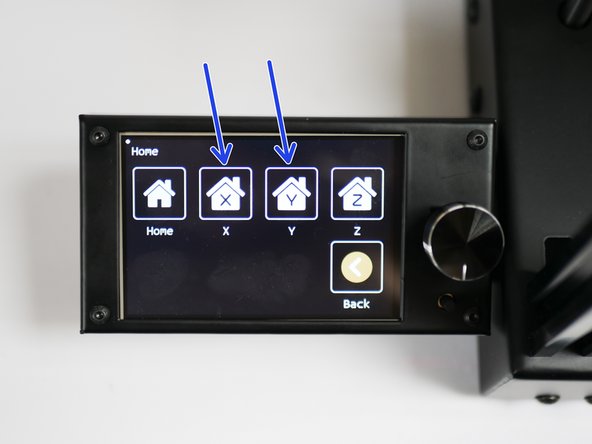
Go to the Movement menu
-
Click on Home
-
Home X and Y
-
The printer should home those axes.
-
-
-
Before homing the Z-axis, manually raise the platform to meet the tool carraige.
-
Before being bale to move the carriage by hand you will need to disable the stepper motors. This button can be found in the main menu.
-
-
-
Insert wisdom here.
-
-
-
Insert wisdom here.
-
-
-
Insert wisdom here.
-
-
-
Insert wisdom here.
-
-
-
Insert wisdom here.
-
-
-
Insert wisdom here.
-
-
-
Insert wisdom here.
-