
-
-
Build the roof section of the enclosure using 2020 extrusions fixed together in the same way as the frame.
-
2020 Extrusion X - 470mm (threaded)
-
2020 Extrusion Y - 420mm (threaded)
-
2020 Extrusion Z - 280mm (holes on one side)
-
M5 x 10mm Button Head
-
-
-
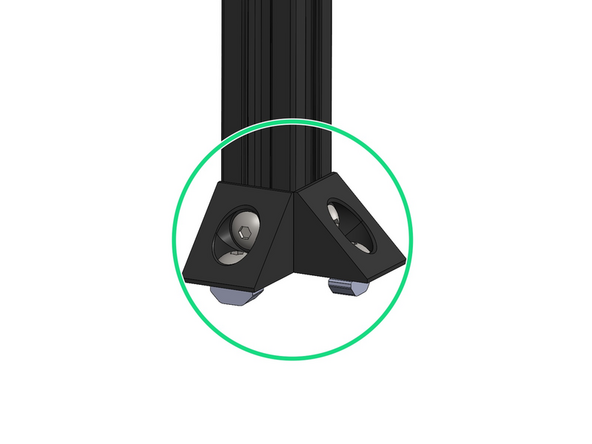
Build 8 corner bracket assemblies with the bolts and T-nut fastened on loosely.
-
M5 x 8mm Button Head Bolt
-
M5 T-Nut
-
-
-
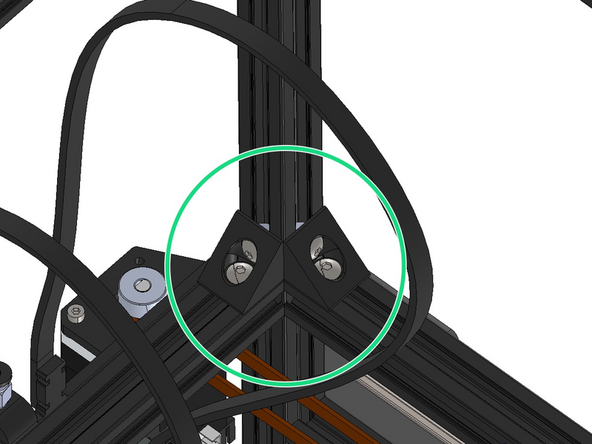
Secure the corner brackets to the roof frame assembly as shown.
-
-
-
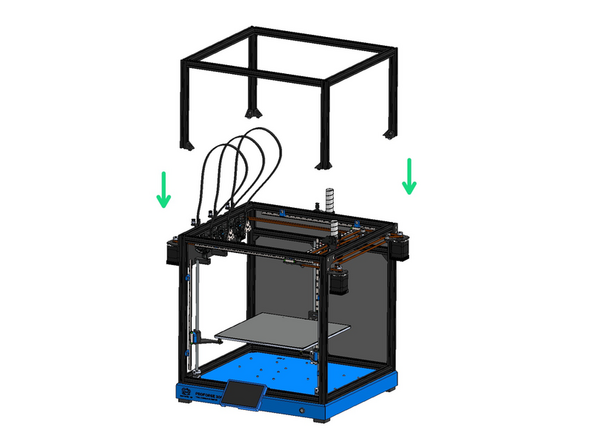
Secure the roof frame to the top of the printer via the corner brackets.
-
-
-
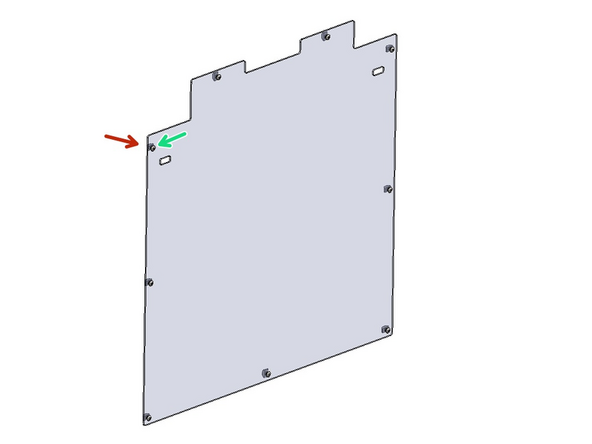
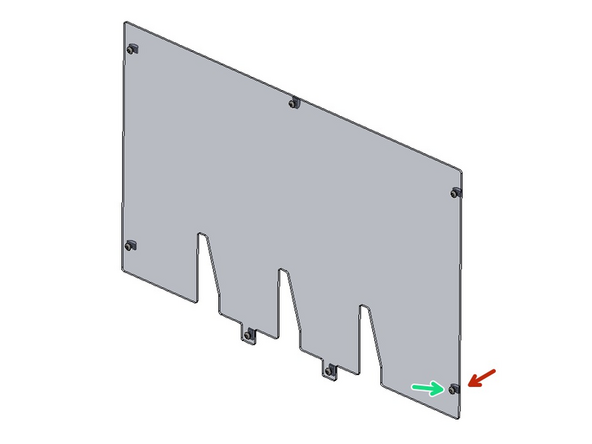
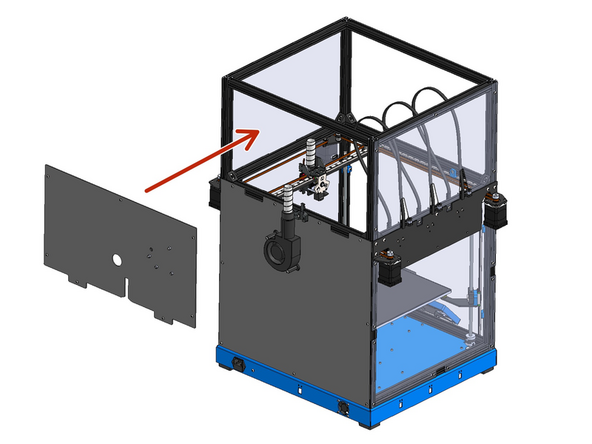
Mount the right side panels onto the fame.
-
M4 x 8mm Button Head
-
M4 T-Nut
-
Match bolts and t-nuts to the sides of the panels as shown.
-
-
-
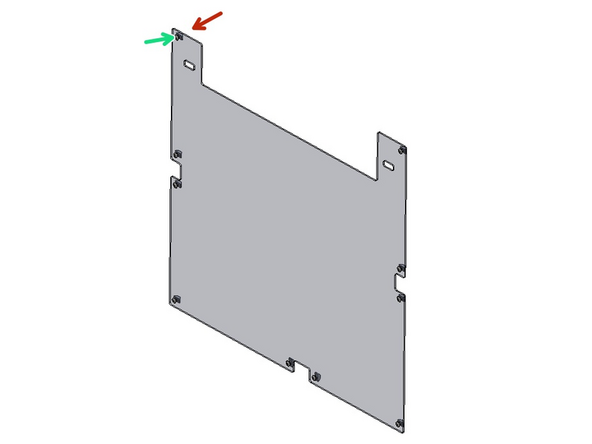
Mount the left side panels onto the fame.
-
M4 x 8mm Button Head
-
M4 T-Nut
-
Match bolts and t-nuts to the sides of the panels as shown.
-
-
-
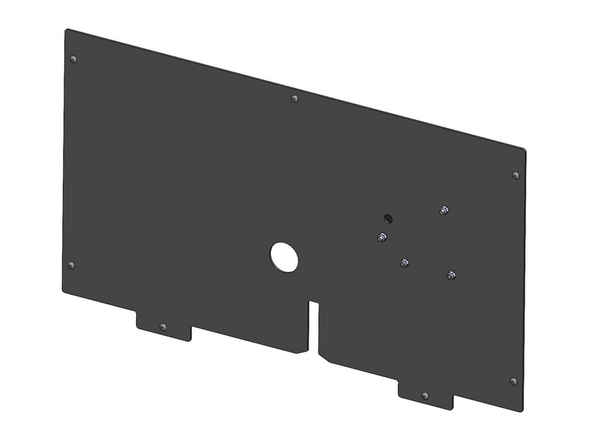
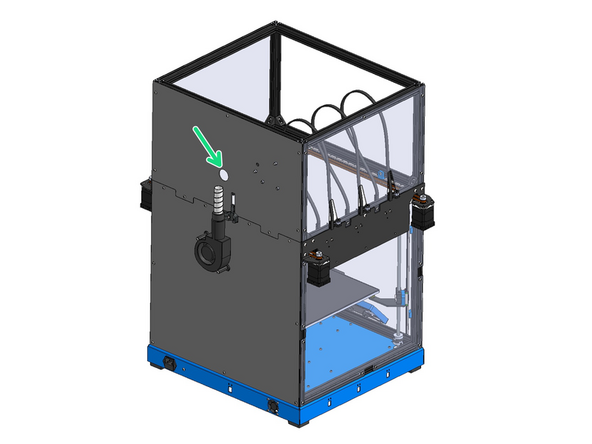
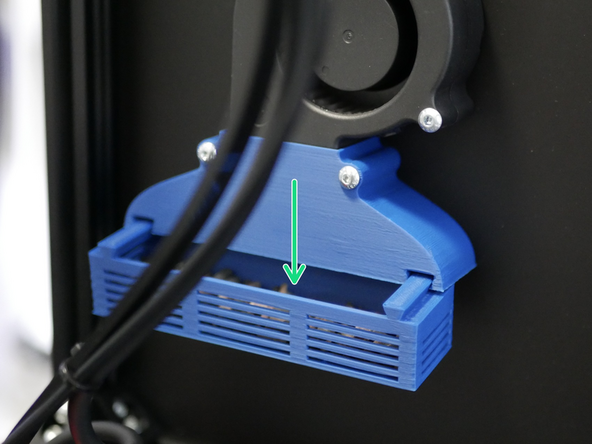
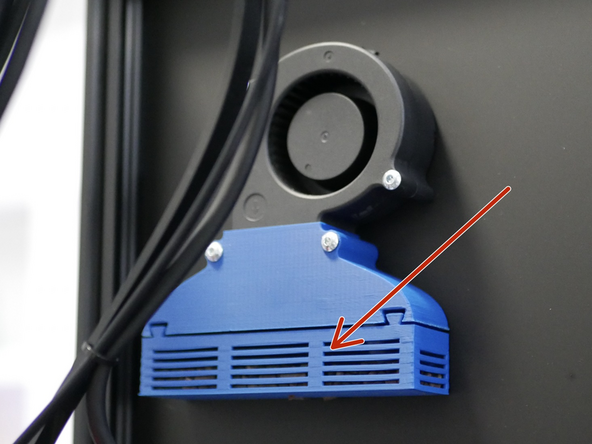
Fix the 7530 blower fan to the rear roof panel.
-
Feed the cable through this hole.
-
Fix the Fume Filter Casing to the rear roof panel also.
-
M4 x 40mm Button Head Bolt
-
M4 Nyloc Nut
-
-
-
Fasten onto the rear roof frame:
-
M4 x 8mm Button Head Bolt
-
M4 T-Nut
-
-
-
Fix the panel onto the rear of the roof frame.
-
Feed the cooling tube through this hole.
-
-
-
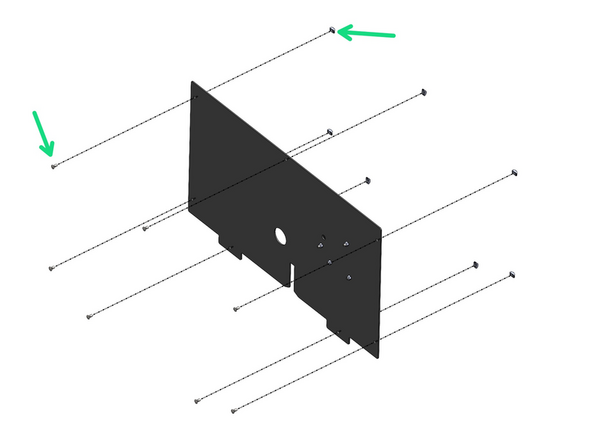
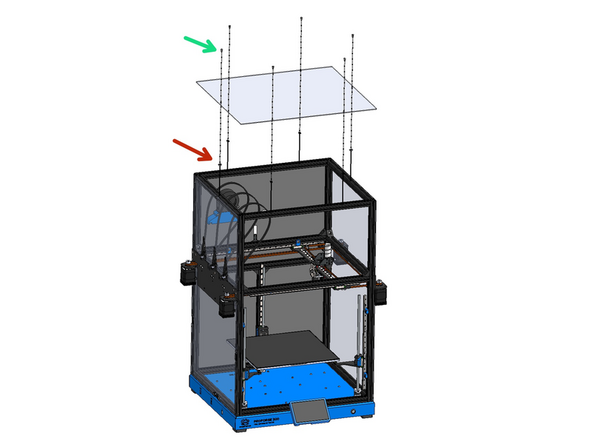
Fix the roof panel to the top of the frame.
-
M4 x 8mm Button Heat Bolt
-
M4 T-Nut
-
-
-
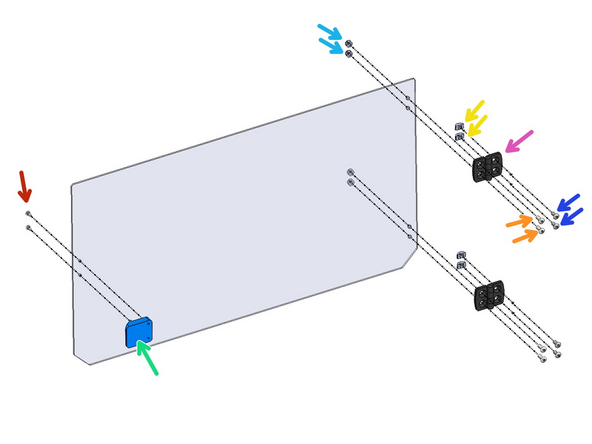
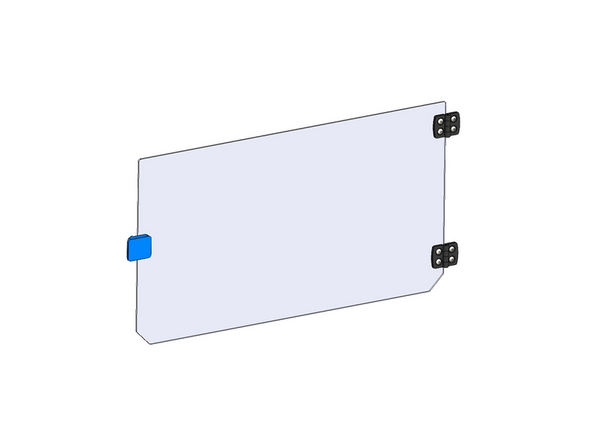
Build the roof door as shown. Take care to orientate the panel as shown with the cut corners pointing down. Repeat the same with the larger front door.
-
3D Printed Handle
-
M3 x 6mm Button
-
Hinge
-
M4 x 8mm Button
-
M4 x 10mm Button
-
M4 T-nut
-
M4 Nyloc Nut
-
-
-
Repeat the above steps but for the main front door.
-
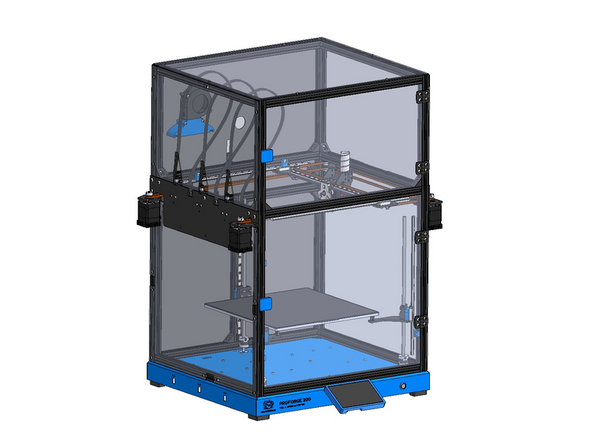
Secure both door assemblies to the printer at the hinges.
-
-
-
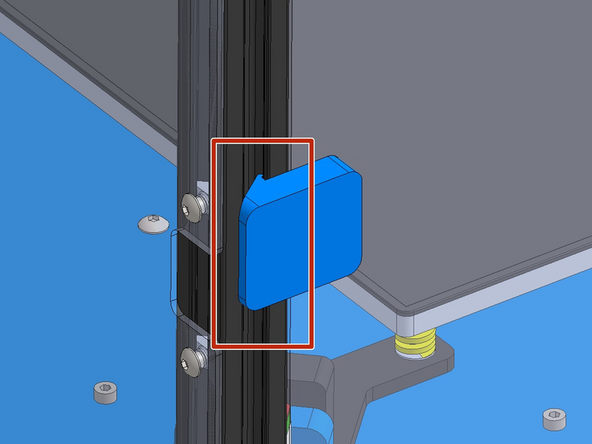
The door handles should snap into the extensions to keep the doors closed.
-
You may need to adjust the position of the hinges.
-
-
-
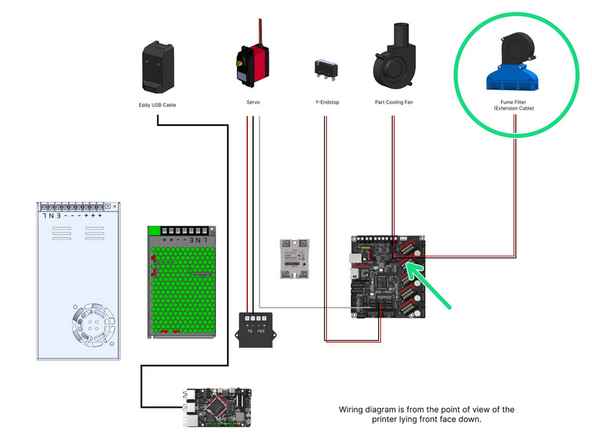
Connect the fan, via the extension cable, to the mainboard if you have not already done so.
-
-


Cancel: I did not complete this guide.
2 other people completed this guide.
