-
-
Use M4 x 8mm button head bolts and M4 T-Nuts to fix the side panels to the frame as shown.
-
-
-
Fix the top panels to the frame in the same manner.
-
Orientate the panels as shown in the diagram.
-
-
-
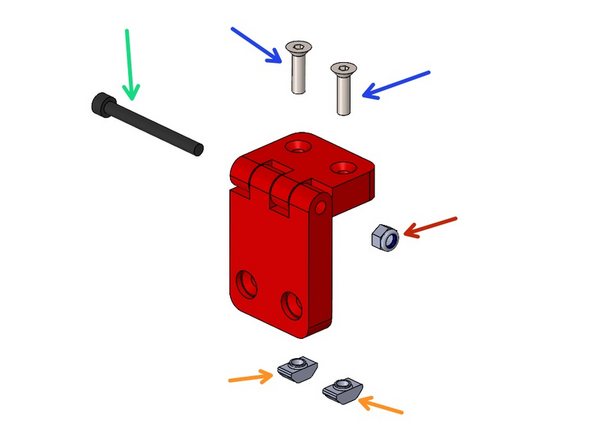
Assemble two hinges as shown:
-
M4 x 40mm Bolt
-
M4 Nyloc Nut
-
M4 x 15mm Counter Sunk Bolt
-
M4 T-Nut
-
-
-
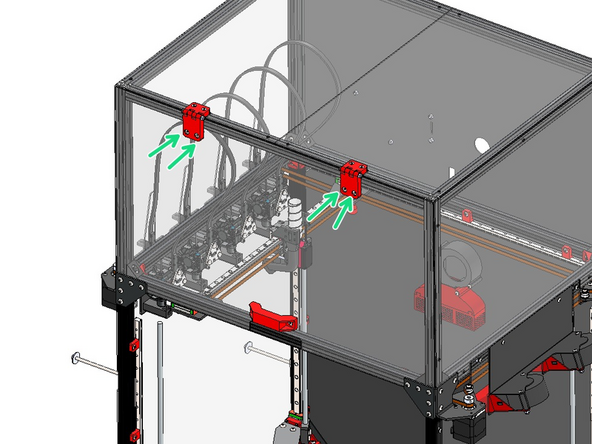
Fix the Roof Front Door panel onto the frame with the hinges.
-
M4 x 15mm Counter Sunk Bolt
-
M4 Nyloc Nut
-
-
-
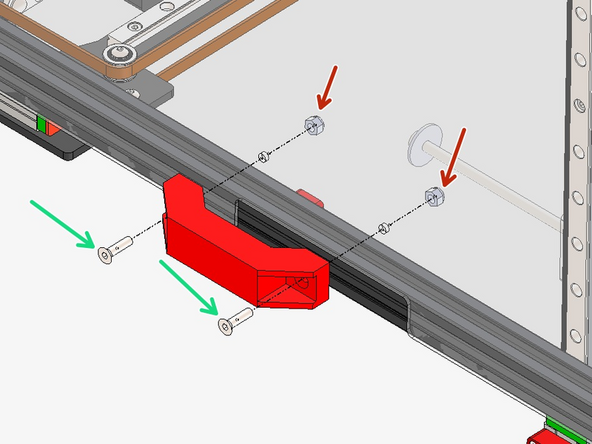
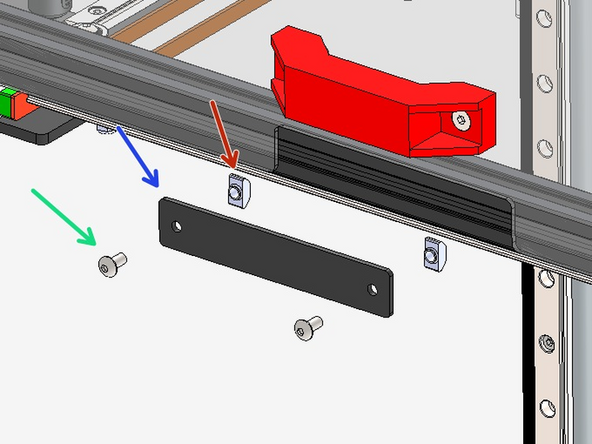
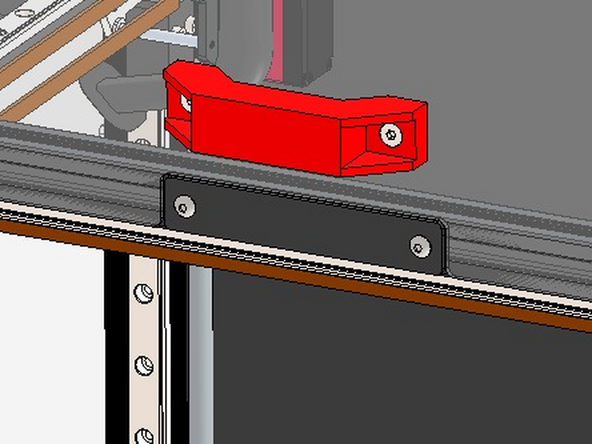
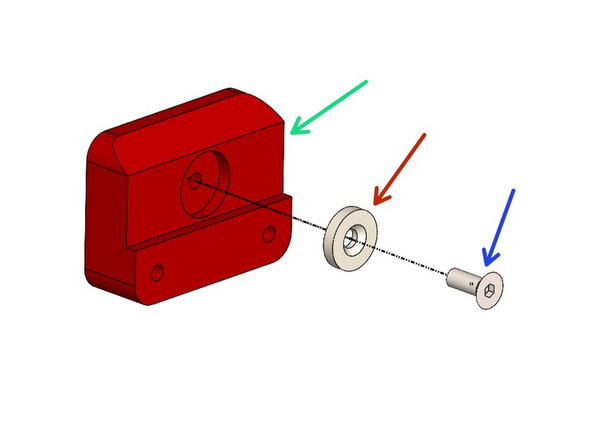
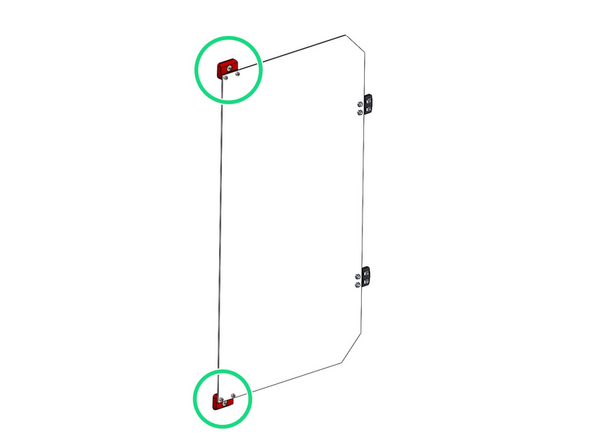
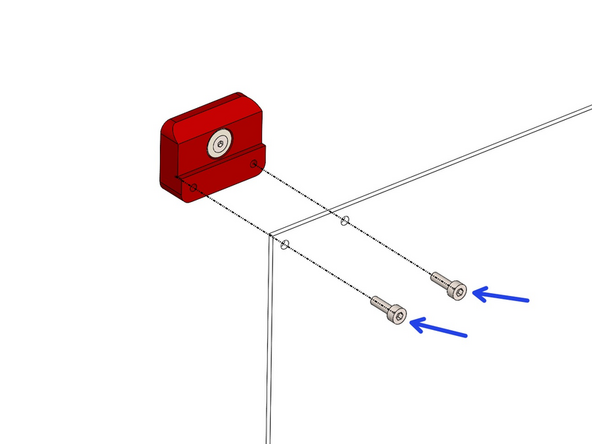
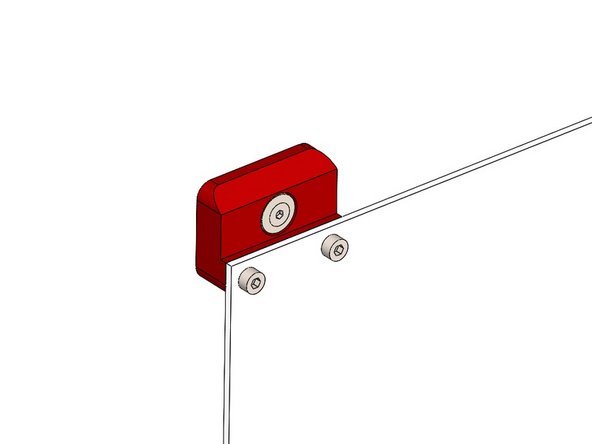
Fix the two door latch brackets onto the front of the frame as shown. Install them onto the centre of the frame.
-
Front door latch
-
M4 x 8mm Bolt
-
M4 T-nut
-
-
-
Prepare four 3D printed door handles:
-
3D Printed Door Handle
-
M3x10x2mm Countersunk Magnet
-
M3 x 8 CS bolt
-
Self tap the bolt into the hole on the 3d printed part.
-
-
-
Take the two front door panels and remove the protective film from both of them.
-
Fix onto both door panels two handle assemblies as shown.
-
M3 x 10mm Bolt
-
Self tap the bolts into the holes on the 3d printed part.
-
-
-
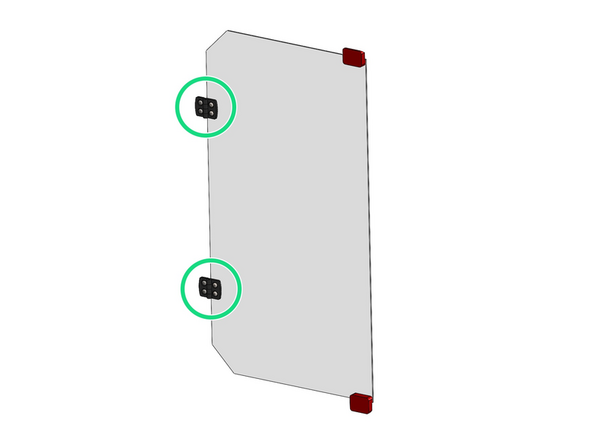
Fix two hinges onto each door panel as shown. The hinges should be installed on the front side of the panel.
-
Hinge
-
M4 x 10mm Bolt
-
M4 x 8mm Bolt
-
M4 Nyloc Nut
-
M4 T-nut
-
Fasten these on loosely.
-
-