
-
-
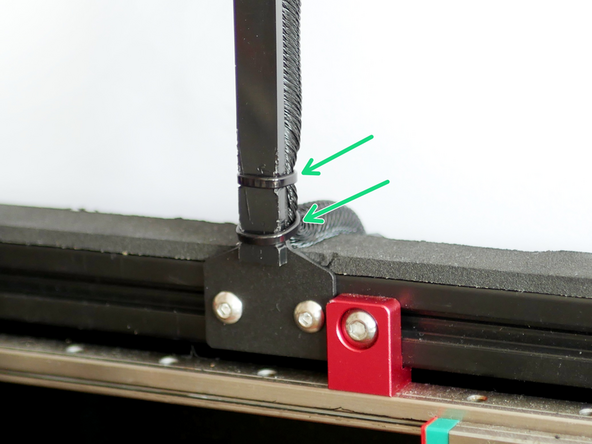
Mount the cable relief bracket to the rear inside of the frame.
-
Rear Cable Relief Bracket
-
M4x6mm Button
-
M4 T- Nut
-
-
-
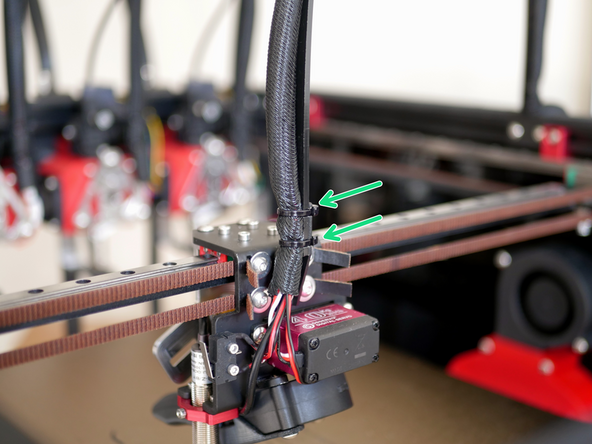
Remove the old bracket and mount the new cable relief bracket to the tool carriage.
-
M3 x 6mm Cap (Same Bolts)
-
-
-
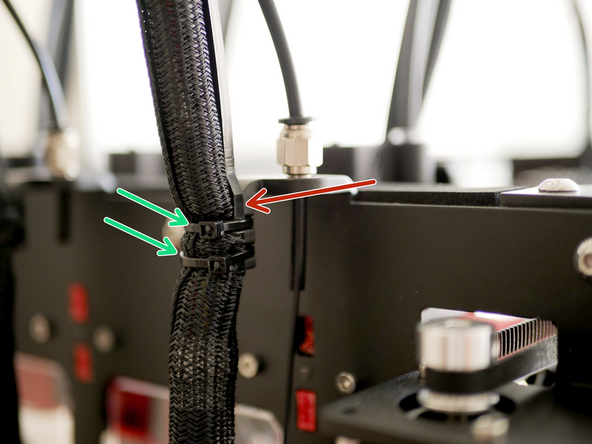
Use cable ties to fix the cable support (the shorter 65mm support) to the cable loom, you may need to pull some of the loom from the base to fix onto the cable support.
-
-
-
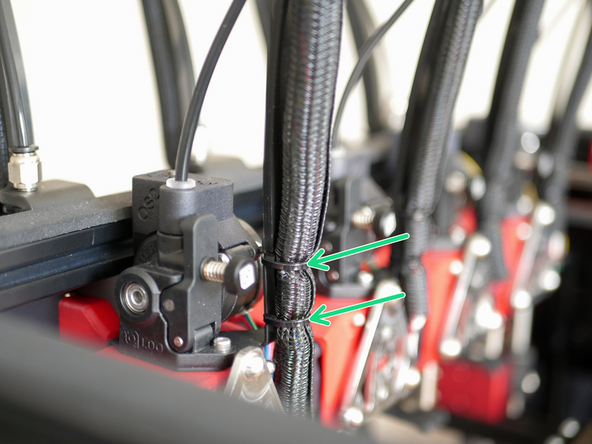
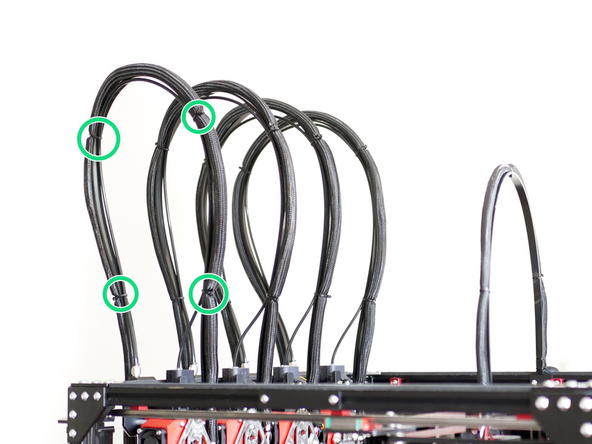
Secure the print head cable support guides to the print head cables and PTFE tubes using cable ties.
-
The wider side of the cable support fixes onto the bracket on the side of the frame of the printer.
-


2 Comments
Unable to use the shorter one when you have the roof closed. Engineering mistake
Xavier GUERIN - Resolved on Release Reply
We apologize for any inconvenience, but since the supports were added after the roof installation, we advise against using the shorter one for the moment. We are actively working on a roof rework, which will be available very soon.