-
-
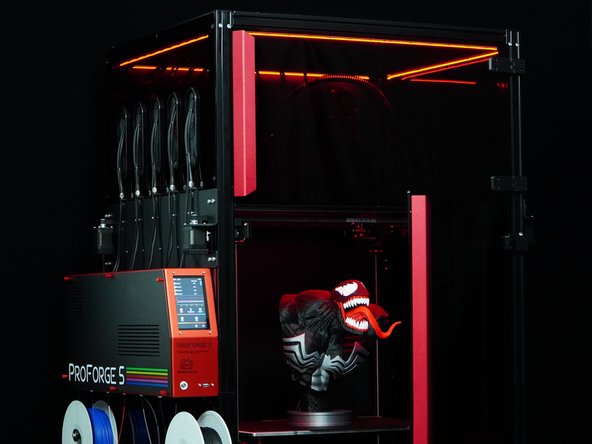
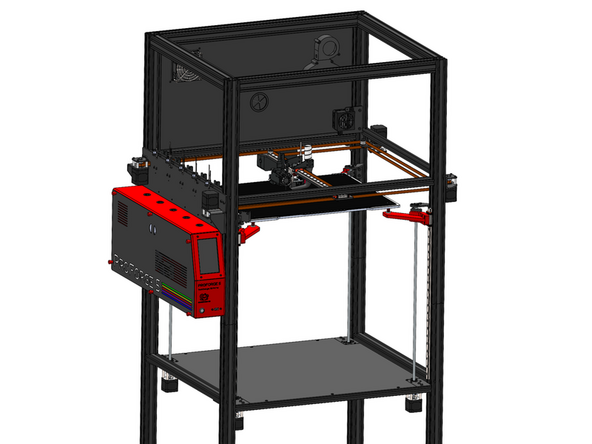
If you have been building the printer with the enclosure upgrade then you should already have the lower and upper rear panel installed along with all of the electronics and wiring completed.
-
If not, check these sections of the guide to catch up:
-
-
-
-
-
-
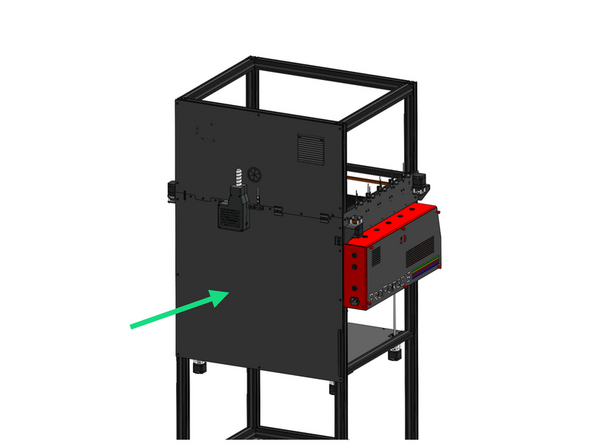
Fix the lower rear panel to the frame using M5x6mm bolts and M5 T-nuts.
-
-
-
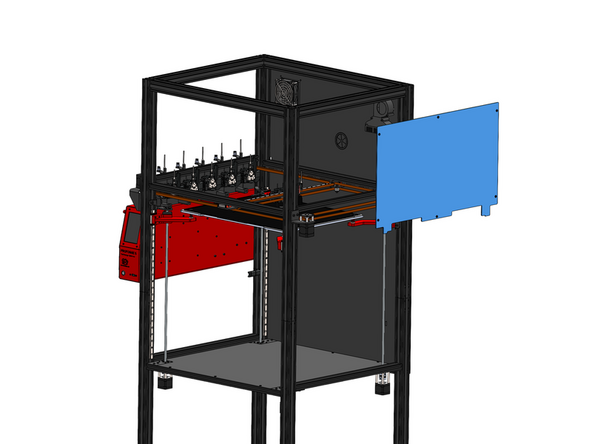
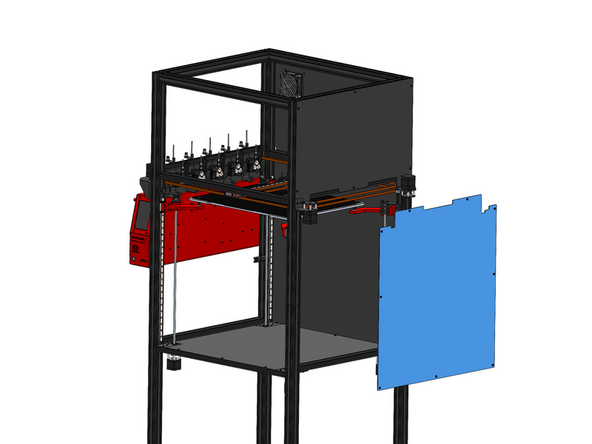
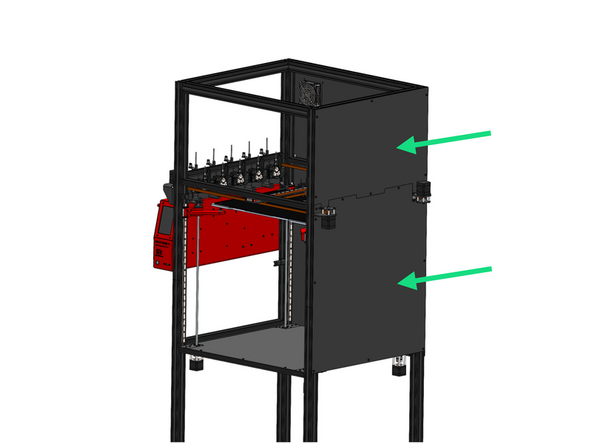
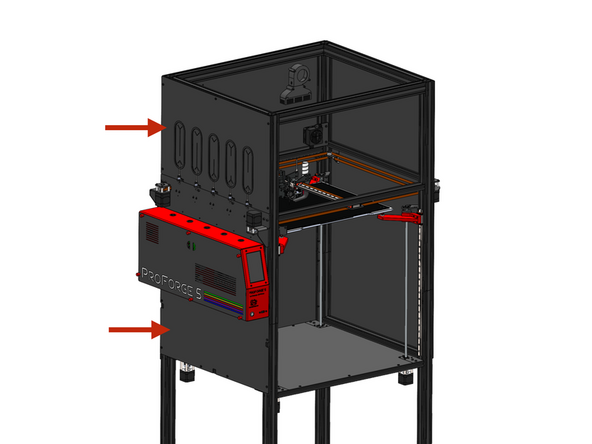
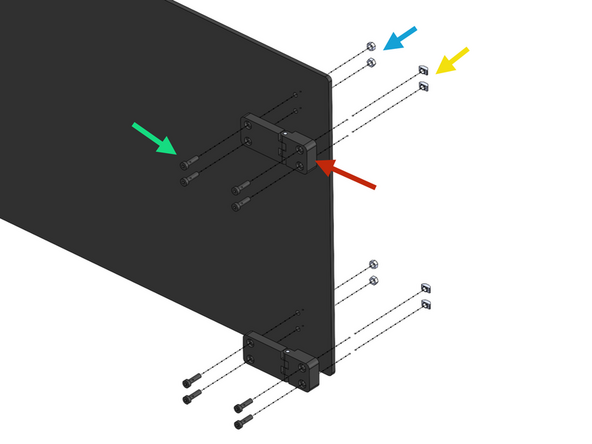
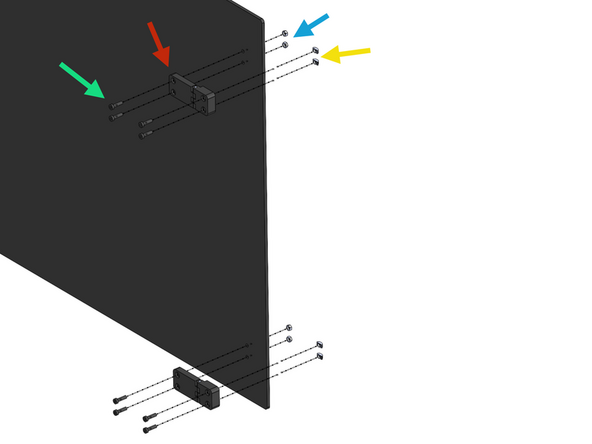
Install onto the right side of the frame the two right side panels with M5x6mm bolts and M5 T-nuts.
-
-
-
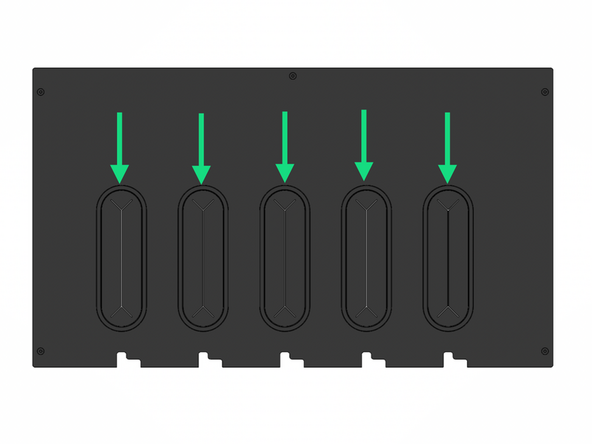
Take the five oval shaped cable grommets and make slits as shown to allow the cables form the print heads to go through.
-
Push the grommets into the oval holes in the panel.
-
-
-
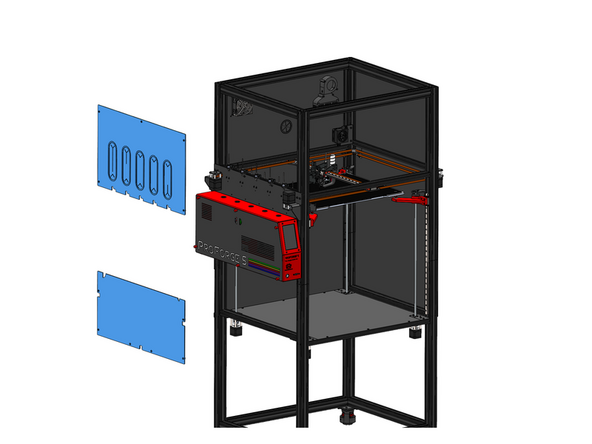
Unplug the print head cables and unfasten the cable guide from the print head and feed into the holes on the upper panel oval grommets.
-
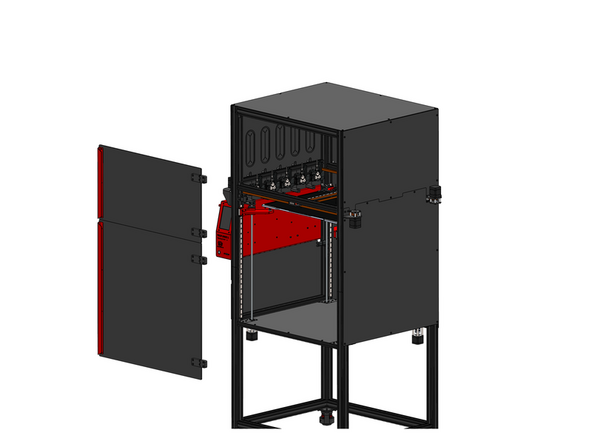
Install the two left side panels with M5x6mm bolts and M5 T-Nuts.
-
-
-
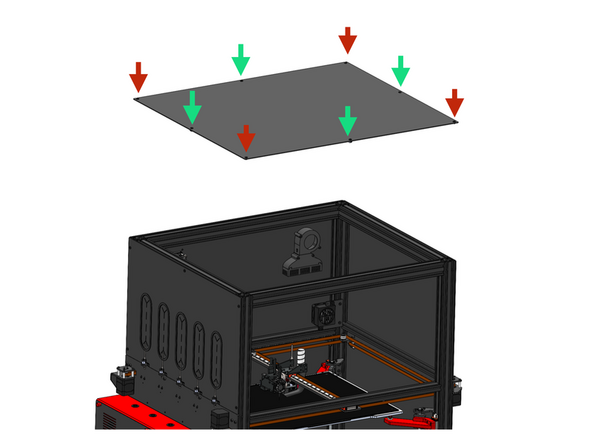
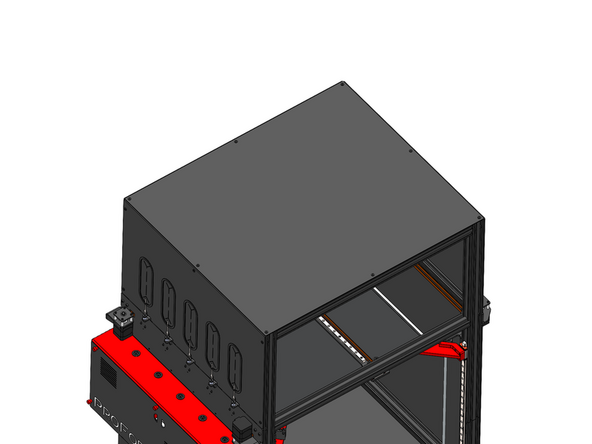
Install the top panel with M5x6mm bolts in the corners of the panel threading directly into extrusions.
-
The remaining 4 holes on the sides of the panel should use M5x6mm panels and M5 T-nuts to fix to the frame.
-
-
-
Stick to the edges of the front of the extrusion as shown the 5mm wide foam tape.
-
-
-
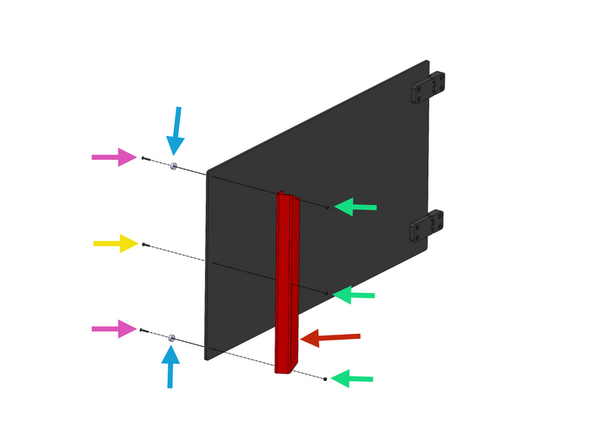
Fix two hinges onto the upper door.
-
M5 x 18mm Bolt
-
Hinge
-
M5 Nyloc Nut
-
M5 T-Nut
-
-
-
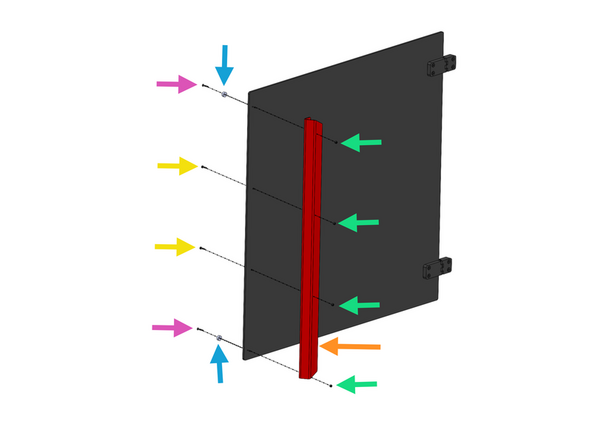
The Lower Door panel is not symmetrical, the distance between the upper hole and the top edge is greater than the lower.
-
Fix two hinges onto the upper door.
-
M5 x 18mm Bolt
-
Hinge
-
M5 Nyloc Nut
-
M5 T-Nut
-
-
-
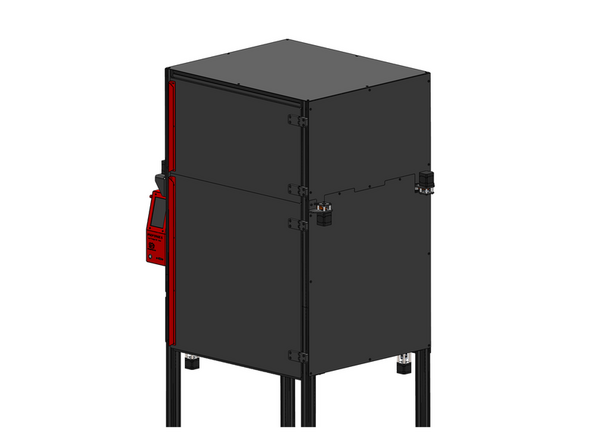
Mount both doors to the frame as shown.
-
We recommend mounting the doors first and then installing the handles in the next step.
-
-
-
Install the handles as shown:
-
Upper Handle
-
Lower Handle
-
M3x16mm Counter Sunk Bolt
-
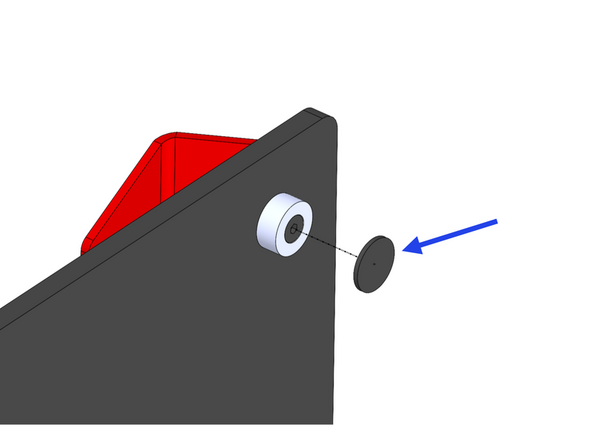
M3x12x5mm Magnet
-
M3 Nyloc Nut
-
When done cover the four magnets with an EVA foam sticker.
-
-
-
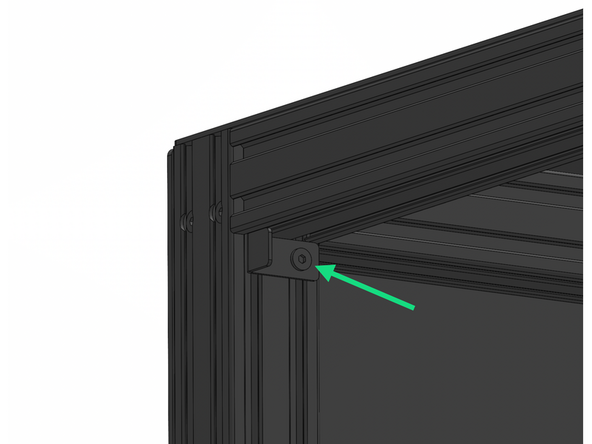
Install the 4 door latches to the front left extrusion with M5x6mm bolts and M5 T-nuts.
-
25mm
-


Cancel: I did not complete this guide.
2 other people completed this guide.

2 Comments
Hinge STEP file can be found here: https://github.com/Makertech3D/ProForge-...
Makertech 3D - Open Reply