-
-
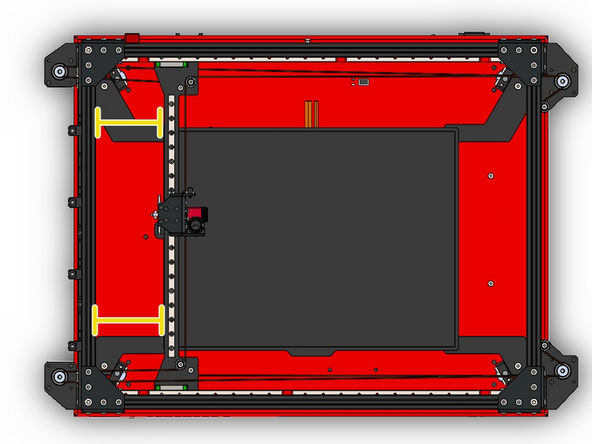
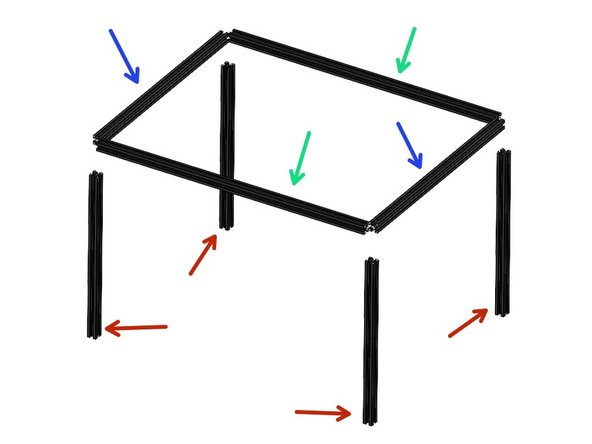
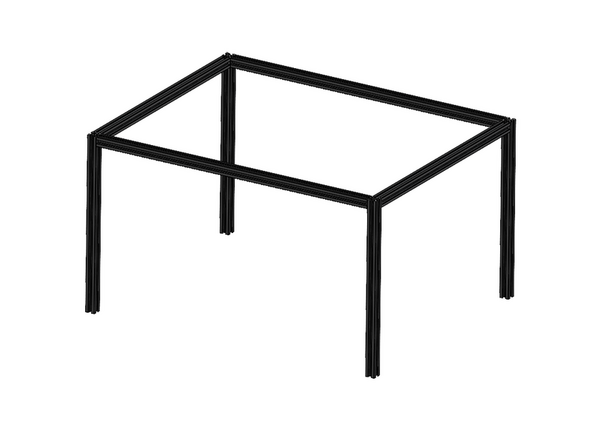
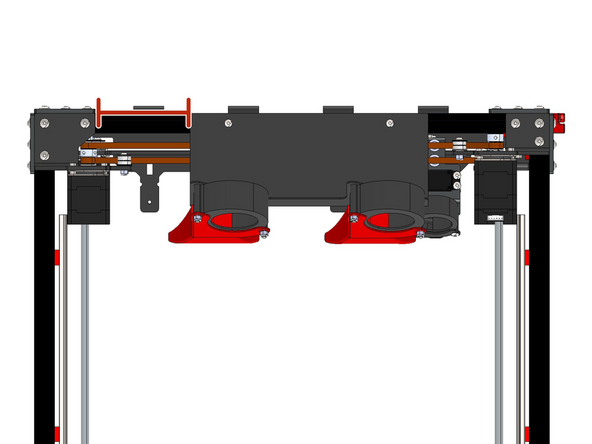
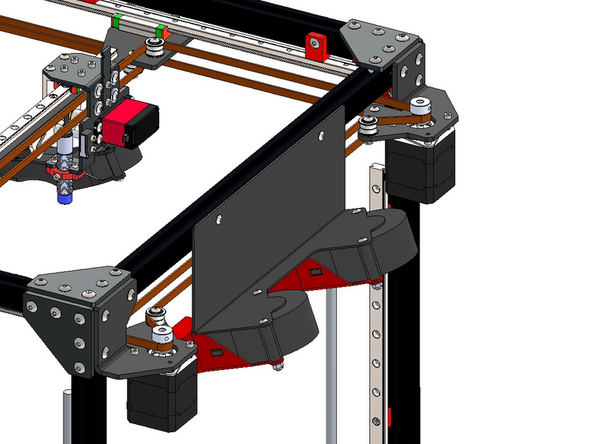
To build the gantry follow the steps here up to step 17 and then return here to complete the stage.
-
-
-
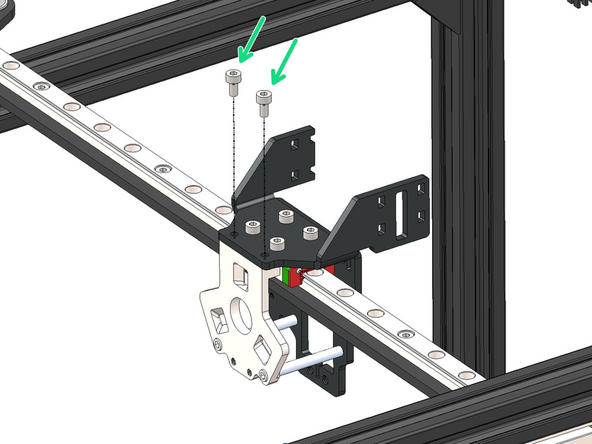
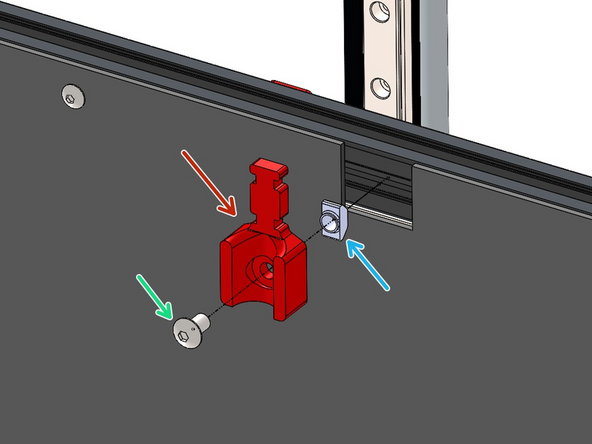
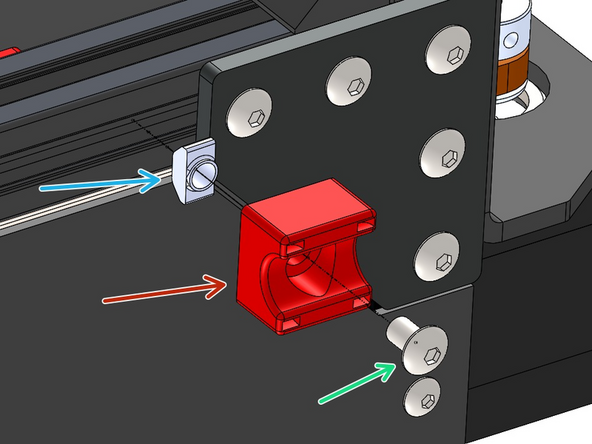
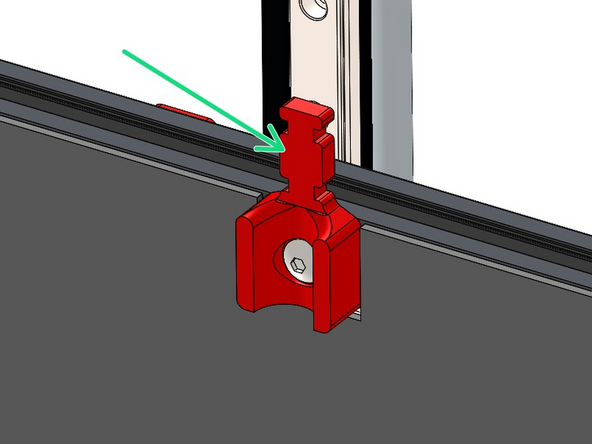
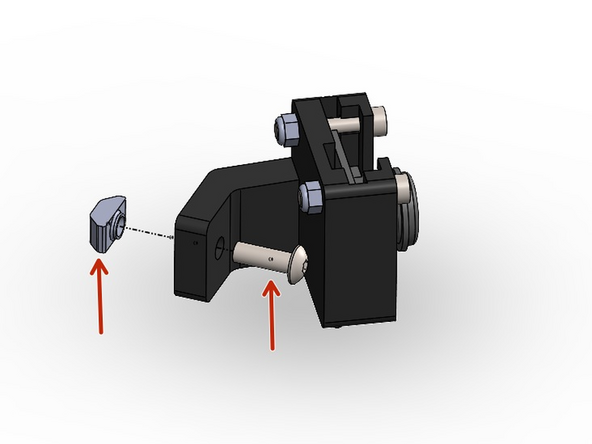
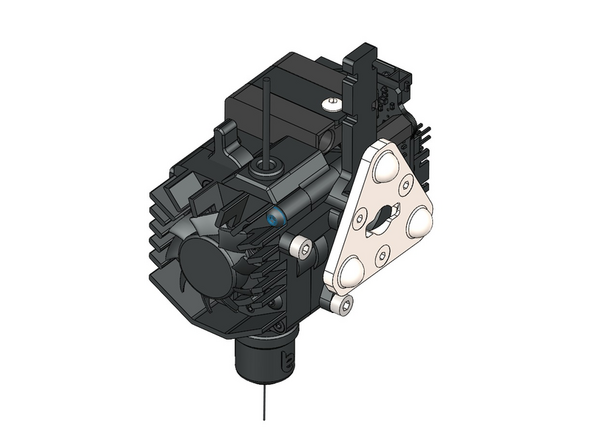
Mount the Tool Changer Bracket onto the rail carriage.
-
M3 x 6mm Cap Bolt
-
-
-
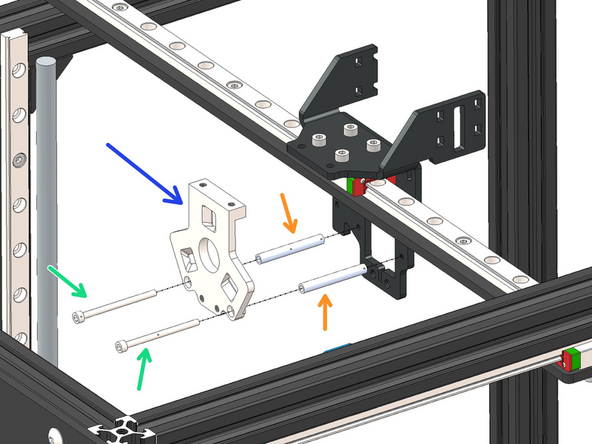
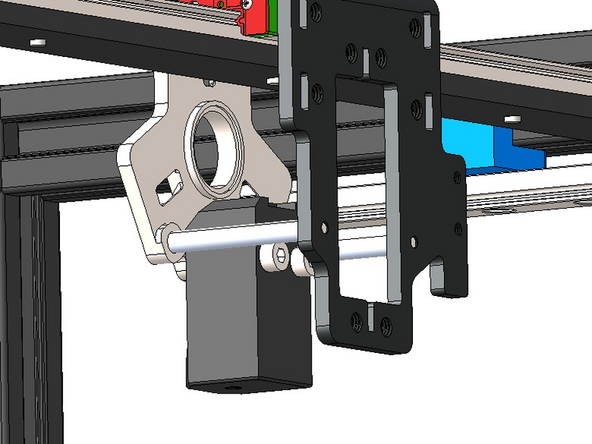
Fix the Master Plate onto the Tool Carriage.
-
Master Plate
-
M2.5 x 35mm Cap Head
-
M2.5 x 30mm Spacer
-
Take care to not over-tighten these as you may risk stripping the aluminium threads.
-
-
-
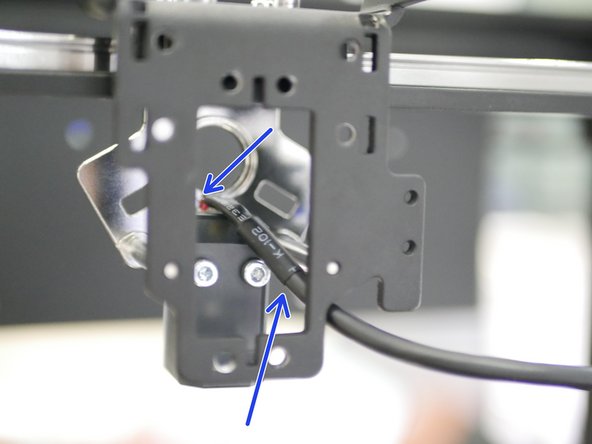
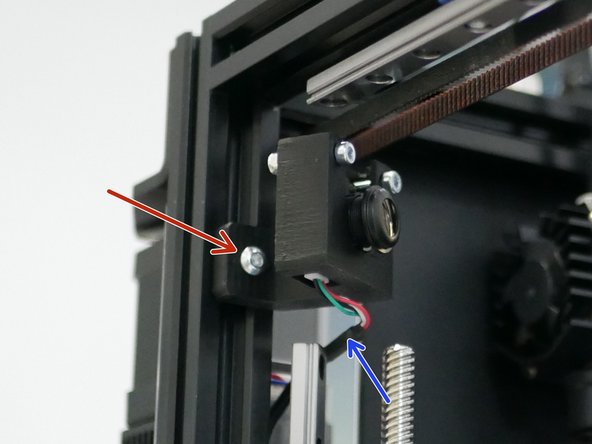
Plug the USB cable into the top of the Eddy Bed Scanner Probe. The cable should route under the spacer.
-
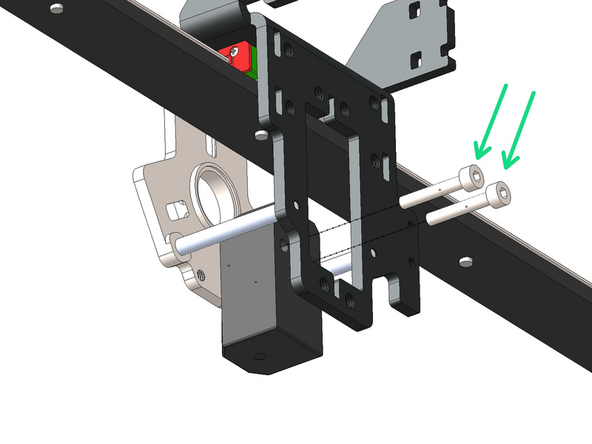
Fix the Probe to the Master Plate with two M3 x 18mm Cap Head Bolts.
-
-
-
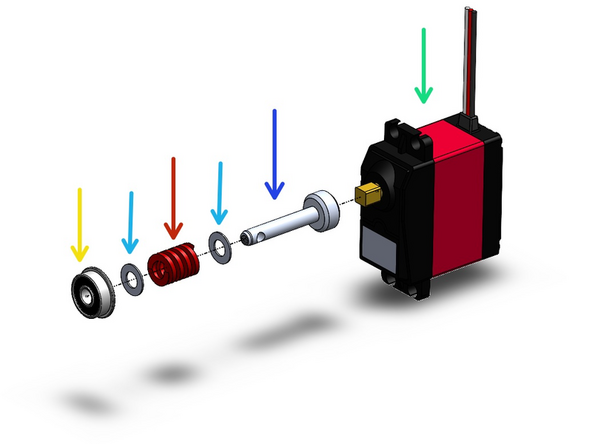
Assemble the Servo mechanism as shown.
-
Makertech Servo Motor
-
Servo Cam Shaft v2
-
M5 x 8 x 0.5mm Shim
-
Red Compression Spring
-
F605ZZ Bearing
-
-
-
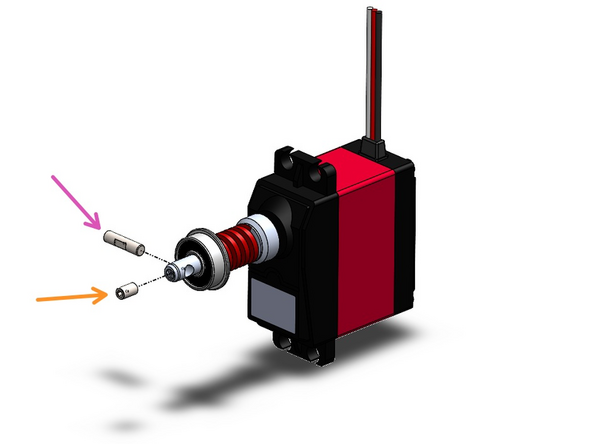
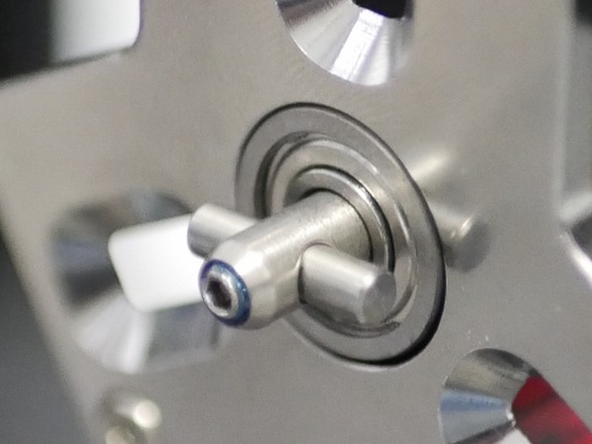
Install the cam pin with the grub screw pressing onto the flat face of the cam pin.
-
Use the included bottle of thread locker to ensure the grub screw does not come loose.
-
Cam Pin
-
M3 x 4mm Grub Screw
-
-
-
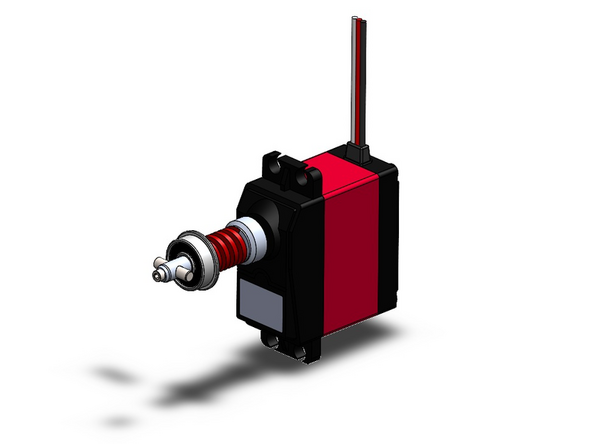
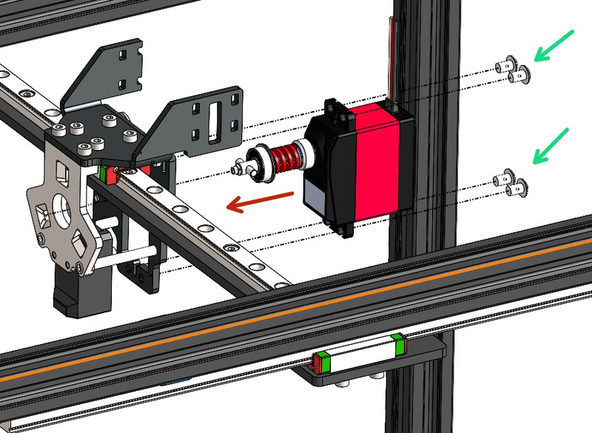
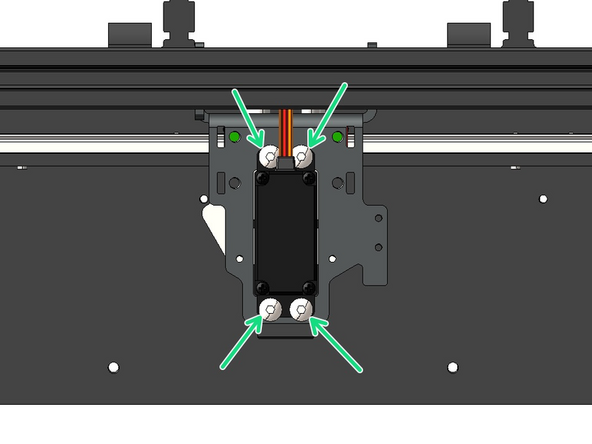
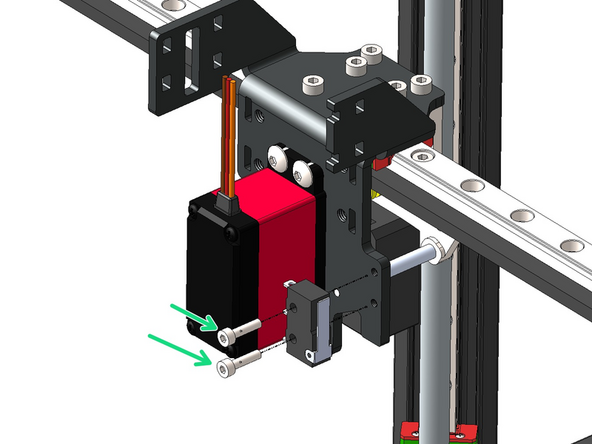
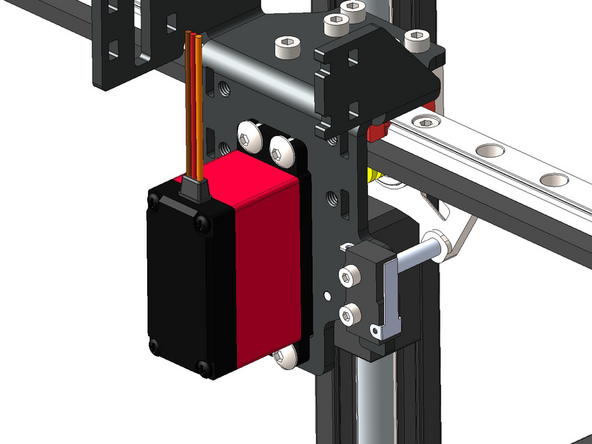
Install the servo mechanism that you built in the previous step onto the Tool Carriage.
-
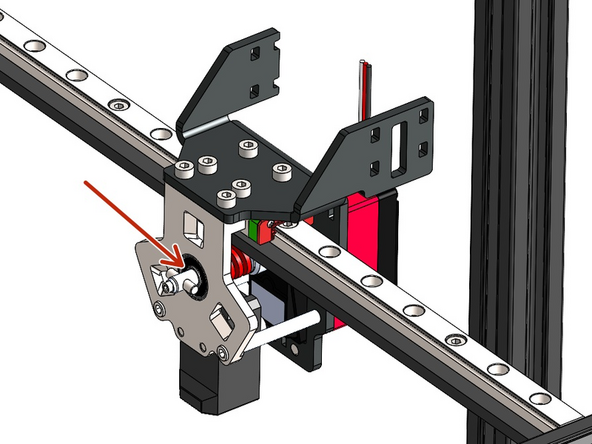
Feed it in from behind, ensuring the bearing sits inside the hole on the Master Plate.
-
M4 x 6mm Button Head Bolt
-
-
-
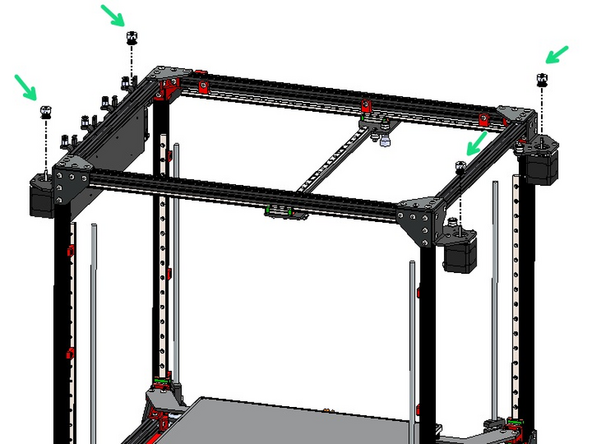
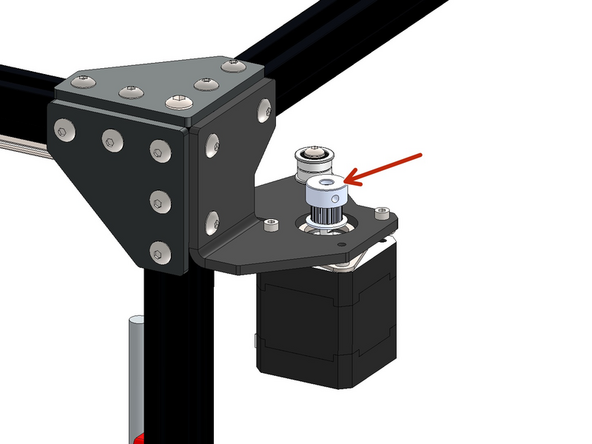
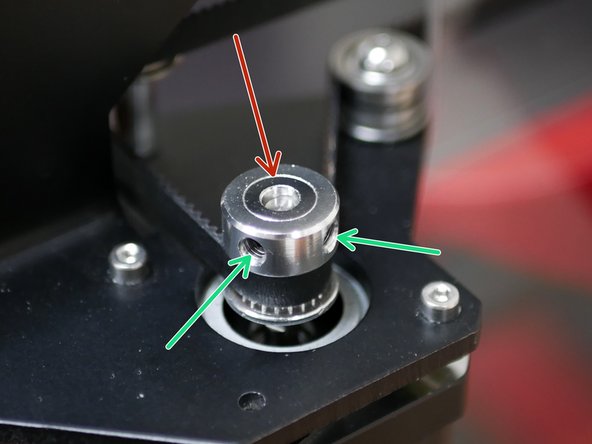
Drop pulleys onto each of the four motors.
-
Orientate so that the pulley teeth are facing downwards.
-
Do not tighten yet.
-
-
-
Take the 4m roll of GT2 belt and cut it in half.
-
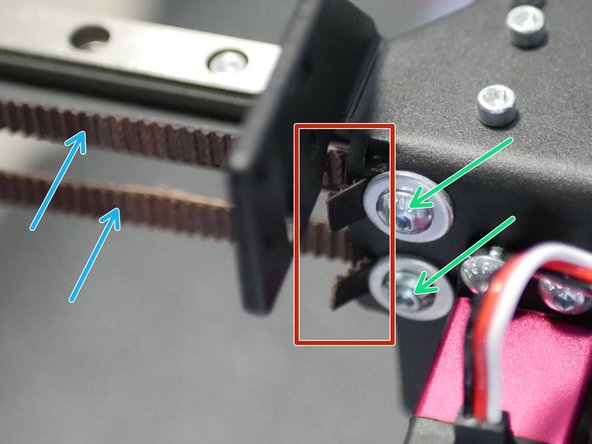
Take one end of each belt and feed it in through the slit on the back left side of the carriage bracket.
-
It needs to be fed in from the inside of the bracket - you might need to temporarily remove the bracket from the linear rail carriage to gain better access.
-
Ensure that the belts teeth are facing out.
-
Fix the belt in place with an M4 x 6mm button head bolt and M4 penny washer.
-
-
-
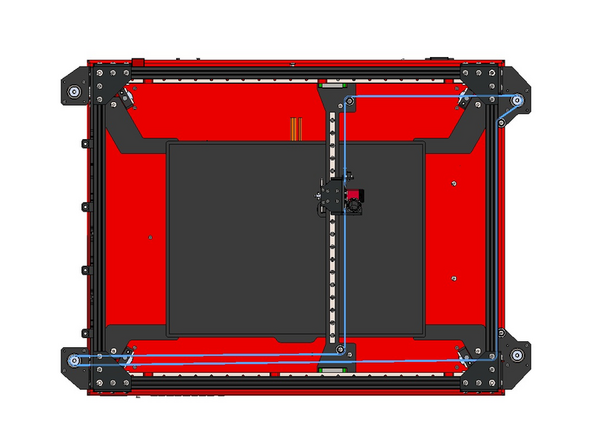
The top belt should follow this path around the idlers and motors.
-
Remember this is the top belt and should be wrapped around the top level idlers.
-
-
-
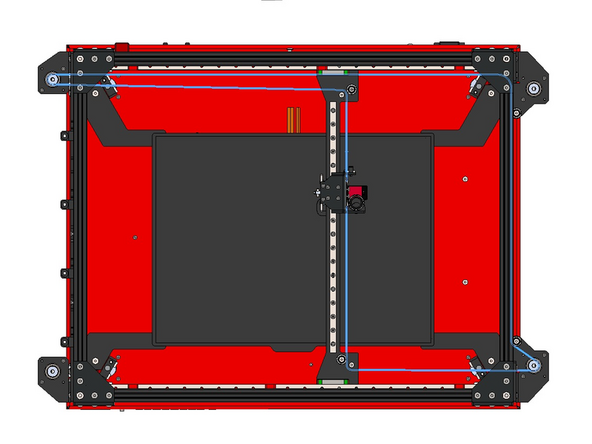
The bottom belt should follow this path around the idlers and motors.
-
Remember this is the bottom belt and should be wrapped around the bottom level idlers.
-
-
-
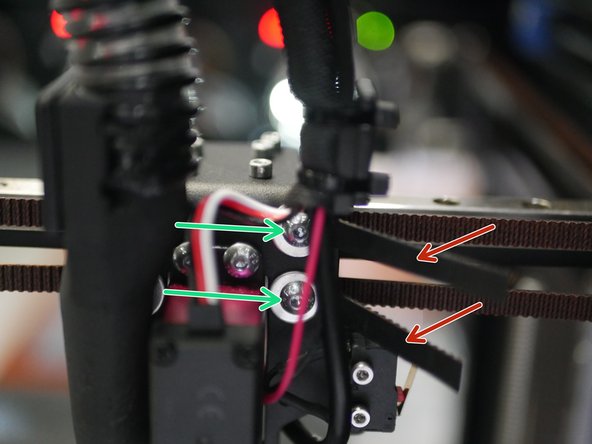
Adjust these bolts so you are able to pull the belts but also hold the tension without letting the belts slip back.
-
Pull the belts tight until there isn't any slack.
-
Next adjust the tension in the belts individually until the gantry sits straight. Use the left side of the frame as a reference.
-
Avoid over tensioning as this can result in greater vibrations and put unnecessary strain on the motor shafts.
-
Trim any excess, leaving approx. an inch free for any future adjustments.
-
-
-
With the belts tensioned manually move the tool carriage around to allow the pulley heights to settle into position. Make sure both belts are on their idlers and that motion is smooth.
-
The ideal position for all of the pulleys should be approx 2mm above the end of the motor's shaft.
-
Tighten the set screw against the flat of the motor shaft.
-
-
-
Build roof frame:
-
Add M5 x 10mm Bolts to the ends of the following extrusion:
-
2020 Extrusion - 600mm
-
2020 Extrusion - 470mm
-
Slide those extrusions into the grooves of 4 360mm extrusions to build the frame.
-
-
-
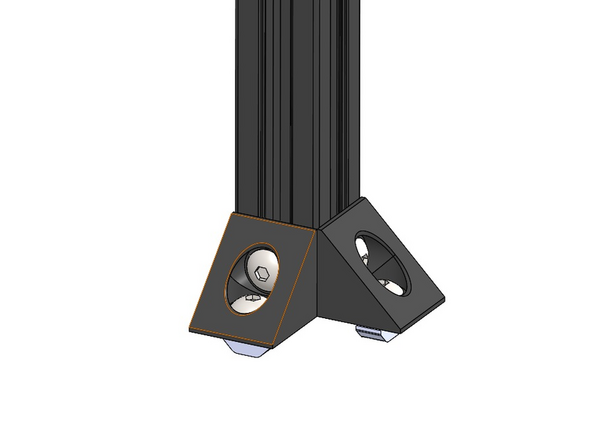
Build 8 corner bracket assemblies with the bolts and T-nut fastened on loosely.
-
M5 x 8mm Button Head Bolt
-
M5 T-Nut
-
-
-
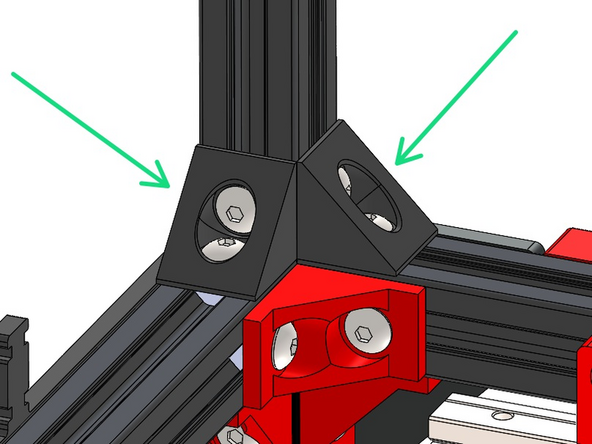
Secure the corner brackets to the roof frame assembly as shown.
-
-
-
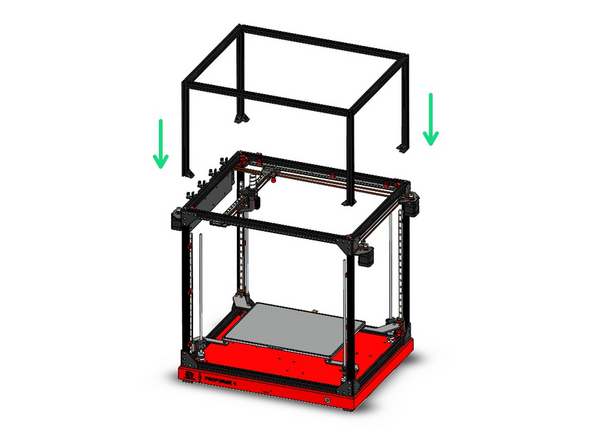
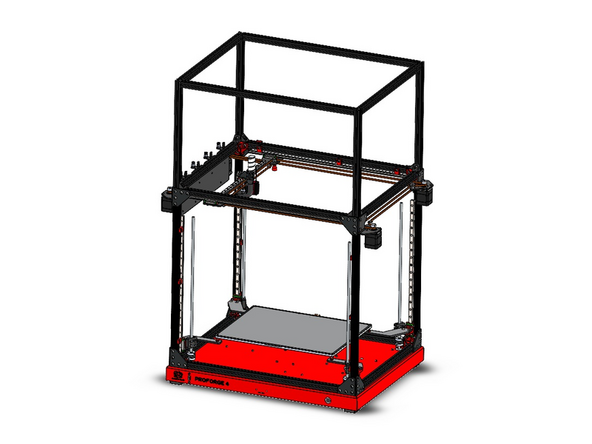
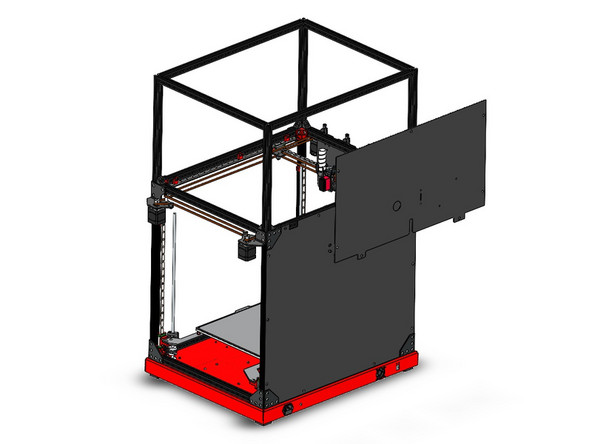
Secure the roof frame to the top of the printer via the corner brackets.
-
-
-
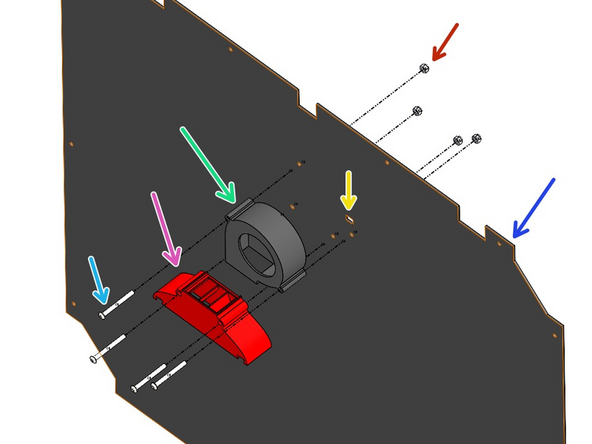
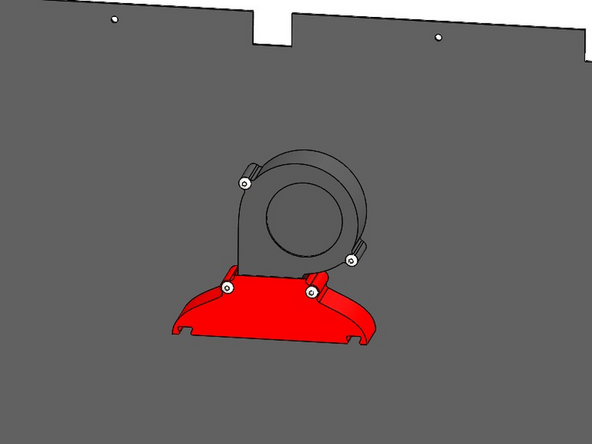
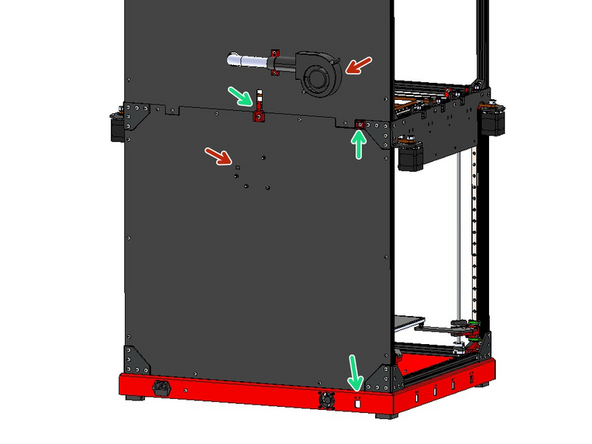
Build the rear panel assembly as shown:
-
Rear Panel
-
Fume Filter Case
-
7530 Blower Fan
-
Feed the fans cable through this hole.
-
M4 x 40mm Button Head Bolt
-
M4 Nyloc Nut
-
-
-
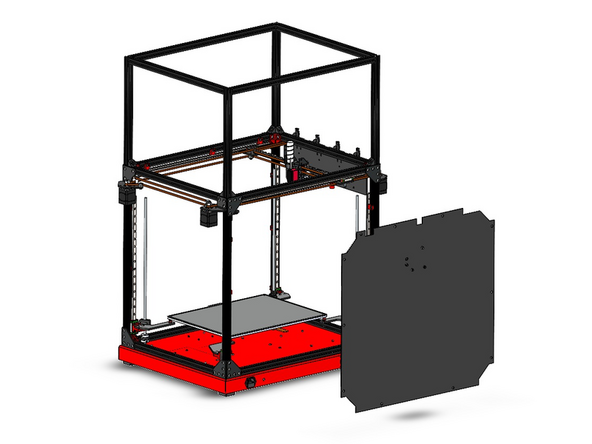
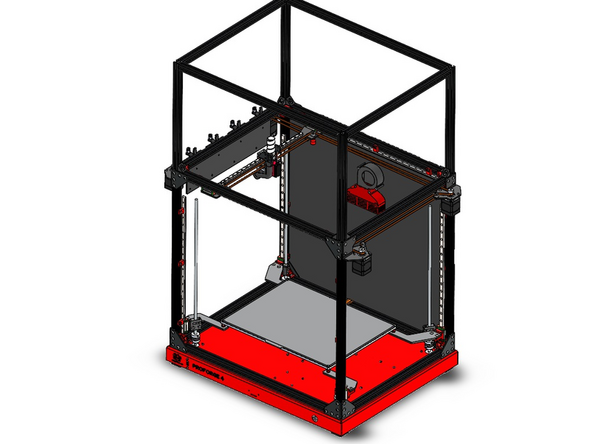
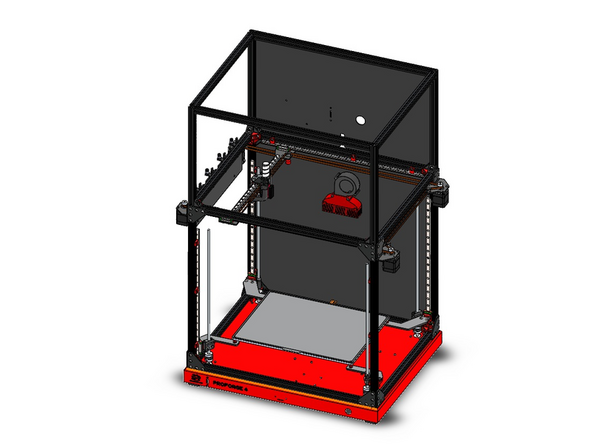
Mount the rear panel as shown to the back of the printer with the fume filter assembly on the inside.
-
Use M4 x 8mm Button head bolts and T-nuts.
-
-
-
Fix the cable brackets onto the rear of the frame.
-
3D Printed Cable Brackets
-
M5 x 8mm Button Head Bolt
-
M5 T-Nut
-
-
-
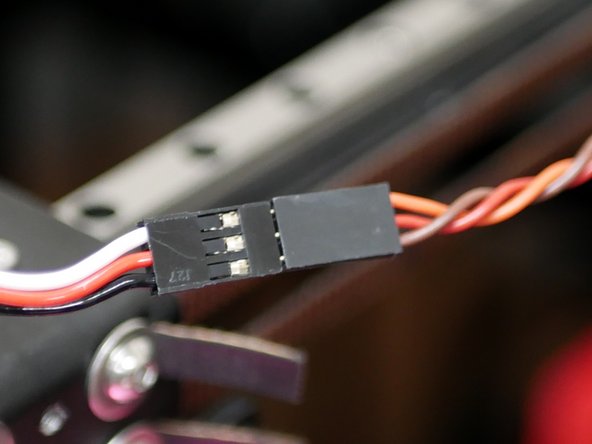
Connect to the servo cable the servo extension cable. Due to an oversight in the manufacturing of the cable harness you will need to use the included 3-pin male to male adapter here to connect the two cables.
-
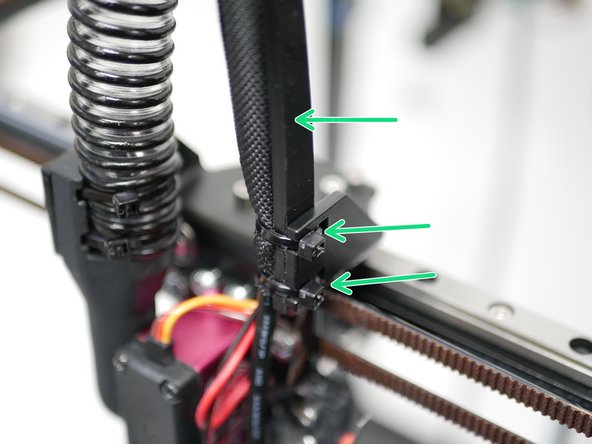
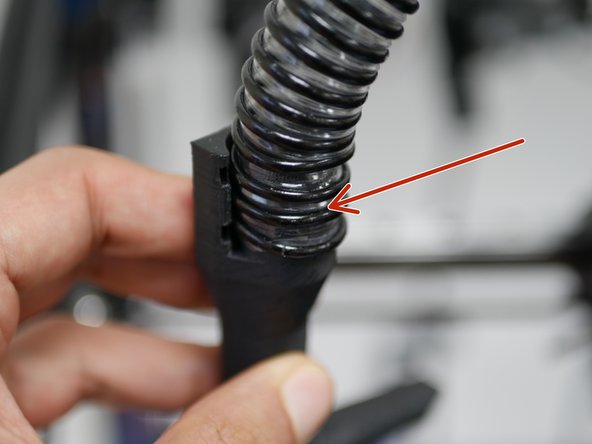
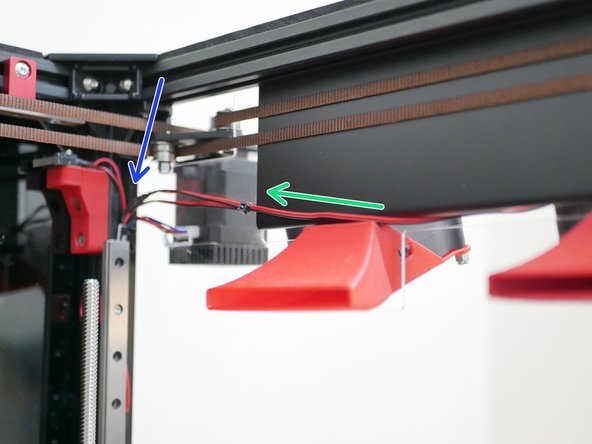
Wrap the cables from the tool carriage into the braided cable sleeving.
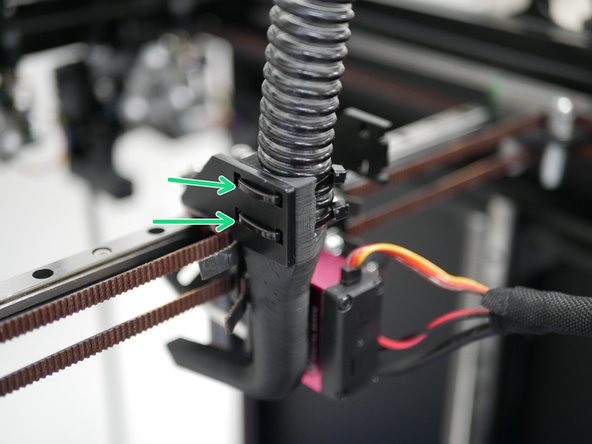
-
Fix the cables with the flexible nylon cable guide to the carriage bracket.
-
Use the shorter cable guide here.
-
-
-
Use cable ties to fix the cables and nylon cable guide to the 3d printed cable bracket.
-
-
-
Fix the rear roof panel onto the frame using M4x8mm button head bolts and M4 T-Nuts.
-
-
-
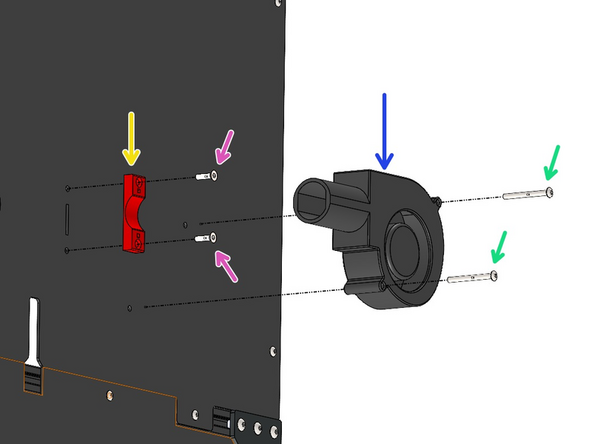
Fix onto the rear roof panel the part cooling fan and bracket:
-
M4 x 40mm Button Head Bolt
-
90mm Blower Fan
-
M4 x 15mm Countersunk Bolt
-
3D Printed CPAP Support Bracket
-
Fix everything in place with M4 Nyloc nuts on the other side.
-
Take care not to over tighten the nuts as that may cause the acrylic to crack.
-
-
-
Take the open end of the cooling hose and slide it onto the fan shroud.
-
Fix the fan shroud to the carriage bracket with two cable ties.
-
Cable tie the cooling hose to the cable guide with a single cable tie in the middle of the loom.
-
-
-
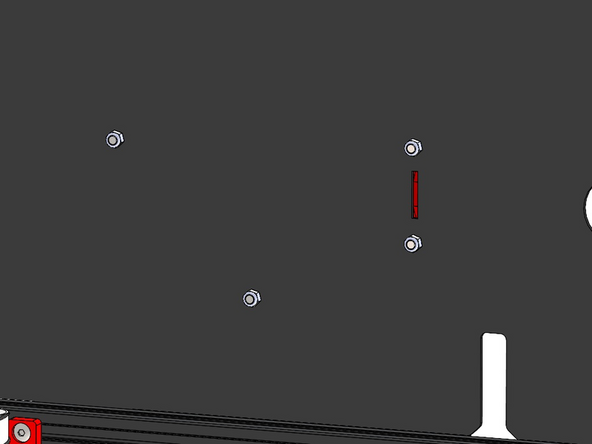
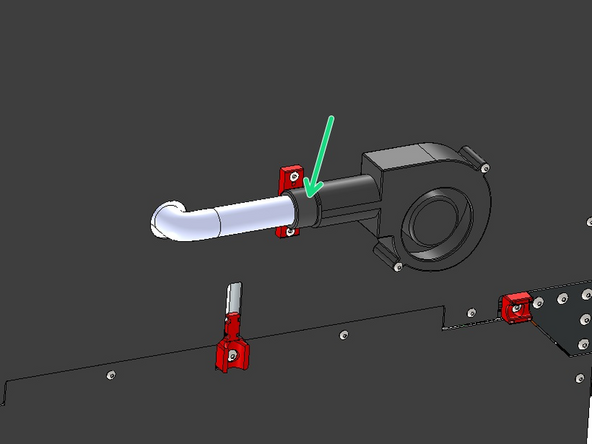
Push the silicone side of the cooling hose through the rear roof panel and into the fan.
-
Secure it in place with a cable tie.
-
-
-
Add the cables from both the fume filter fan and cooling fan to the tool carriage cable wrap.
-
Feed the cables into the base and secure with cable ties.
-
-
-
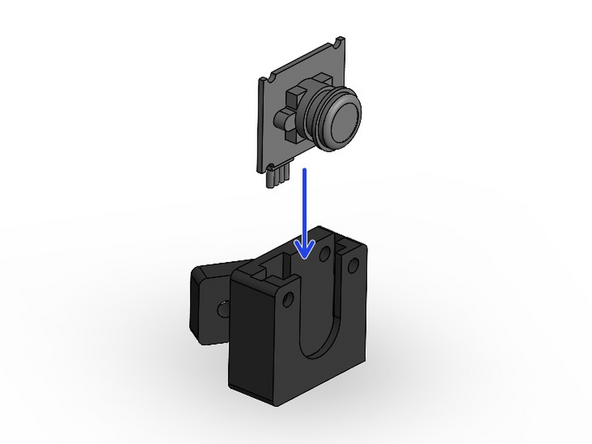
Slide the camera into the 3D printed camera case.
-
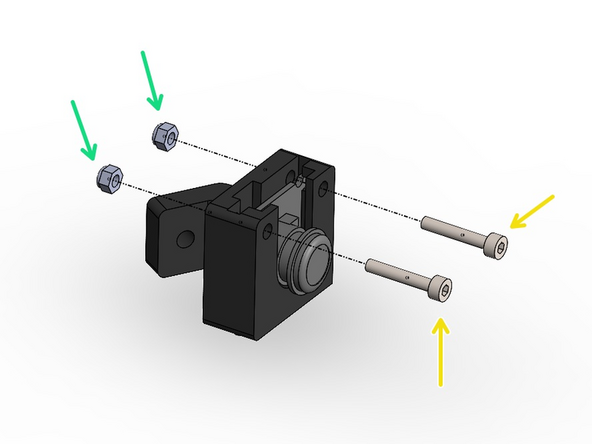
Secure it in place with:
-
M3 x 18mm Cap Head Bolt
-
M3 Nylon Nut
-
-
-
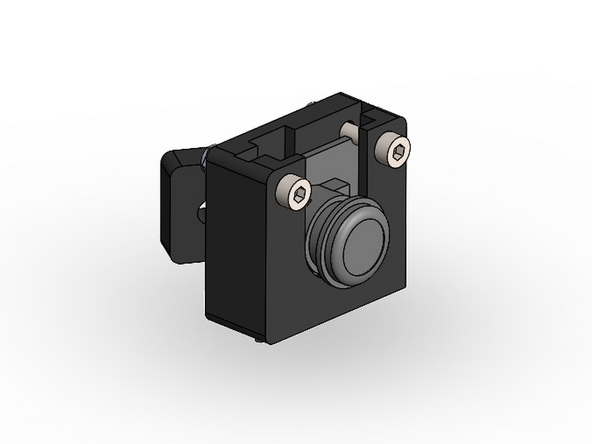
Fix the assembly to the inside left of the front of the printers frame using an M4x12mm button head bolt and M4 T-nut.
-
Feed the USB cable up from under the base and connect it to the camera.
-
-
-
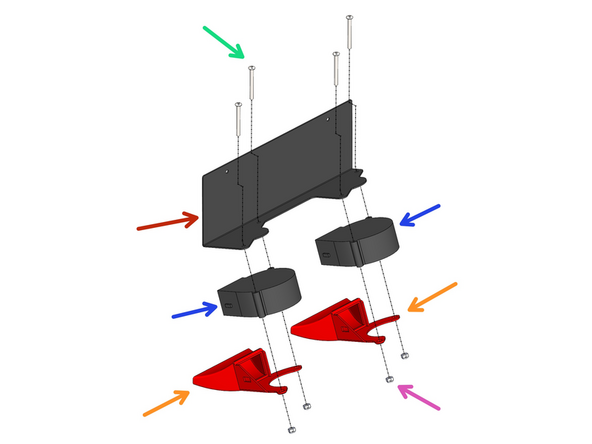
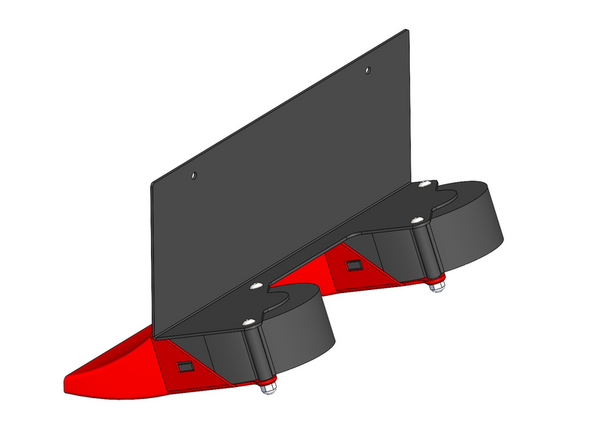
Build the static cooling fan assembly as shown:
-
Static Cooling Fan Bracket
-
70mm Blower Fan (x2)
-
3D Printed Static Fan Shroud (x2)
-
M4 x 40mm Button Head Bolt (x4)
-
M4 Nyloc Nut (x4)
-
-
-
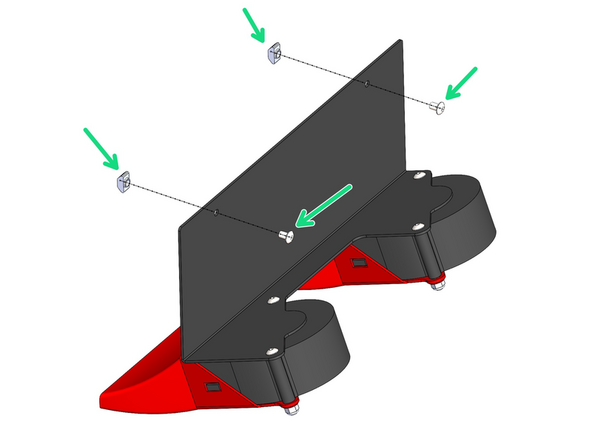
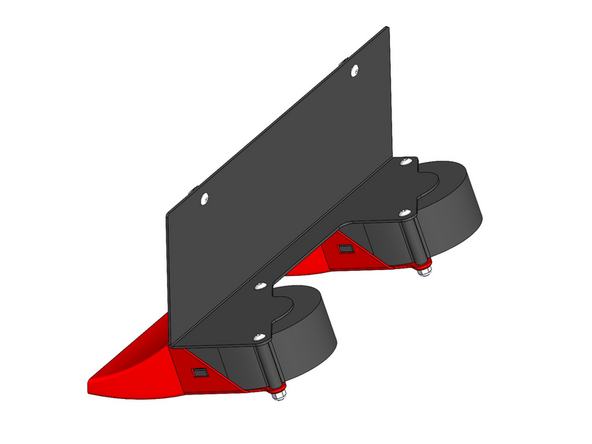
Loosely fasten on two M4 x 6mm bolts and M4 T-nuts onto the static cooling fan assembly as shown.
-
-
-
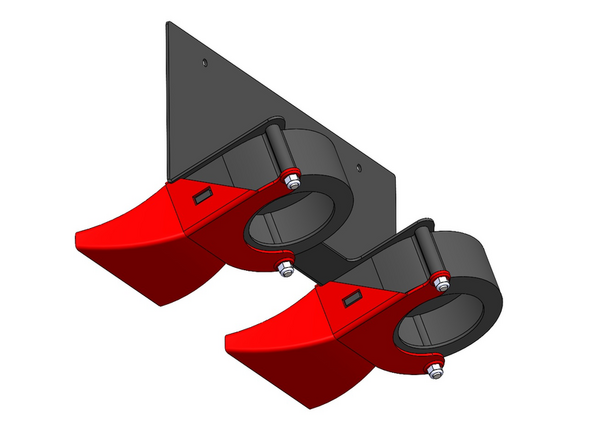
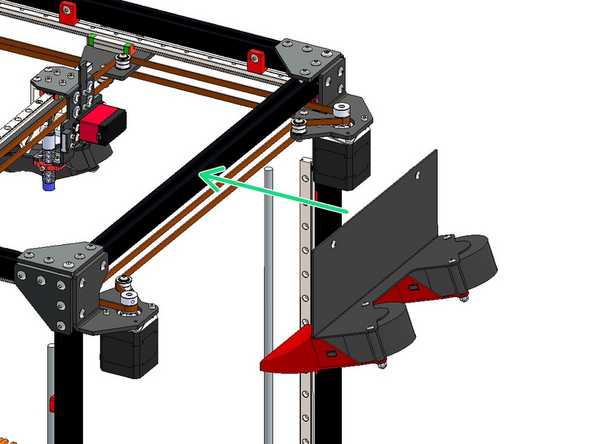
Fix the static cooling fan assembly onto the right side of the frame as shown.
-
Install the assembly approximately 94mm from the edge of the motor bracket.
-
-
-
Route the fan cables to the rear of the printer - use a cable tie to keep them together.
-
They will be routed down the rear extrusion in the final wiring stage.
-
-
-
Ready to move onto the next stage? Click here.
-
This guide is from the ProForge 300, however the process is the same, just with 4 print heads instead of 3.
-
Almost done!
Finish Line


