• If you have the MIC-6 heated bed upgrade, then please follow these steps for stage 5 of the build.

    • If you have the default 24V heated bed, then please continue with this version of stage 5.

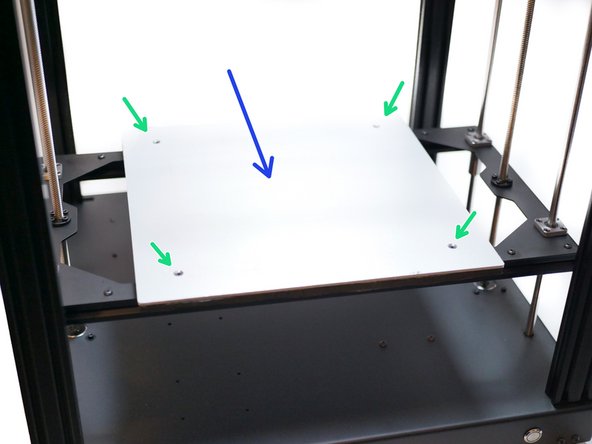
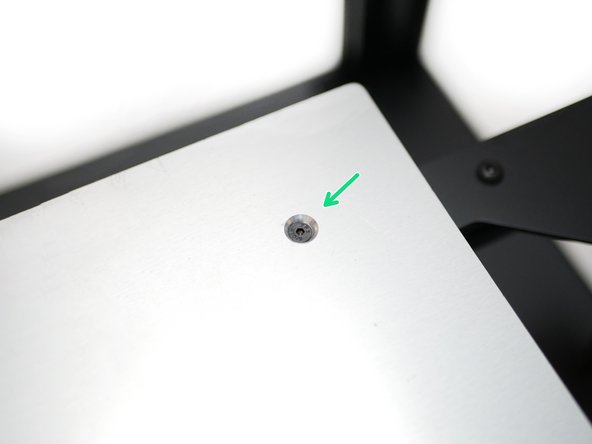
  1. Take the four M3 brass stand-offs and secure them onto the platform assembly as shown. Take the four M3 brass stand-offs and secure them onto the platform assembly as shown. Take the four M3 brass stand-offs and secure them onto the platform assembly as shown.
    • Take the four M3 brass stand-offs and secure them onto the platform assembly as shown.

  2. Mount the heated bed onto the stand-offs that were installed in the previous step. M3 x 6mm Button
    • Mount the heated bed onto the stand-offs that were installed in the previous step.

    • M3 x 6mm Button

    • Make sure that the cables are pointing to the rear of the printer.

    • Remove the protective film from the platform's surface.

    • With the heated bed mounted stick onto it's surface the magnetic sheet.

    • (Images to be added)

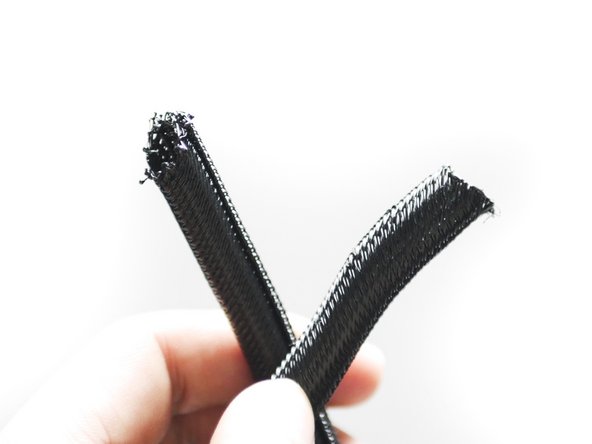
  3. Cut approximately 60CM of the braided cable sleeving. Use a lighter to melt the ends to prevent fraying.
    • Cut approximately 60CM of the braided cable sleeving. Use a lighter to melt the ends to prevent fraying.

    • Slide the sleeving onto the heated bed cables.

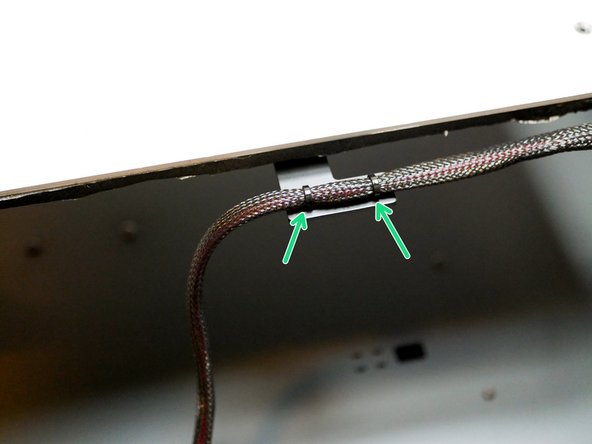
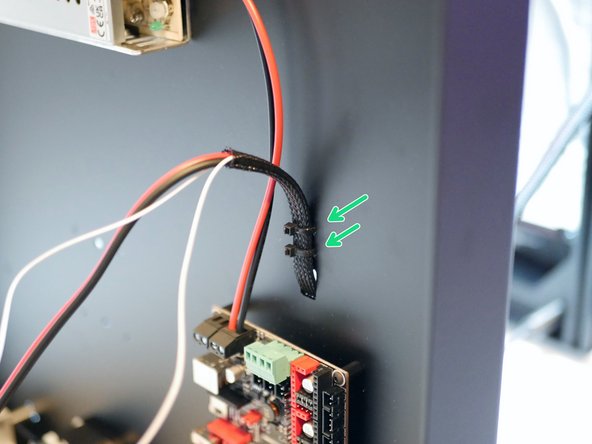
  4. Secure the cables to the cable relief bracket with two cable ties.
    • Secure the cables to the cable relief bracket with two cable ties.

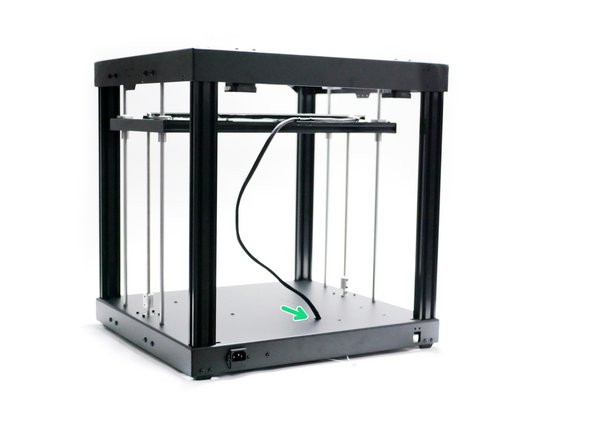
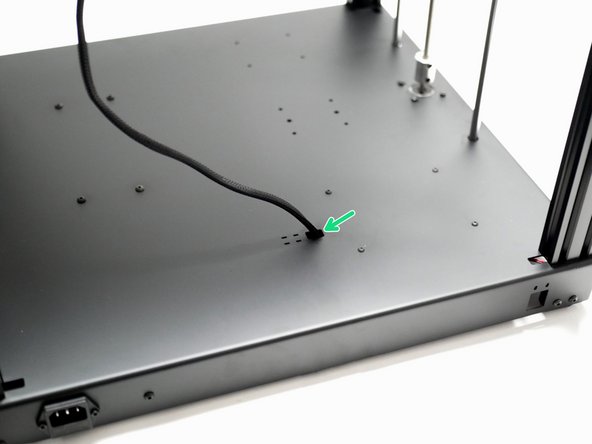
  5. Raise the platform to the top. Feed the cables into the hole on the base and secure in place with two cable ties. Feed the cables into the hole on the base and secure in place with two cable ties.
    • Raise the platform to the top.

    • Feed the cables into the hole on the base and secure in place with two cable ties.

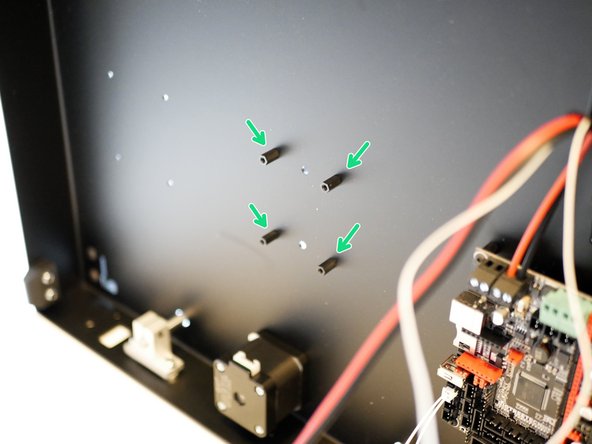
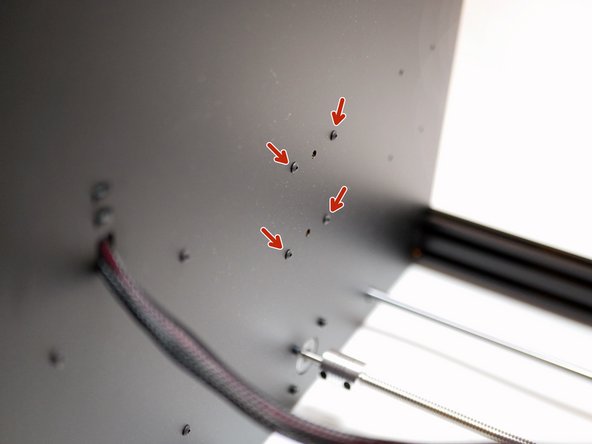
  6. Secure four M3 x 10mm standoffs to the base like shown. M3 x 10mm threaded spacer
    • Secure four M3 x 10mm standoffs to the base like shown.

    • M3 x 10mm threaded spacer

    • M3 x 6mm button

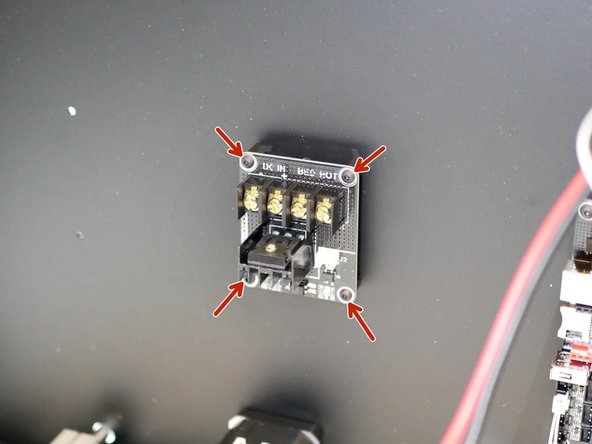
  7. Mount the MOSFET to the base.
    • Mount the MOSFET to the base.

    • M3 x 6mm button

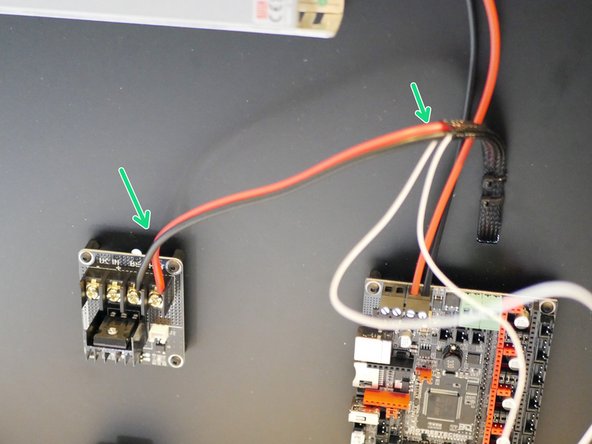
  8. Secure the power cables from the heated bed onto the MOSFET as show.
    • Secure the power cables from the heated bed onto the MOSFET as show.

    • Make sure that the cable orientation matches.

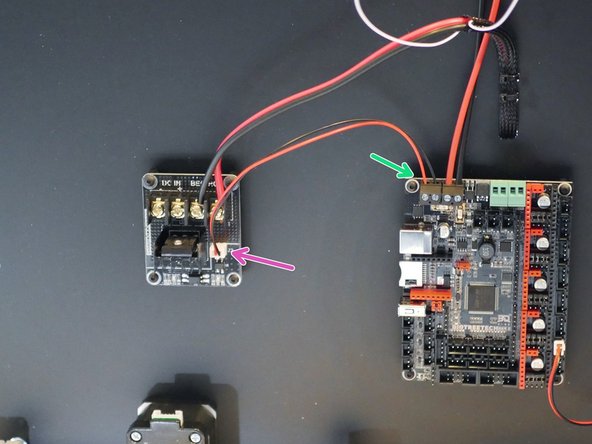
  9. Connect the signal cable to the heated bed terminals on the control board.
    • Connect the signal cable to the heated bed terminals on the control board.

    • Connect the other side to the MOSFET board.

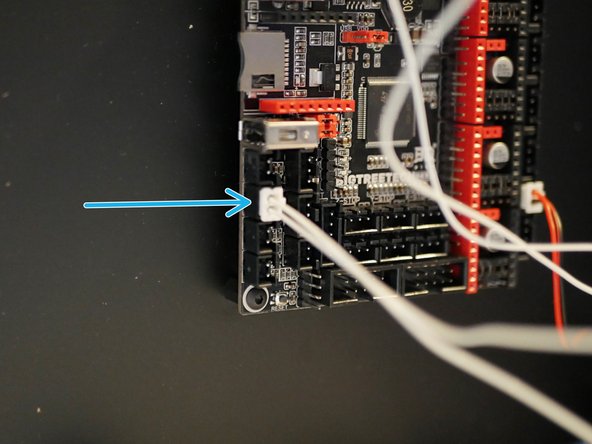
  10. Connect the bed's thermistor to the board in the position shown. Use a cable tie to wrap any loose cable.
    • Connect the bed's thermistor to the board in the position shown.

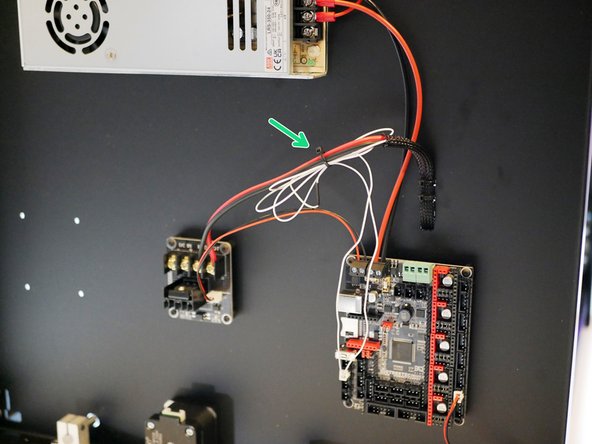
    • Use a cable tie to wrap any loose cable.

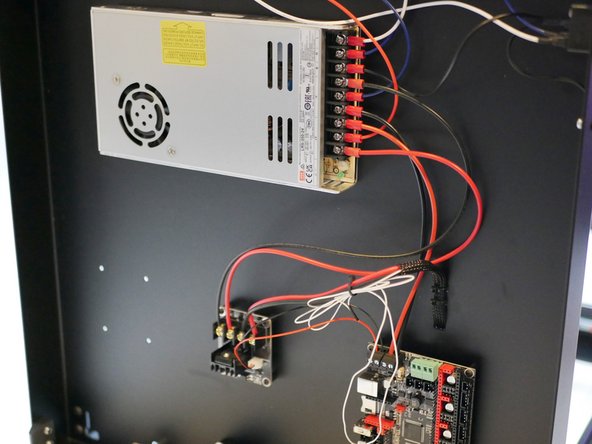
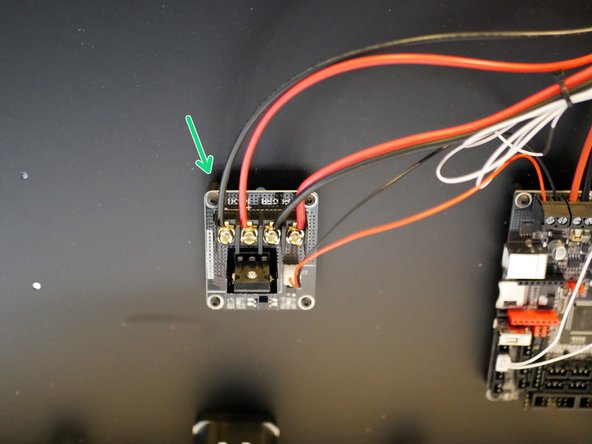
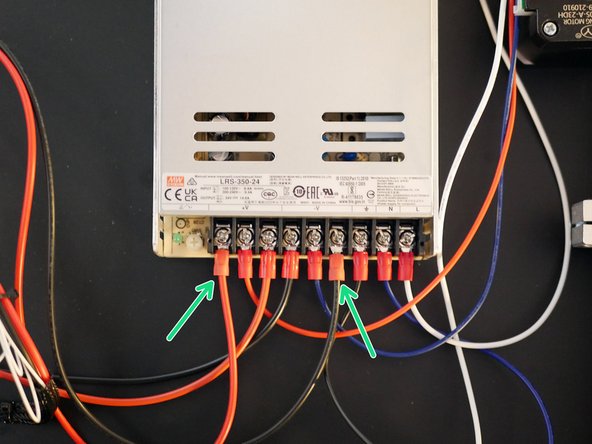
  11. Connect power cables from the power supply to the MOSFET. Red to positive. Black to negative.
    • Connect power cables from the power supply to the MOSFET.

    • Red to positive.

    • Black to negative.

Finish Line

One other person completed this guide.

Makertech 3D

Member since: 03/09/2018

46,459 Reputation

118 Guides authored

0 Comments

Add Comment

View Statistics:

Past 24 Hours: 1

Past 7 Days: 1

Past 30 Days: 2

All Time: 543