Difficulty
Moderate
Steps
8
Time Required
- Stage 6 - Gantry (Proforge 2) 8 steps

In Progress
This guide is currently being written. Reload periodically to see the latest changes.

Private
This guide will not appear in search results and can only be viewed by team members!
Quiz
0
-
-
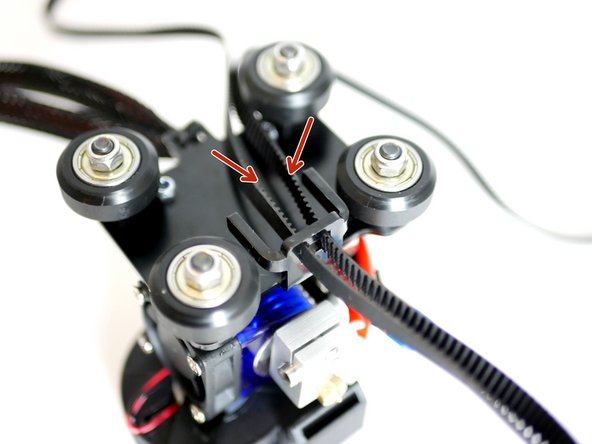
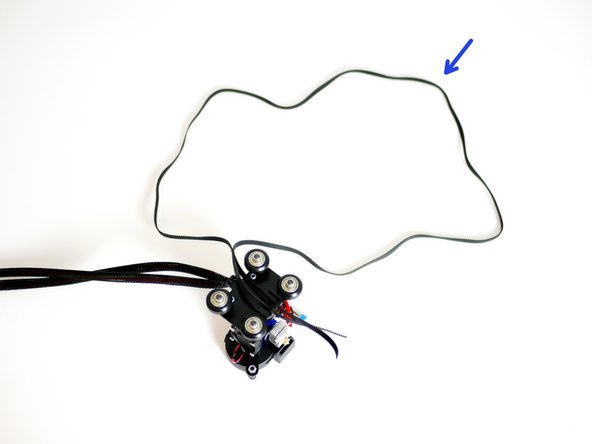
Take the remaining 1.4M of GT2 Timing Belt and feed it into the Y-Carriage as shown in the secont image.
-
Make sure the loop has no turns in it and the teeth are facing inwards though out.
-
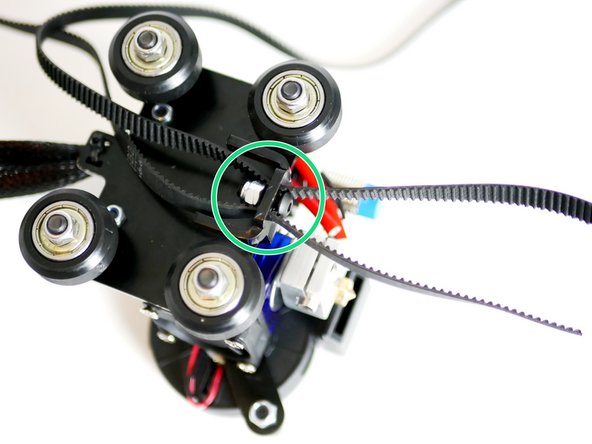
Fix an M4 x 12mm bolt with M4 nyloc nut as shown.
-
Do not tighten all the way! Aim to match the photo.
-
-
-
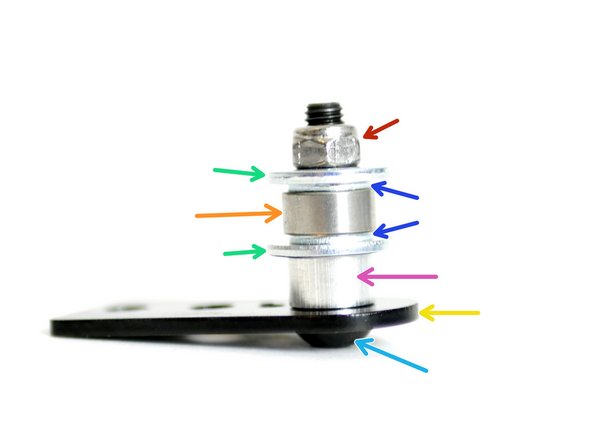
Assemble the Y-Idler:
-
M5 Nyloc Nut
-
M5 15mm Washer
-
M5 Washer
-
Bearing - 685ZZ
-
M5 Spacer
-
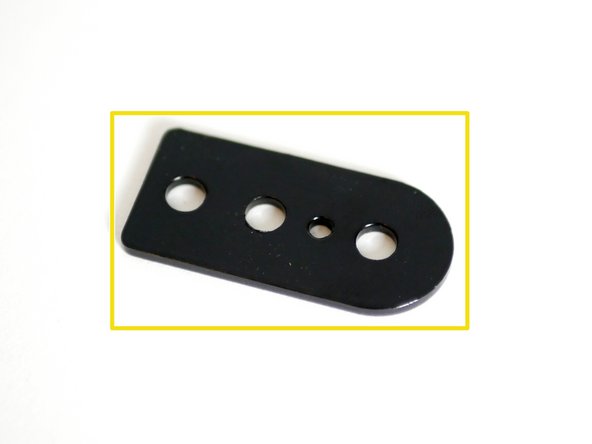
Y-Idler
-
M5 x 25mm Bolt
-
-
-
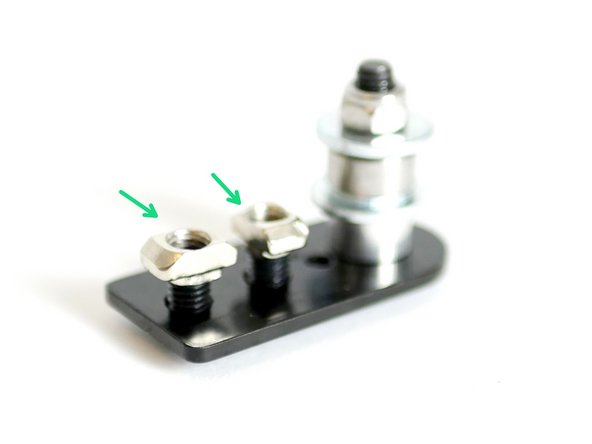
Fix onto the remaing two 5mm holes two M5 x 8mm and M5 T-Nut assemblies.
-
Do not fasten all the way down.
-
-
-
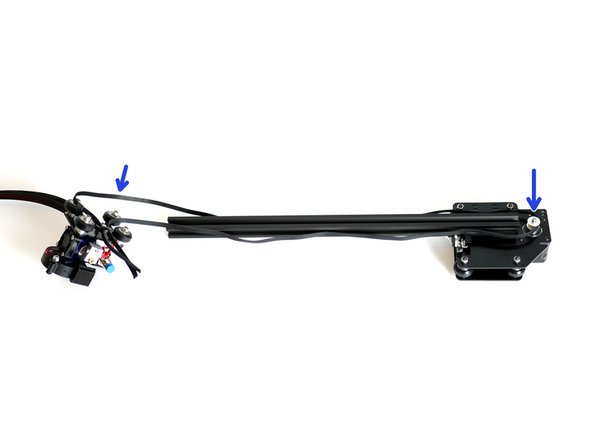
Slide onto the Shaft of the Y-Motor a Pulley. Do not tighten yet.
-
Loop the GT2 belt from the Y-Carriage onto it.
-
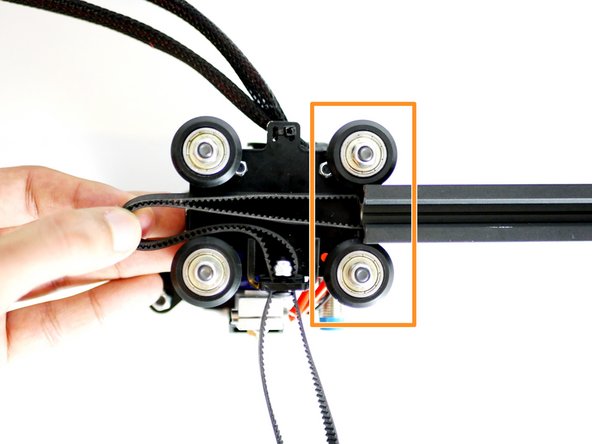
Make sure the Y-carriage wheels are facing towards you!
-
Make sure the loop is consistant and there are no twists.
-
-
-
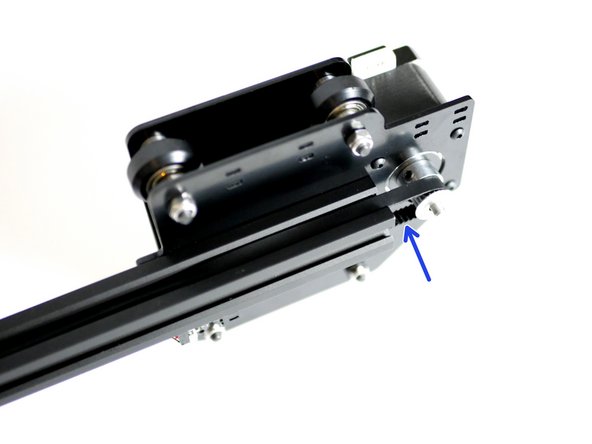
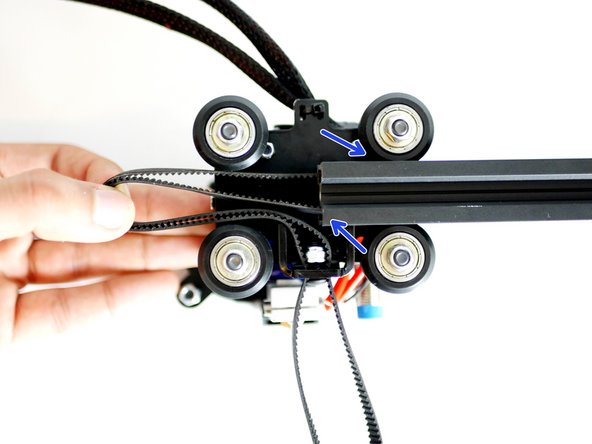
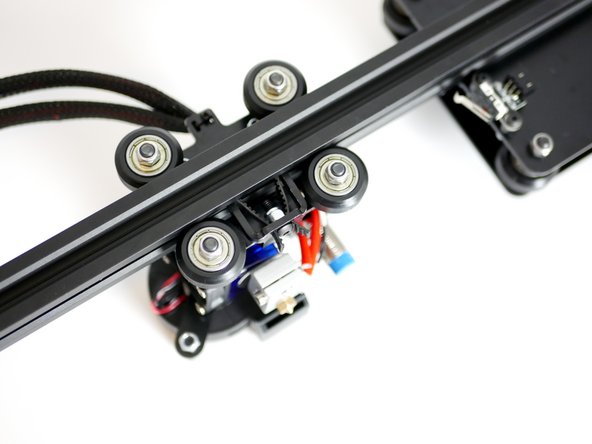
Bring the rollers up to the Y-Axis extrusion, trapping the belt in the grooves.
-
Slide the Y-Carrriage onto the extrusion half way, make sure the belt is trapped between both the upper and lower grooves of the extrusion.
-
Pull the right side of the belt until it catches againsts the raised part of the Y-Carriage.
-
-
-
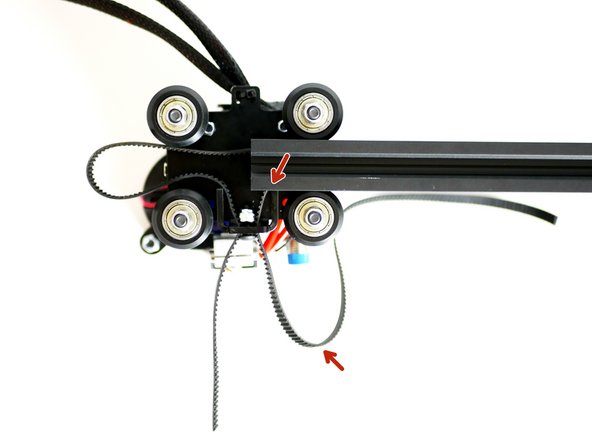
Push the Y-Carriage on all the way.
-
Make sure the belt is trapped inside the grooves of the extrusion.
-
Make sure both ends of the belt are hanging off the raised part of the Y-Carriage.
-
-
-
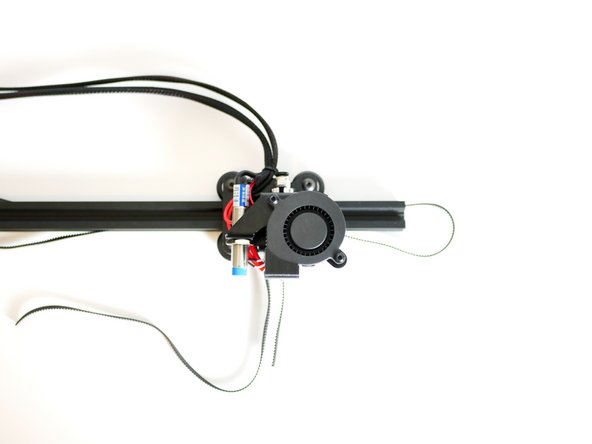
Flip the assembly over.
-
Fix onto the end of the Y-Axis Extrusion the Y-Idler assembly.
-
Fix tight and straight.
-
Make sure that there is a small gap between the end of the extrusion and the Idler washers.
-
-
-
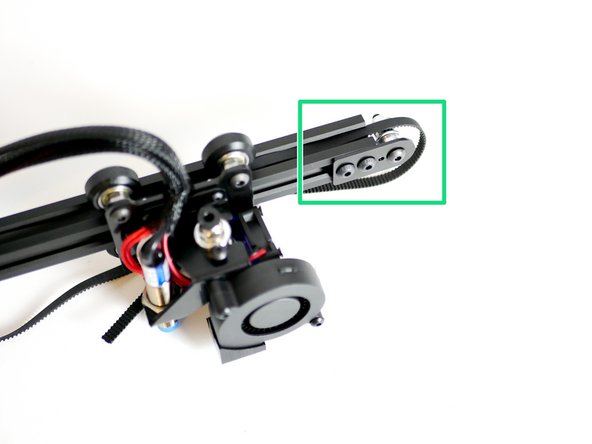
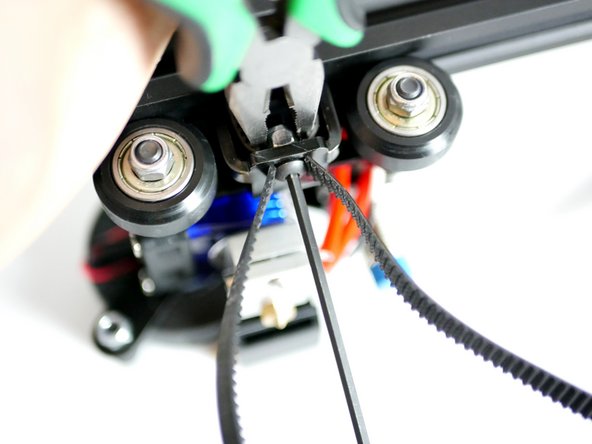
Pull the loose ends of the belt tight.
-
Use a pair of pliers
-