-
-
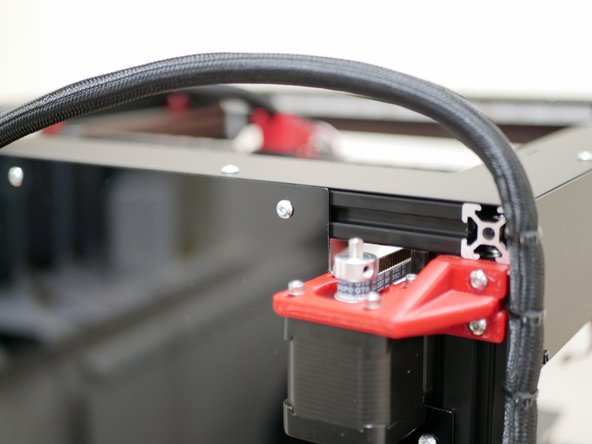
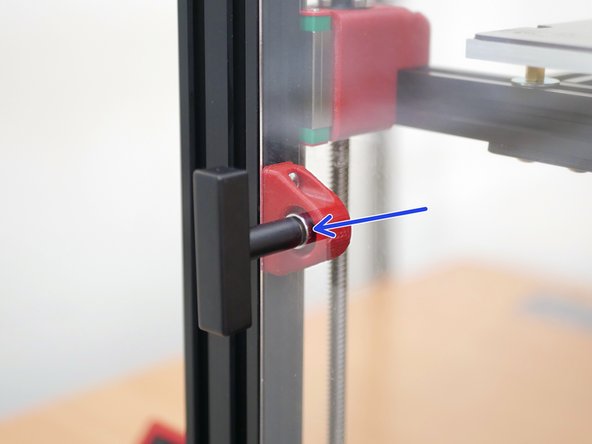
Remove the tool head and x-endstop from the carriage.
-
Install the top panel with M4 x 6mm bolts and M4 T-nuts.
-
Note that the narrower end of the panel should point towards the front.
-
Reinstall the tool head.
-
-
-
Fix the front panel to the front of the printer with M4 x 6mm bolts and M4 T-nuts as shown.
-
-
-
Fix the rear panel to the back of the printer with M4 x 6mm bolts and M4 T-nuts a shown.
-
The panel is not symmetrical. The smaller cut-out goes onto the right side as shown.
-
-
-
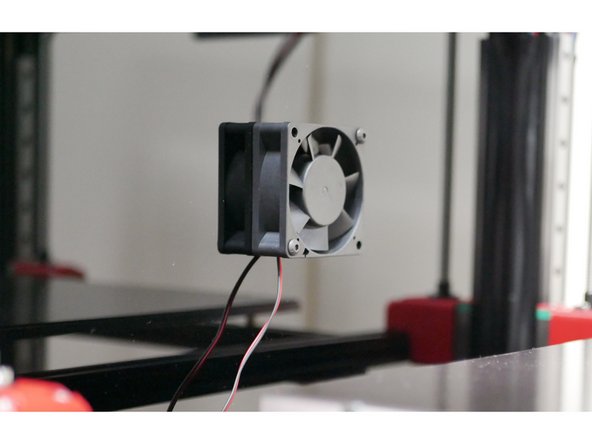
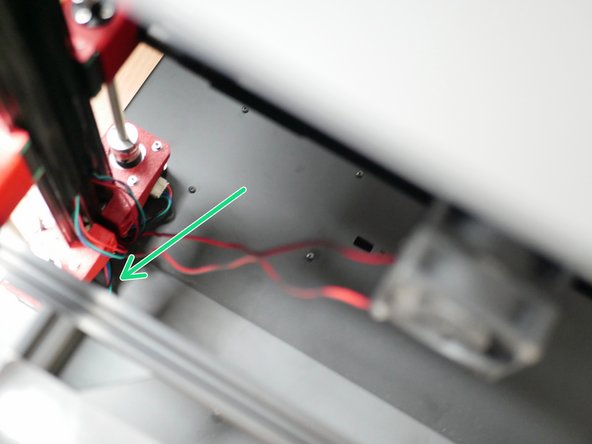
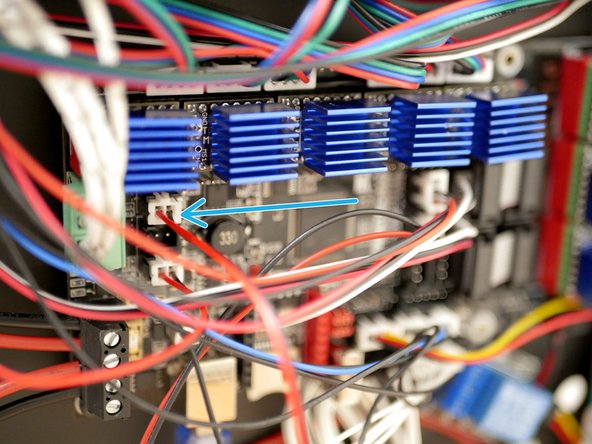
Feed the fans cable through the rear left hole on the base.
-
Plug it into the control board as shown.
-
-
-
If you are building the Proforge 3.5 from scratch follow this guide for installing the other panels, door and roof.
-
-
-
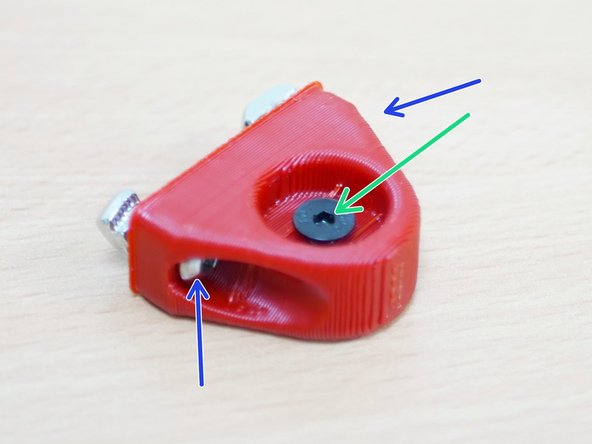
Add to the 3D printed latch:
-
M4 x 10 Counter Sunk Bolt
-
M4 x 12mm Button Head bolt
-
M4 T-nut
-
-
-
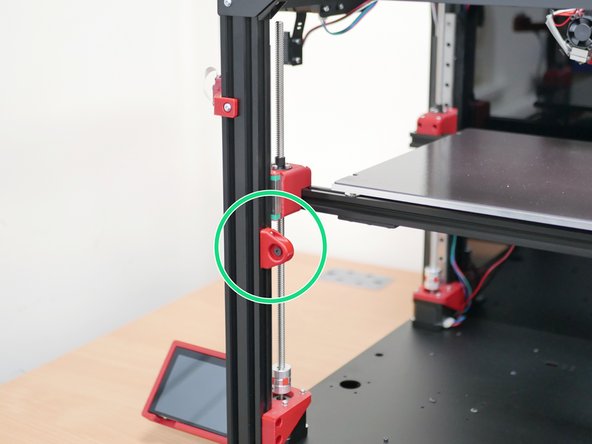
Loosely mount the latch to the frame as shown.
-
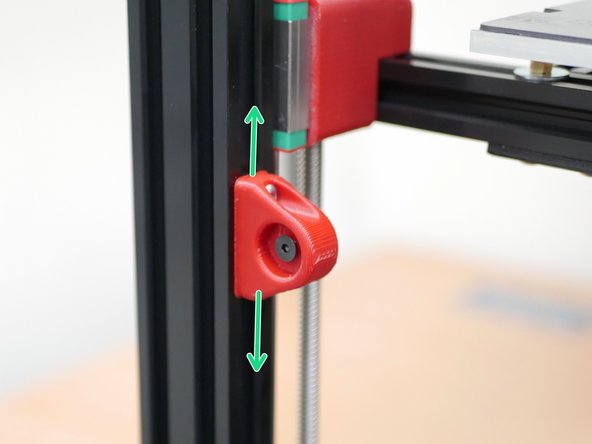
Align the latch with the front door handles magnet.
-
Tighten the latch in place when aligned.
-