-
-
The touch screen display is an optional upgrade, if you have not ordered it as part of your kit please skip this stage.
-
-
-
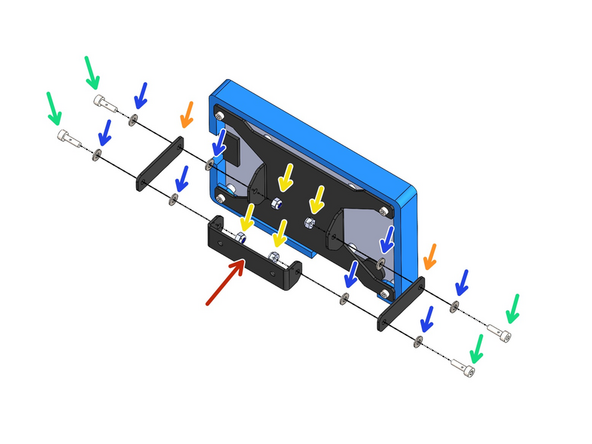
Build the touch screen and case assembly as shown.
-
M2.5 x 8mm Bolt
-
Metal Screen Mount
-
3D Printed Case
-
TFT50 Display
-
-
-
Build the swivel mechanism as shown:
-
M3 x 10mm Bolt
-
M3 Washer
-
Connecting Bracket
-
Mounting Bracket
-
M3 Nyloc Nut
-
-
-
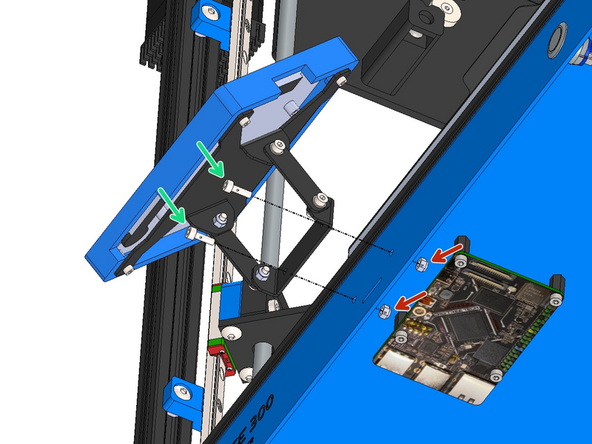
Mount the display onto the base as shown:
-
M3 x 10mm Bolt
-
M3 Nyloc Nut
-
-
-
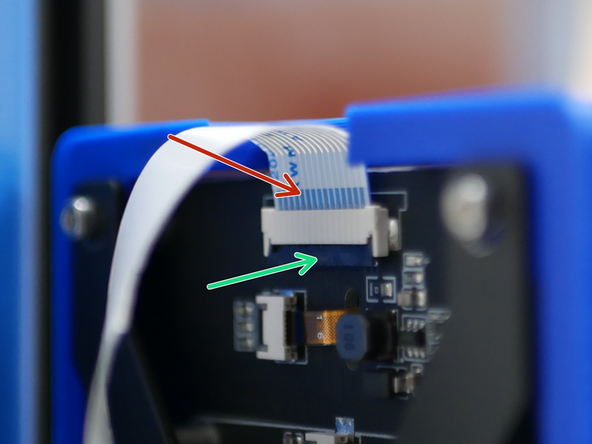
Connect one end of the ribbon cable to the display.
-
Connect the cable pin side facing out.
-
Gently pull on the black tab here and push the ribbon cable in, pin side out and then press the black tab back down to secure.
-
-
-
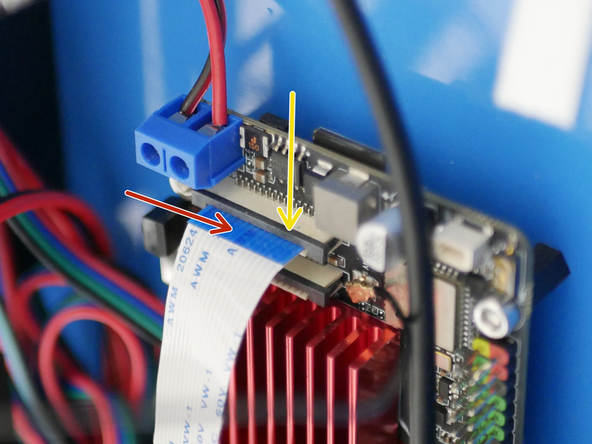
Feed the ribbon cable through the slit on the base and connect the other side to the Pi board.
-
Blue side of the ribbon cable should face the power terminals.
-
Gently pull on the black tab and push the ribbon cable in with the blue side pointing towards the power terminals. Push the black tab back down to secure.
-
-
-
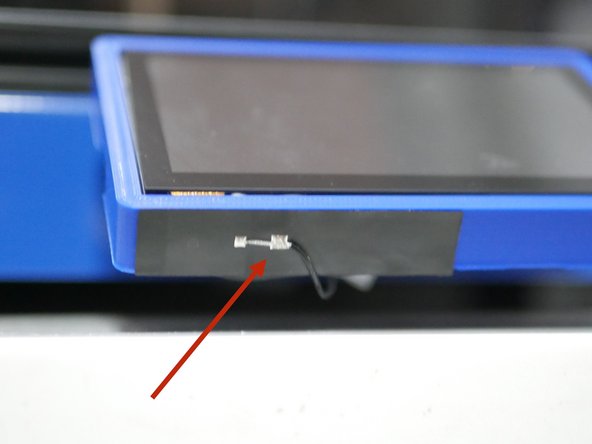
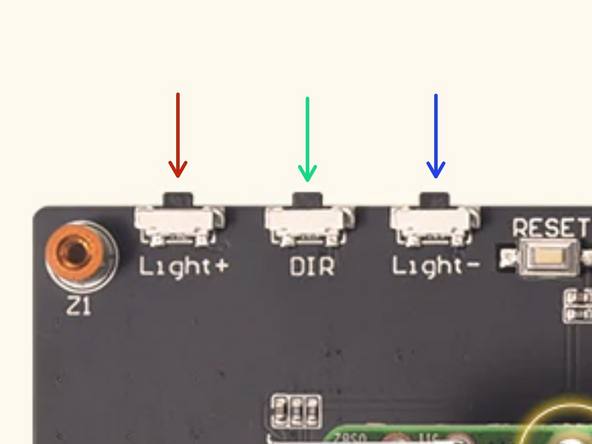
The display has three buttons:
-
Increase Brightness (hold down)
-
Flip Display
-
Decrease Brightness (hold down)
-
If your display is not lighting up it may be that the brightness is set all the way down.
-
Cancel: I did not complete this guide.
2 other people completed this guide.


