
-
-
-
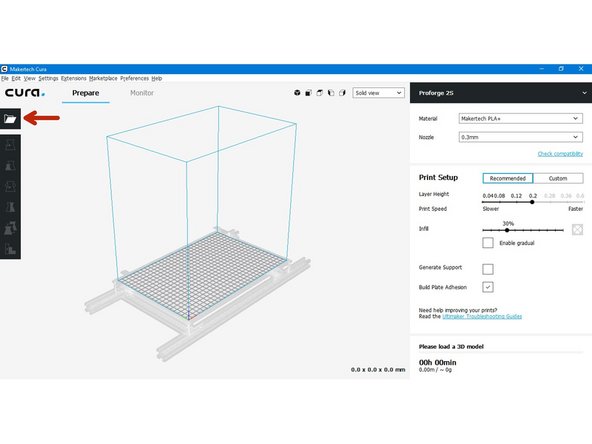
Launch the Makertech Cura software. Click I understand and agree.
-
On first start up you will need to add your printer.
-
Depending on your build select either the Proforge 2 or Proforge 2S.
-
-
-
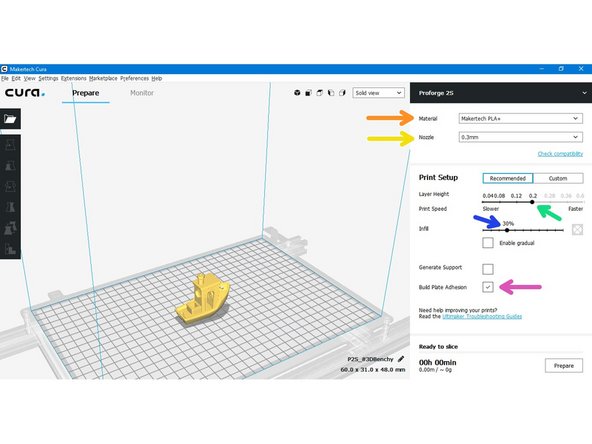
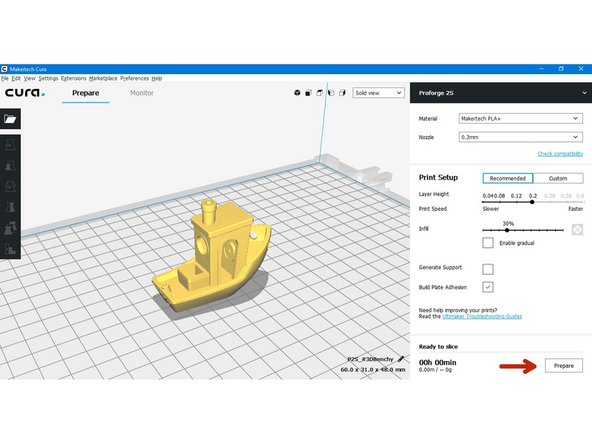
Load the included Benchy model into CURA.
-
For your first print we suggest using the default settings in CURA.
-
Material: Makertech PLA+ (the included sample filament)
-
Nozzle size: Set the nozzle size to match your setup, the default is 0.3mm.
-
0.2mm Layer Height: A good compromise between speed and quality.
-
30% infill - 30% of the inside of the part will be plastic.
-
Build Plate Adhesion - Brim: A single layer around the base of your model to prevent warping.
-
-
-
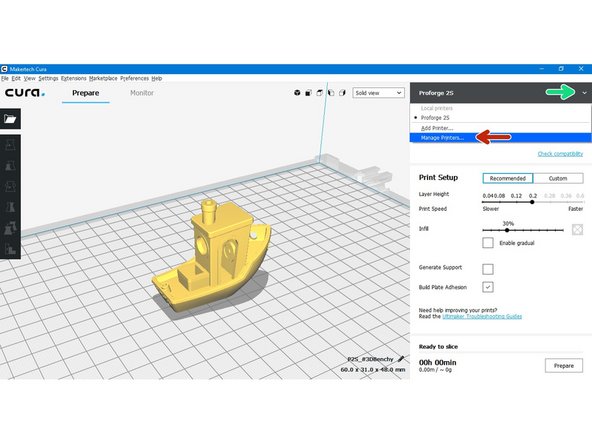
Click the down arrow next to the printer name.
-
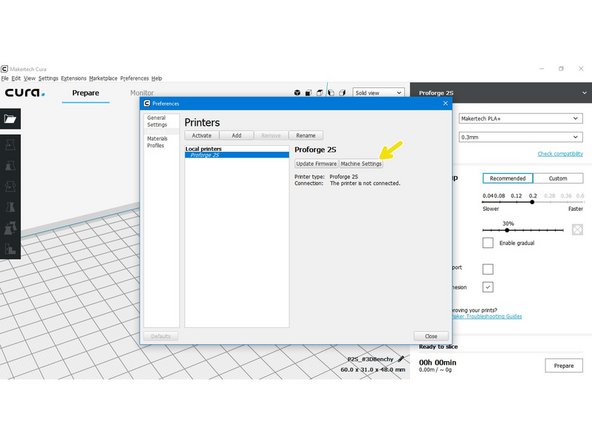
Click on Manage Printers...
-
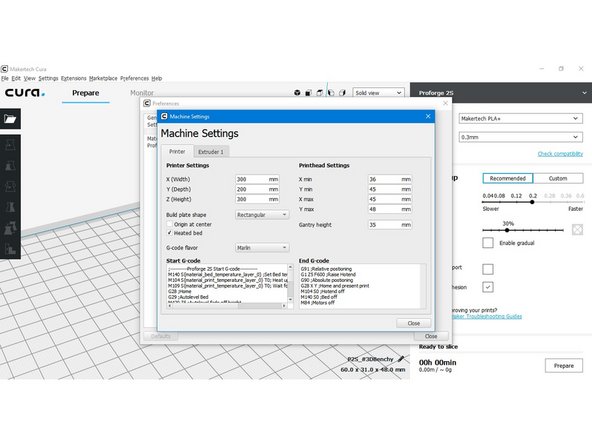
Go to Machine Settings
-
-
-
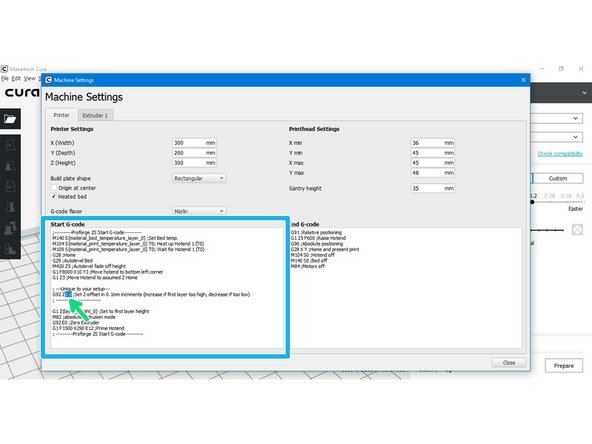
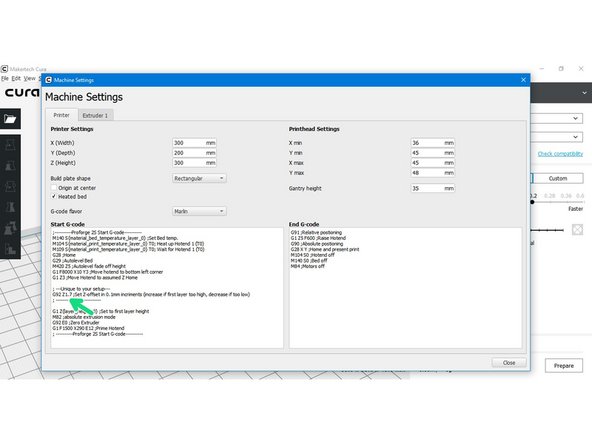
Enlarge the Machine Settings window or scroll down the Start G-code box until you get to the ; ----Unique to your setup----- section
-
Take the Z-offset distance that you made a note off from the previous stage and subtract it from 3.
-
So in this case the noted distance was 1.4mm, so our offset will be 3 - 1.4 = 1.6
-
Enter your calculated offset in place of the 0.0 like shown in the second image.
-
-
-
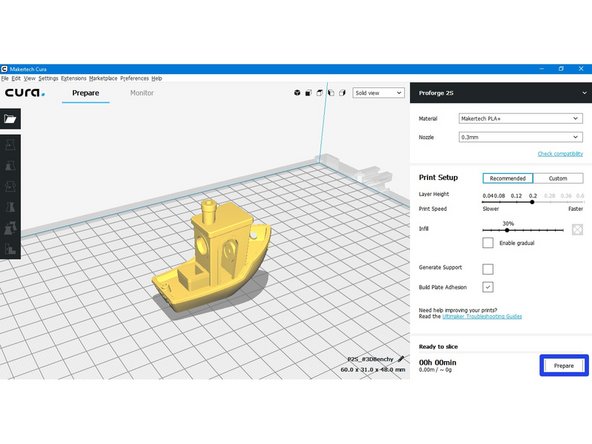
Next hit prepare to turn the .stl model into .gcode that the printer can read.
-
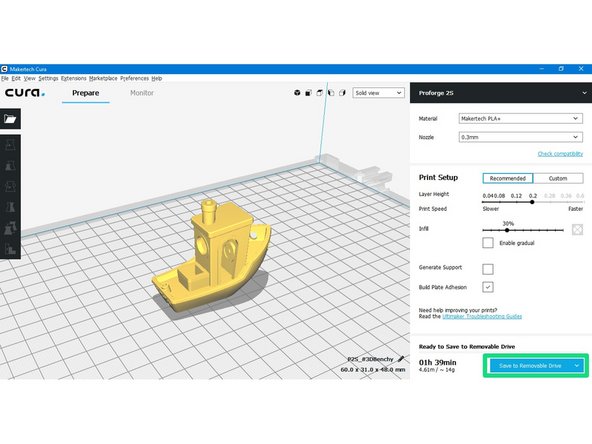
Save the .gcode to the included SD card.
-
-
-
Insert the SD card into the printer.
-
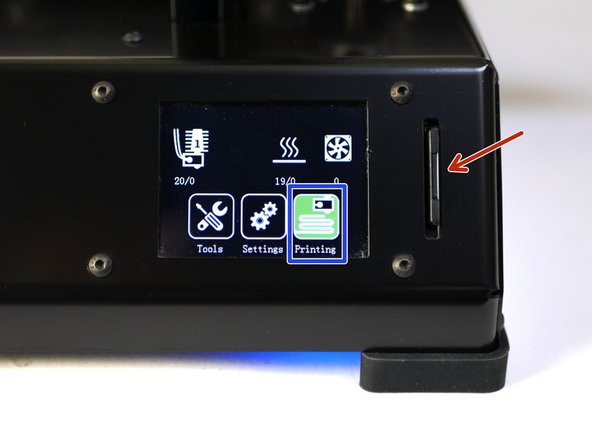
Go to Printing
-
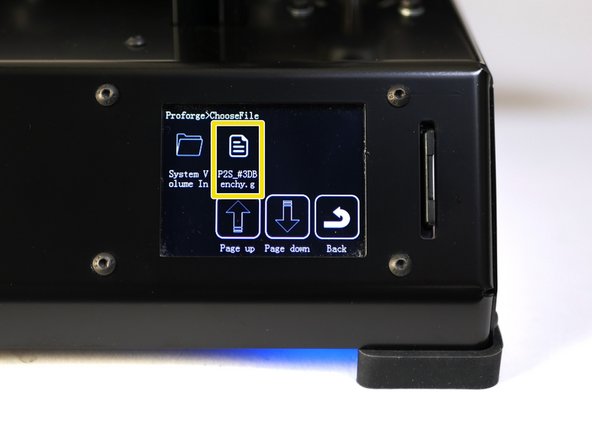
Load the saved gcode file
-
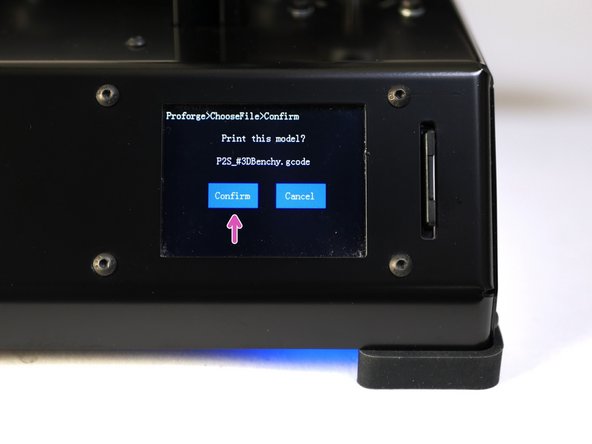
Press confirm to start the print.
-
-
-
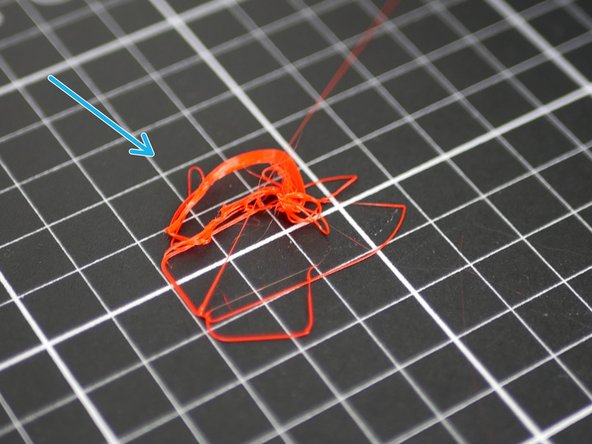
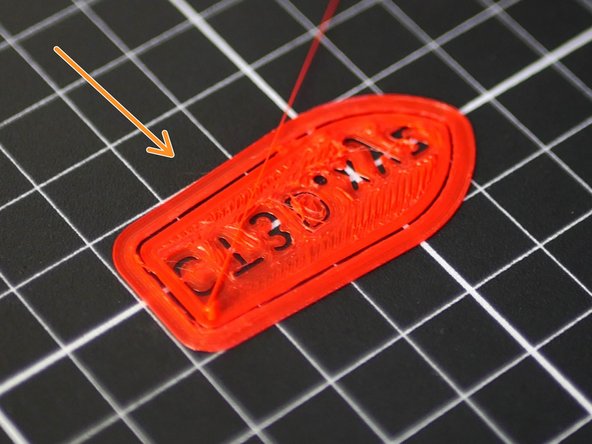
Check the first layer, it should look like the first image, but it's likely that on the first go the nozzle will be either too high or too close to the print surface.
-
Too high - the first layer isn't sticking or the model has peeled off.
-
Too low - the nozzles is pressing the plastic down too much, or at worst digging into the bed.
-
Stop the print from the touch screen.
-
Options -> Stop -> Confirm.
-
-
-
In order to get the nozzle closer to the bed for the first layer to properly stick we'll need to adjust the z-offset value. This value will only need to be dialled in once.
-
As in step 5 go back into machine settings and either increase or decrease the Z-offset by 0.1:
-
First layer too high: Increase Z-offset
-
First layer too low: Decrease Z-offset
-
Re-slice the model and save again to the SD card.
-
-
-
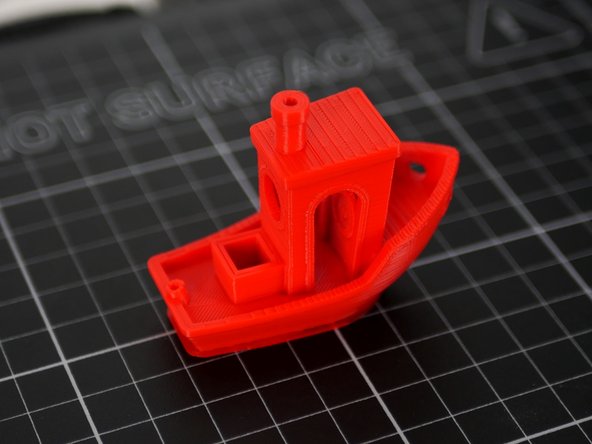
With the Z-axis offset dialled in you should have a successful first print!
-
If you're having issues with getting your first print done, post your issue in the forum here and we'll do our best to help!
-


Cancel: I did not complete this guide.
5 other people completed this guide.
