
-
-
Build the touch screen and case assembly as shown.
-
M3 x 8mm Bolt
-
Metal Mount
-
3D Printed Case
-
HDMI 5 Touch Screen Display
-
-
-
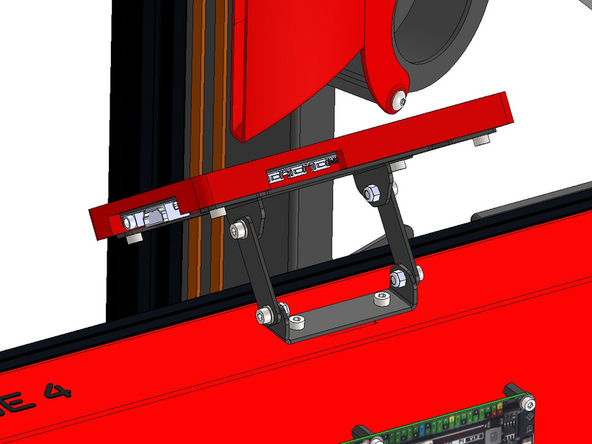
Build the swivelling mechanism as shown:
-
M3 x 8mm Bolt
-
M3 Washer
-
Connecting Bracket
-
Mounting Bracket
-
M3 Nyloc Nut
-
-
-
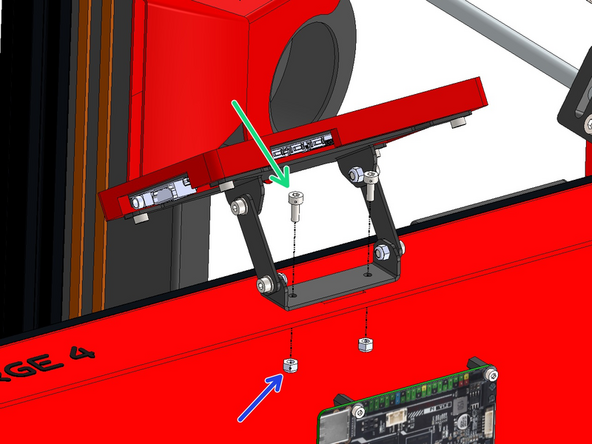
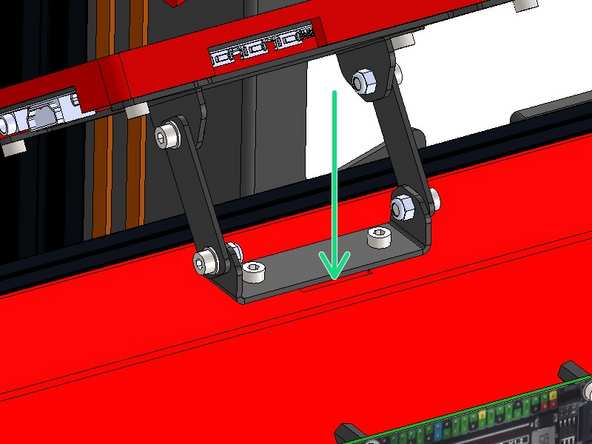
Mount the display onto the base as shown:
-
M3 x 8mm Bolt
-
M3 Nyloc Nut
-
-
-
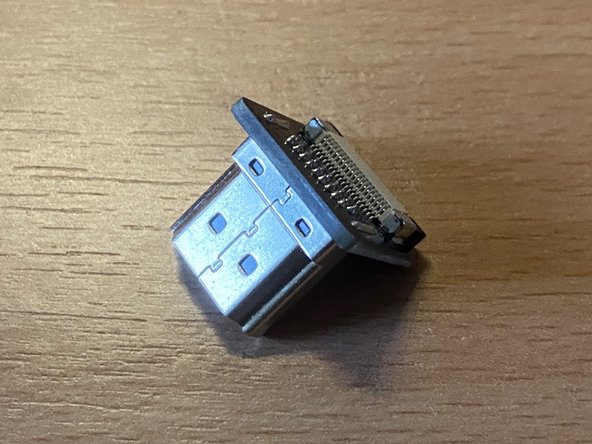
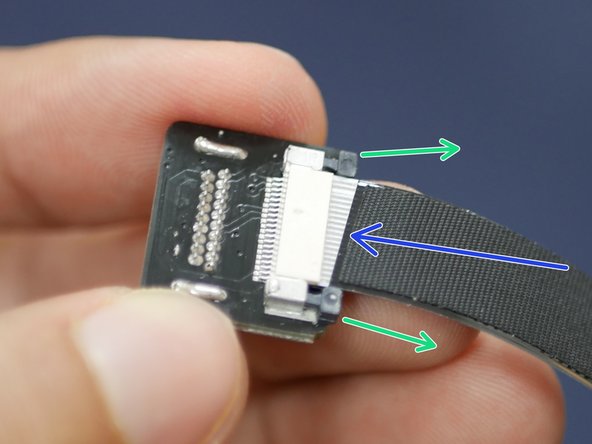
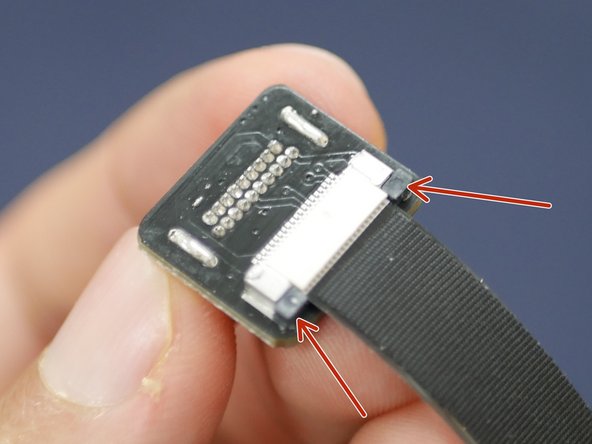
Connect one of the ribbon cables to the HDMI connector.
-
Do this by carefully pulling the black tabs here out.
-
Next push the ribbon cable in, with the pin side facing up.
-
Push the black tabs back in to hold the ribbon cable in place. It's important to make sure the cable is seated straight and with none of the pins showing.
-
-
-
Connect the other ribbon cable to the USB C connector in the same manner.
-
-
-
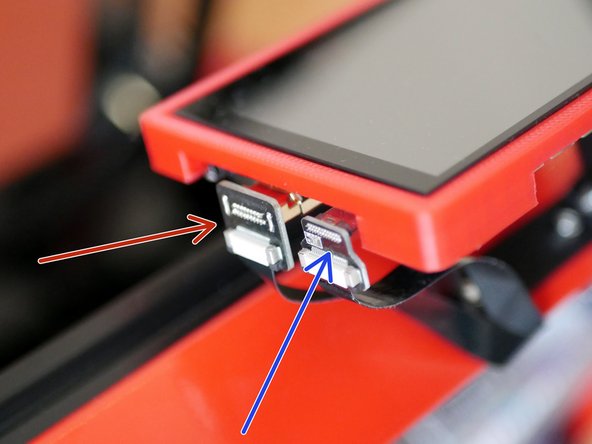
Connect the cables to the display ports as shown.
-
HDMI
-
USB C
-
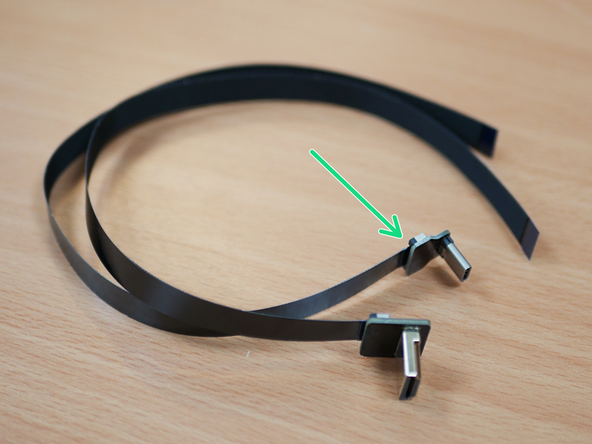
Feed the free ends of the ribbon cable in through the slit on the base.
-
-
-
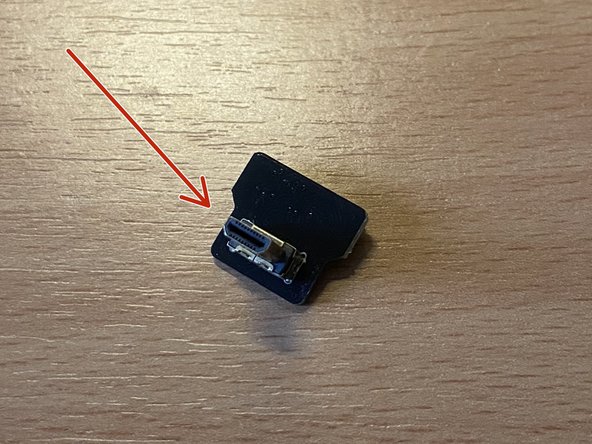
Fix to the other side of the HDMI connectors ribbon cable the Micro HDMI connector.
-
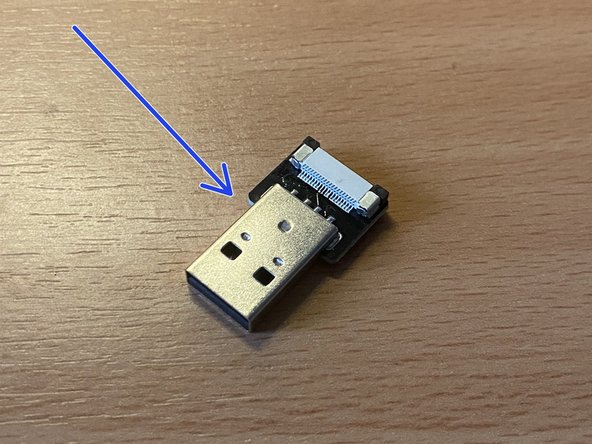
Fix to the other side of the USB C connectors ribbon cable the USB A connector.
-
Connecting these the wrong way round will result in damage to the display and/or Pi board.
-
-
-
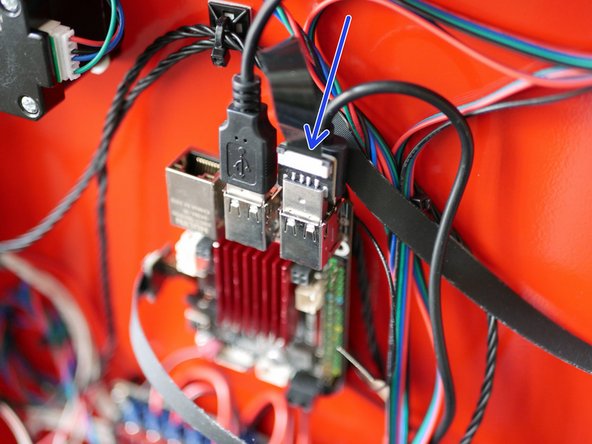
Plug the micro HDMI connector to the port on the side of the BTT Pi.
-
Plug the USB connector to a USB port on the BTT Pi (or USB hub if building the 4.2)
-
-
-
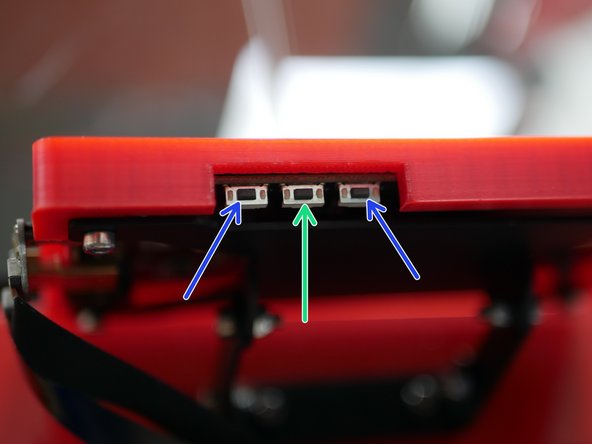
There are three buttons underneath the display on the edge.
-
The centre one controls the orientation of the screen.
-
The two either side control the displays brightness. If your display is not lighting up it may be that the brightness is set all the way down.
-


Cancel: I did not complete this guide.
10 other people completed this guide.
