
-
-
Unfortunately, some mistakes were made with the fasteners that were included with some of the enclosure upgrades that were shipped as part of the kickstarter batch.
-
You may be missing:
-
M4 x 25mm bolt (x4)
-
M4 x 10mm Counter Sunk Bolt (x1)
-
Please complete this form here, and we'll have these sent out, alternatively you can source locally for a quicker solution.
-
-
-
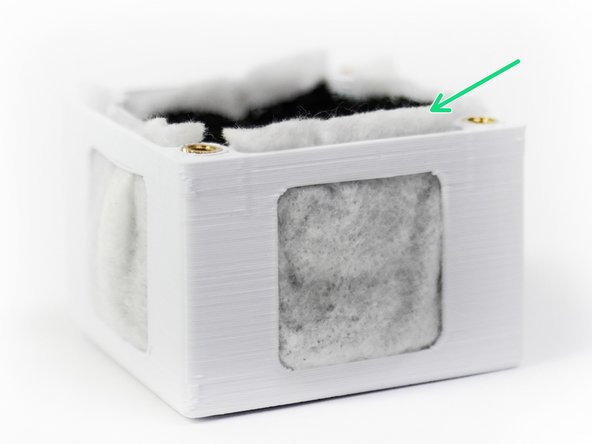
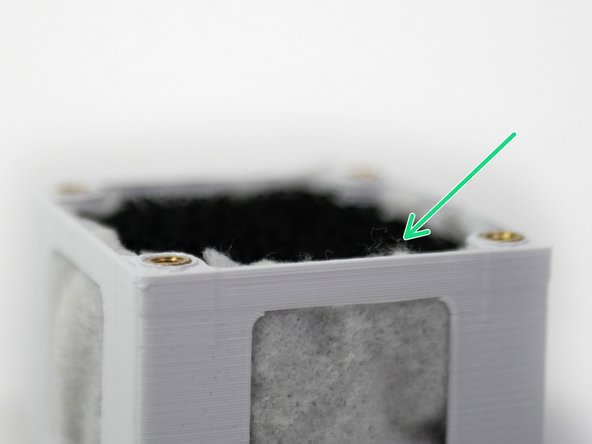
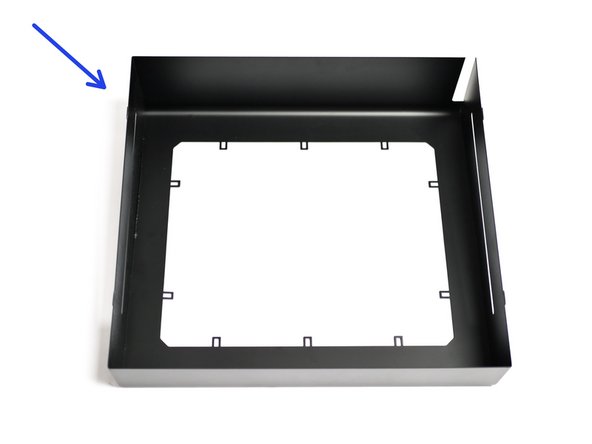
Find the filter case, carbon filters and HEPA cloth.
-
Place a carbon filter onto the centre of the HEPA cloth.
-
Cut the 4 squares from the corners as shown.
-
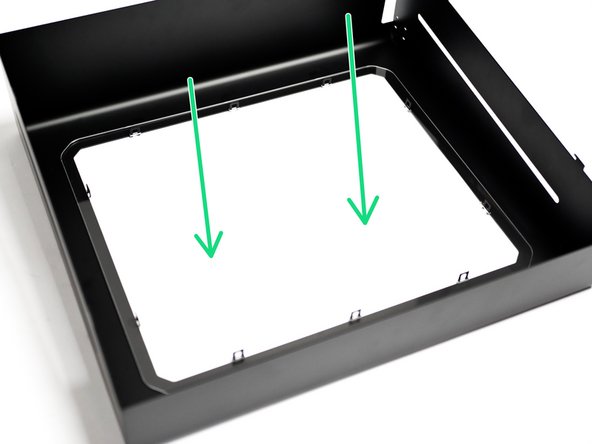
Push the carbon and HEPA filters into the filter case as shown.
-
-
-
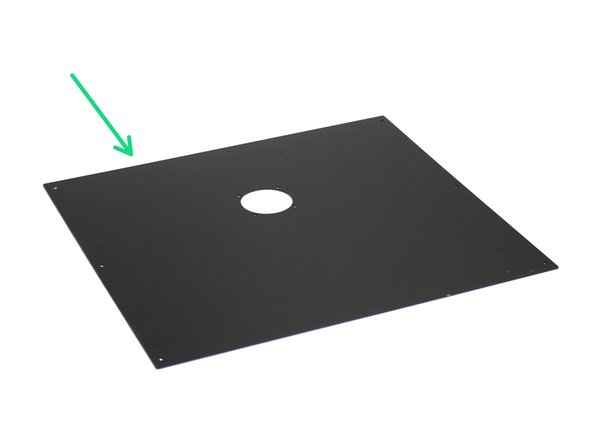
Remove the backing paper from the back panel.
-
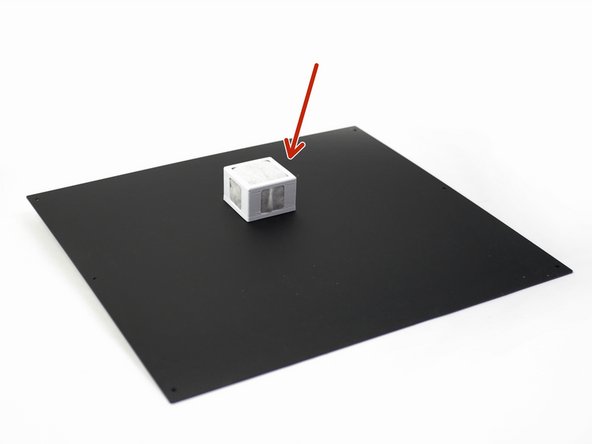
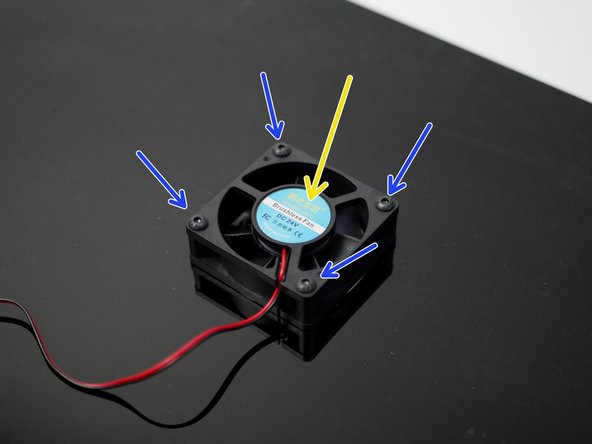
Fix the fume filter assembly to the back panel, with the 60mm fan on the other side.
-
M4 x 25mm Bolt
-
Make sure that the fan is fixed sticker side up.
-
-
-
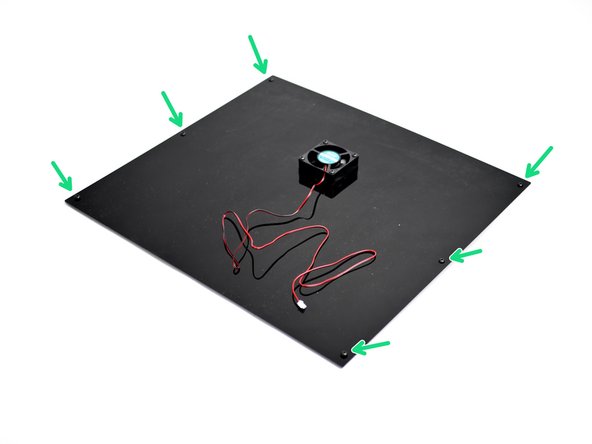
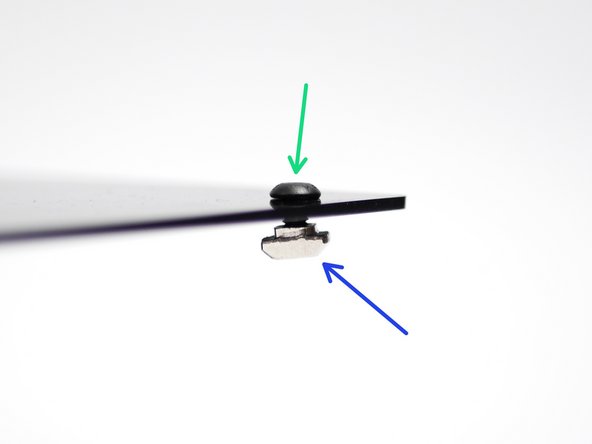
Losely fasten on:
-
M4 x 6mm Bolts
-
M4 T-Nuts
-
Make sure that the bolts are on the fan side.
-
-
-
Begin by peeling away the protective covering from both sides of the side panels.
-
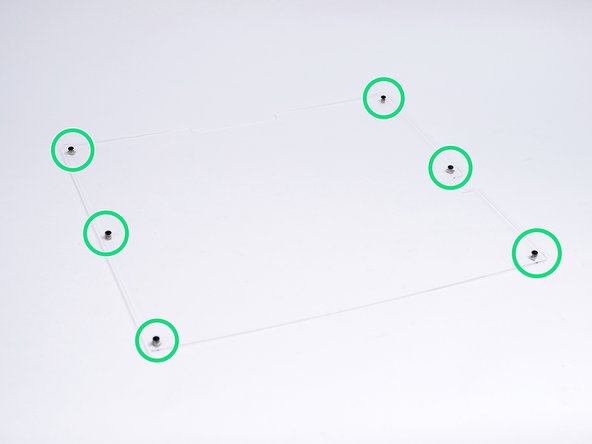
As with the back panels, losely fasten:
-
M4 x 6mm Bolt
-
M4 T-Nut
-
Create mirrored assemblies of the two side panels.
-
-
-
Fix the handle onto the front panel.
-
M4 x 10mm Counter Sunk Bolt
-
M4 Button Magnet
-
-
-
Fix the hinges as shown to the front panel.
-
M4 x 6mm
-
M4 T-Nut
-
M4 x 10mm
-
M4 Nyloc Nut
-
-
-
Fix the Back Panel to the rear of the printer, with the fan on the outside.
-
Feed the cable through the wiring loom and into the base.
-
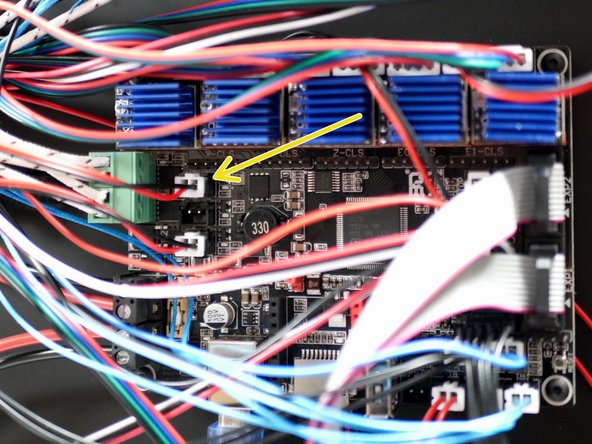
Connect the fan to the control board as shown.
-
-
-
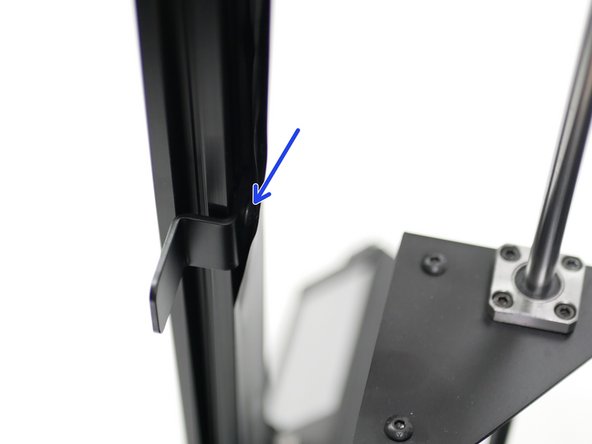
Mount the side panels to the side of the printer.
-
Orientate so that the spool holder cut out points to the rear of the machine.
-
-
-
Prepare the enclosure latch with an M4x6mm bolt and M4 T-nut.
-
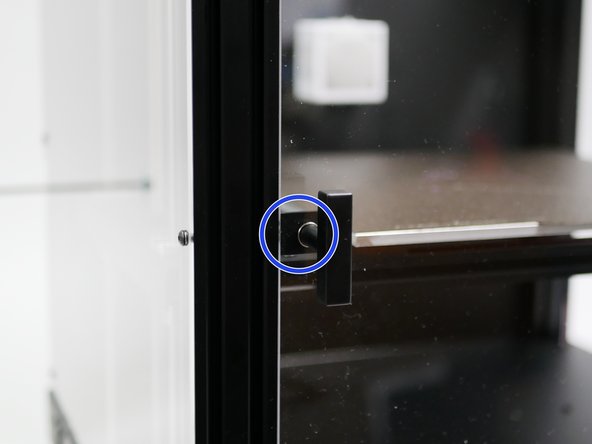
Align the enclosure latch with the magnet on the door handle and fix it in place on the inside of the frame.
-
-
-
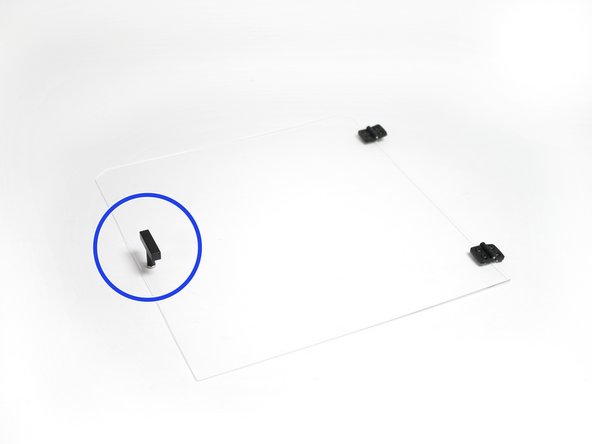
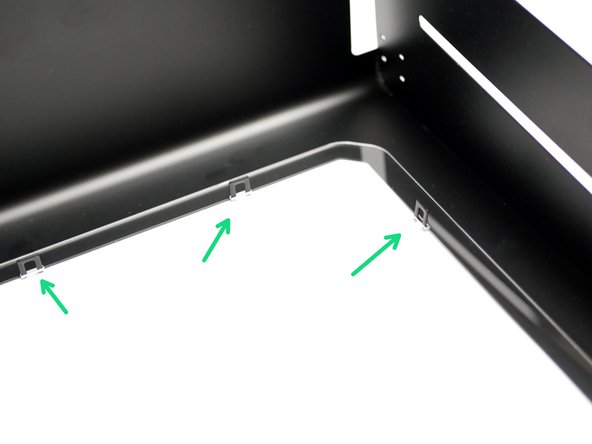
Peel the protective sheet from both sides of the roof panel.
-
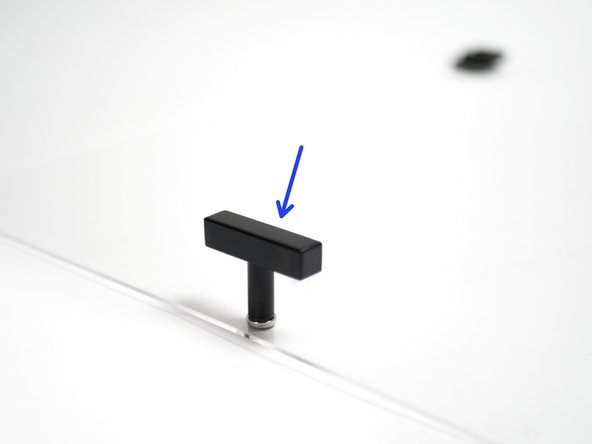
Drop it onto the raised tabs.
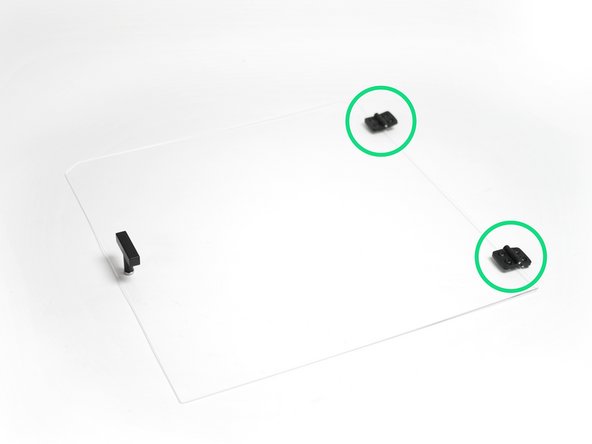
-
Bend the tabs back down as shown to secure the panel.
-
-
-
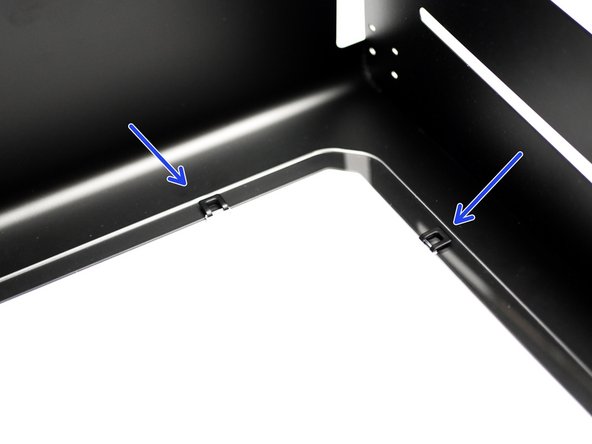
Due to the paint that was applied on both the roof and top panel, the tabs may need filing down to get a proper fit.
-
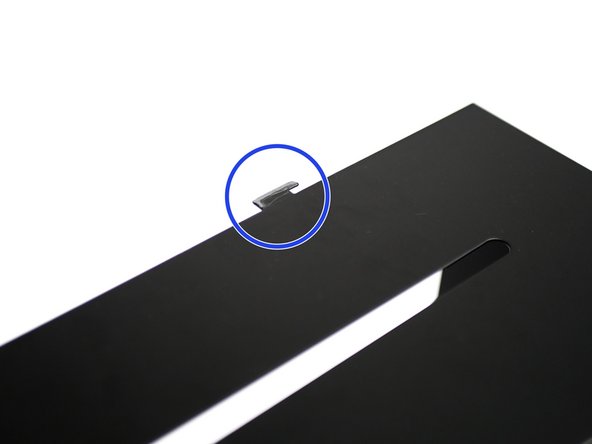
Drop the roof into the slots on the top panel, push back to secure.
-
Before fixing the roof, the PTFE tubes need to be fed through the slots on the side as shown.
-
-
-
Include M106 P2 to your start Gcode to activate the fan.
-
Include M107 P2 to your end Gcode to turn off the fan.
-


Cancel: I did not complete this guide.
One other person completed this guide.
