-
-
Check that you have all of the components photographed from the Hotend bag.
-
In particular take care when opening the smaller bag, the set screw is small and easy to lose.
-
Set screw
-
If you are planning to upgrade to the Dual Switching Extruder we recommend building the second Hotend now also.
-
Make sure you build the second Hotend using the parts from the DSE box. This includes bolts and the braided sleeving.
-
-
-
Thread the set screw and M3 bolt into the heated block like shown to keep them from getting lost.
-
Set Screw
-
Bolt
-
-
-
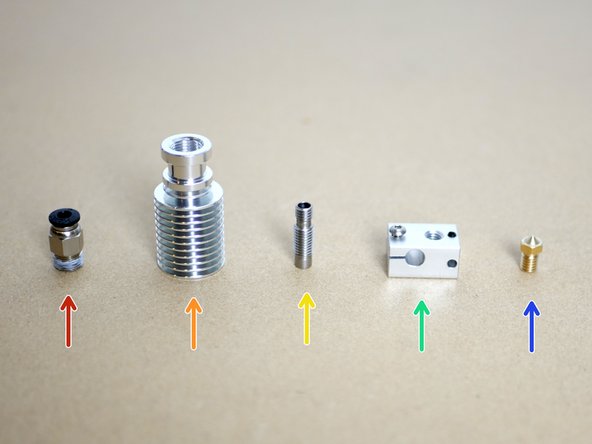
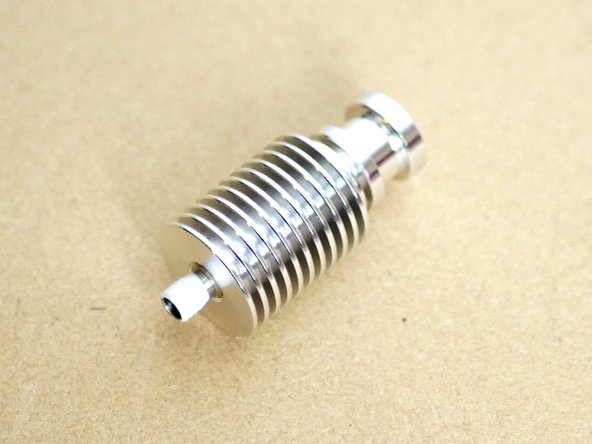
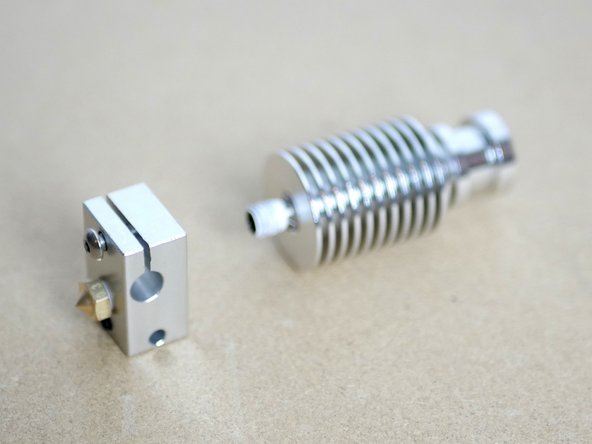
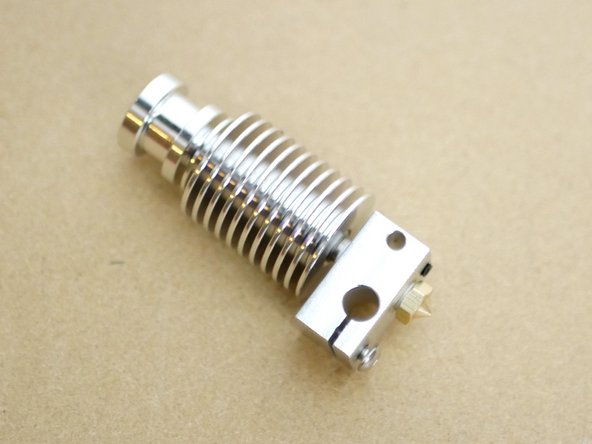
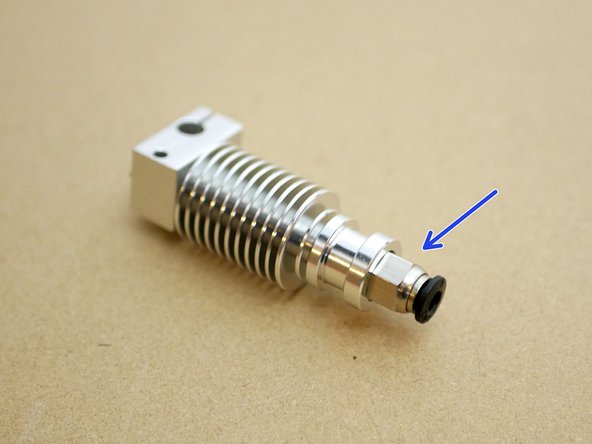
The Hotend is made up of 5 key components:
-
Pneumatic Coupling - 1/8"
-
Heat Sink
-
Throat
-
Heater Block
-
Brass Nozzle
-
You could install one of the abrasion resistant steel nozzles here but we recommend starting printing with PLA where the brass nozzle would provide better heat transfer.
-
-
-
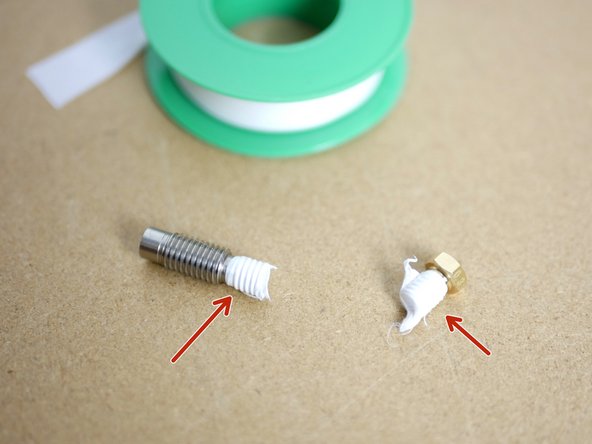
Wrap several layers of the PTFE Thread Tape around the threads of the Throat and Nozzle as shown in the image.
-
The tape should be wrapped around the shorter part of the thread on the throat.
-
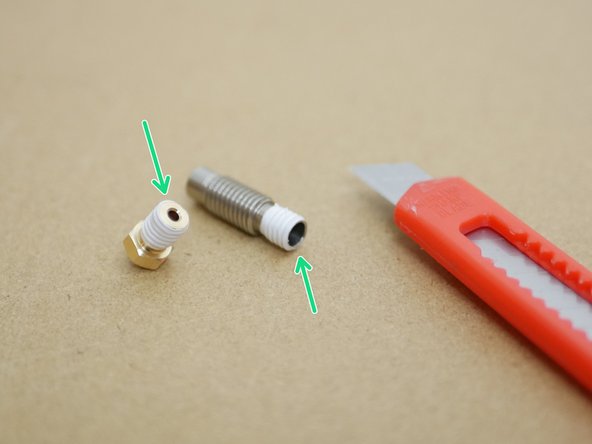
Use the included craft knife to scrape away the excess PTFE tape.
-
Make sure that the openings are clear of the tape.
-
-
-
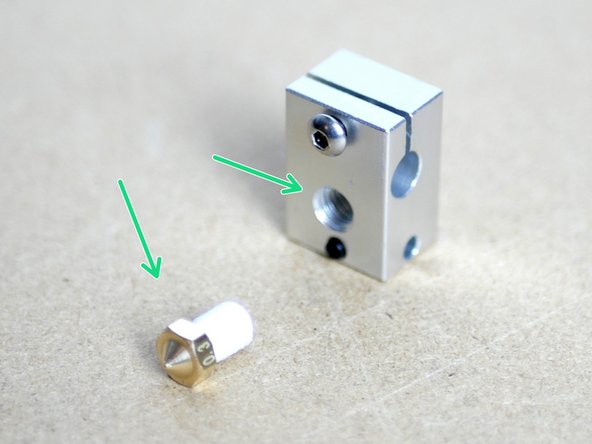
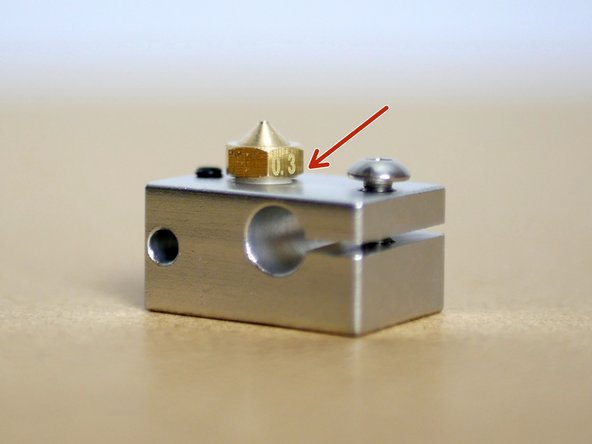
Fix the Nozzle to the Heater Block, it should be screwed into the same side as the set screw.
-
Do not tighten the nozzle all the way up to the heater block, leave about a 1mm gap - this will make it easier to unscrew if you ever later on need to replace the nozzle.
-
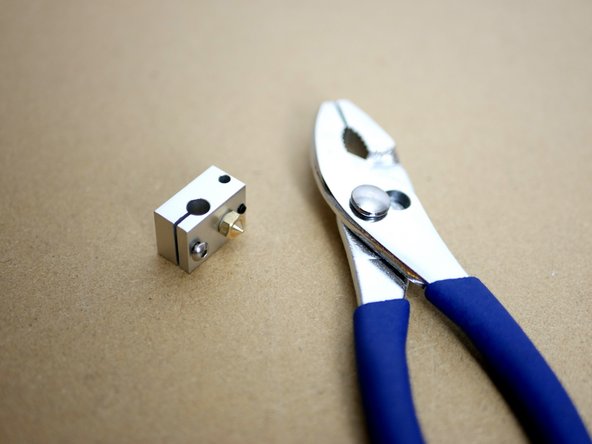
You should need to use the pliers to screw the nozzle on, if it threads on too easily you need to add more layers of the PTFE tape to the nozzles thread.
-
-
-
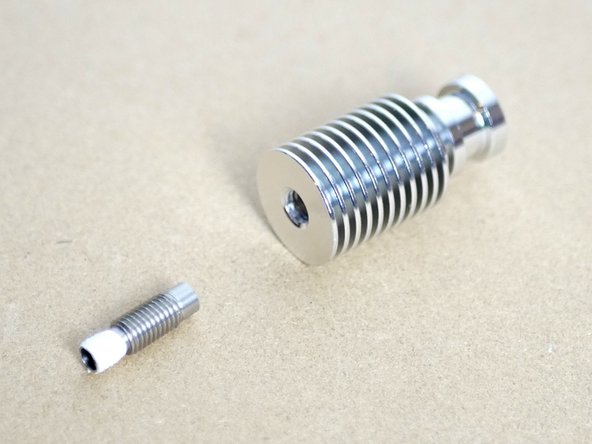
Fix the Heatsink assembly to the Heater Block assembly.
-
Hand tighten at first and then use the included pliers to tighten everything down.
-
When tightening with the pliers hold the assembly from the heat sink and nozzle like shown in the second image.
-
Be careful when tightening, applying too much force can break the narrow part of the Throat.
-
-
-
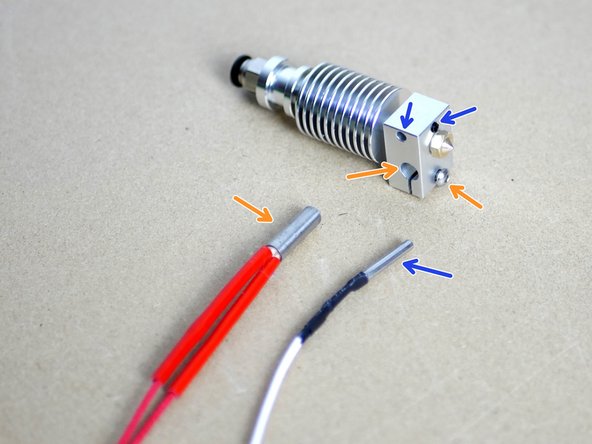
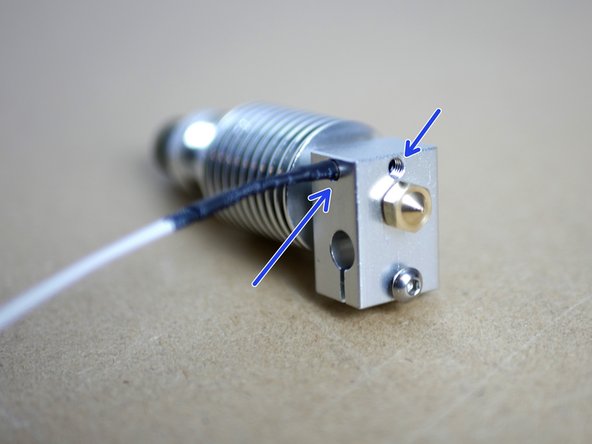
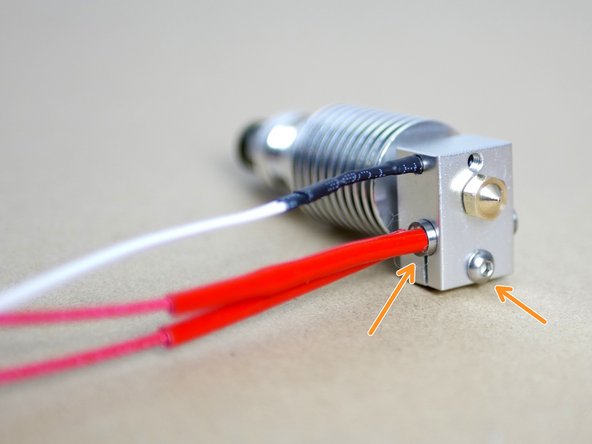
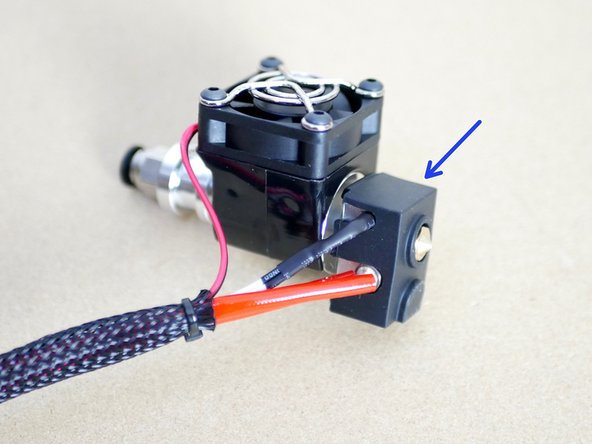
Slide the thermistor into the heater block from the left side and tighten down the set screw to hold it in place.
-
Slide the Heater Cartridge into the Heater Block from the left side, position it centrally and tighten down the M3 bolt to hold it in place.
-
Dual Extrusion: For the second hotend make sure the cables are on the right hand side.
-
-
-
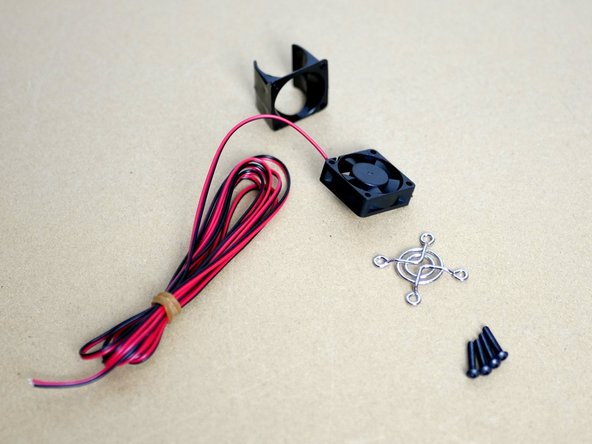
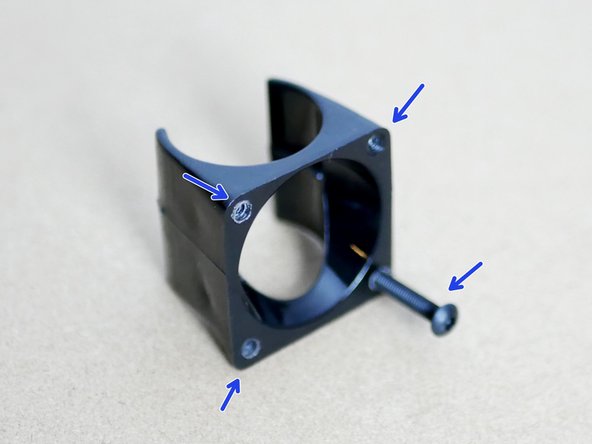
For the Heatsink fan assembly begin by using an M3 x 16mm bolt to thread the holes on the plastic mount.
-
You will need to press down and turn to begin the thread, a loud clicking noise is normal.
-
Assemble the fan with the sticker facing inwards and the fans cable coming out of the top left like shown in the third image.
-
Also note the top side of the fan mount is the lipped side.
-
When assembling, don't fasten one bolt at a time, instead get all four bolts to thread slightly first and then tighten everything down.
-
Dual Extrusion: For the second hotend make sure the fans cables are on the right hand side.
-
-
-
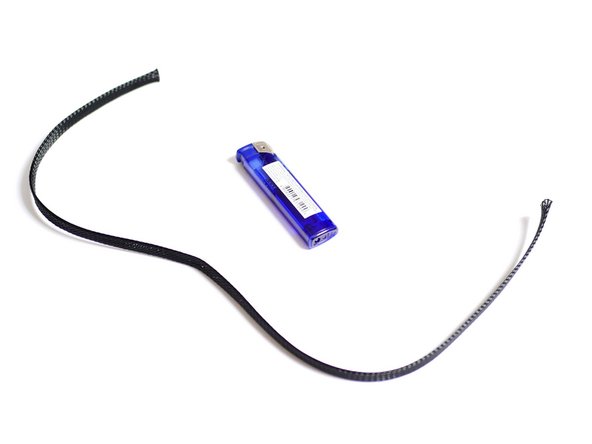
Cut 1 meter of braided cable sleeving.
-
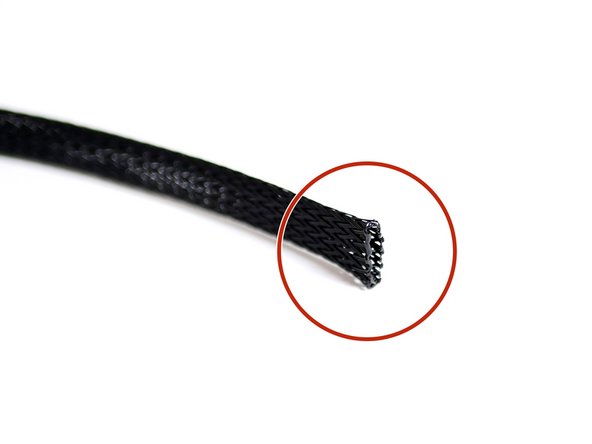
Use a lighter to melt the ends to stop them from fraying out.
-
DSE: cut the second 1 meter of braided cable sleeving from the sleeving in the DSE box.
-
-
-
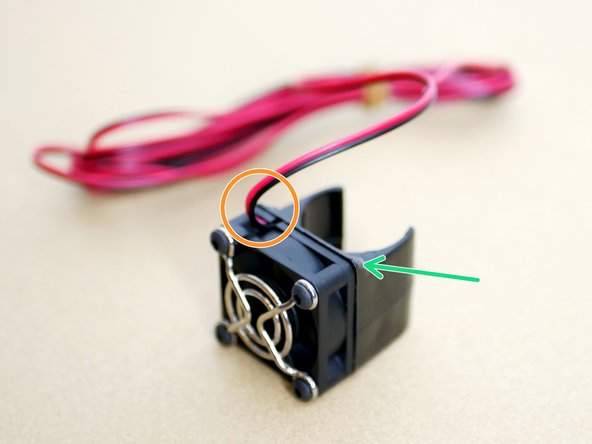
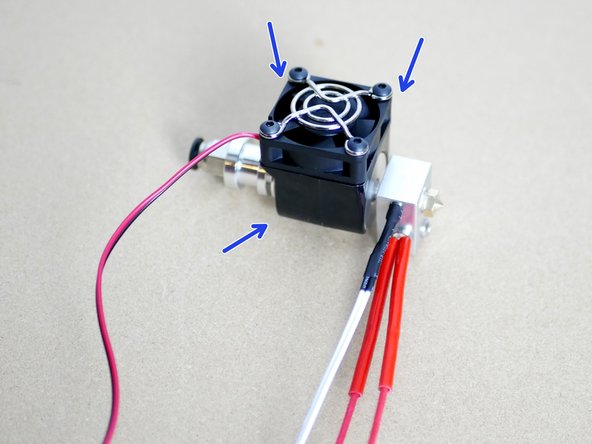
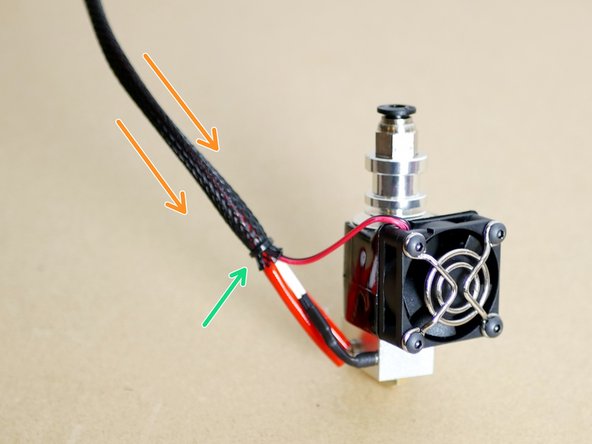
Snap the heatsink fan assembly onto the heat shink as shown in the first image.
-
Slide the braided sleeving onto the cables.
-
Use a cable tie to secure the sleeving in place.
-
Cancel: I did not complete this guide.
26 other people completed this guide.


