-
-
If you are building the Dual Switching Extruder complete only steps 7 and 8 of this stage.
-
-
-
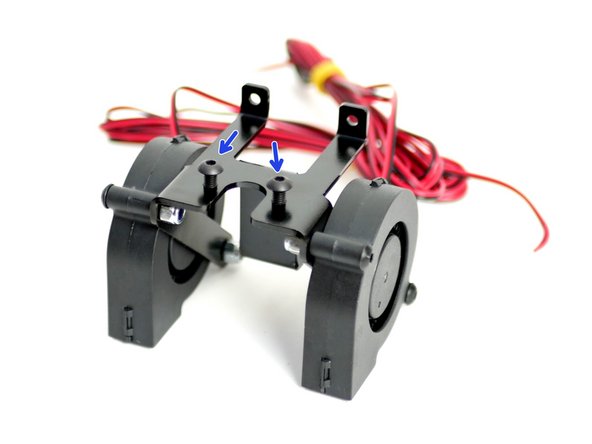
Fix both of the blower fans to the sides of the Hotend Mount.
-
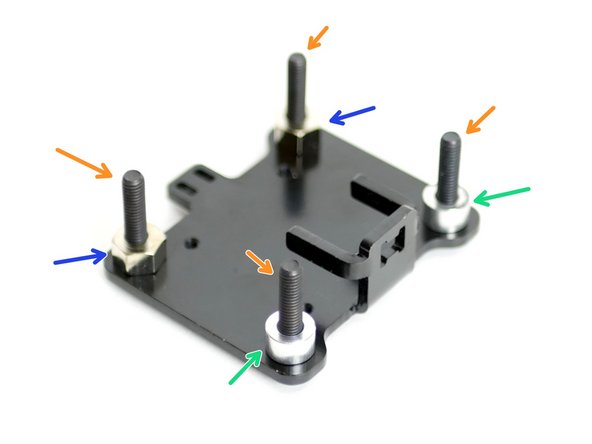
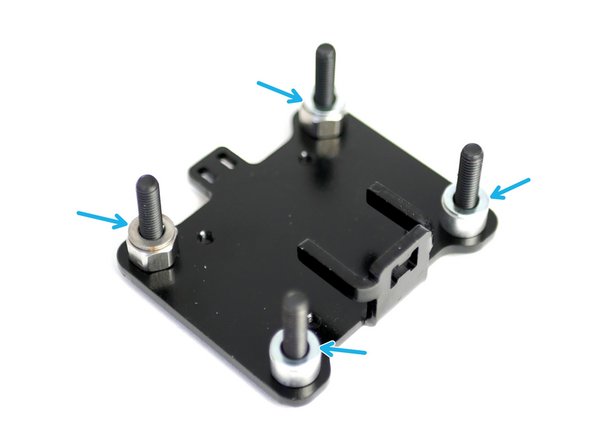
M4 x 22mm
-
M4 Nyloc Nut
-
-
-
Thread two M4 x 8mm bolts onto the top of the HotEnd bracket.
-
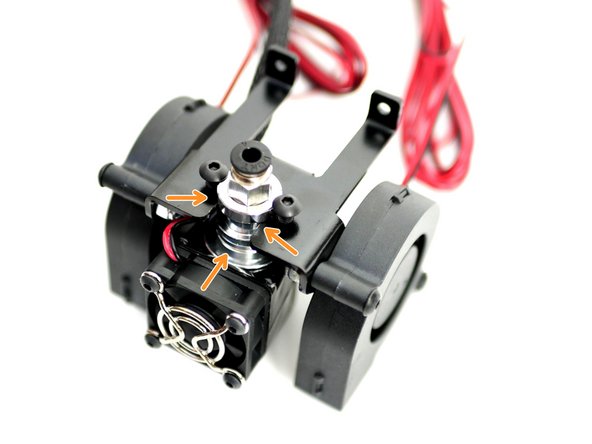
Slide the HotEnd in and clamp it down with the two M4 bolts.
-
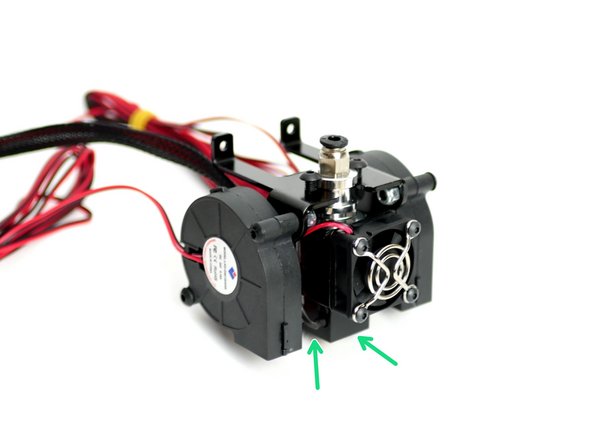
Keep the this side of the HotEnd parallel with the front of the Hotend Mount
-
Make sure that the cables from the Hotend are facing the left side.
-
-
-
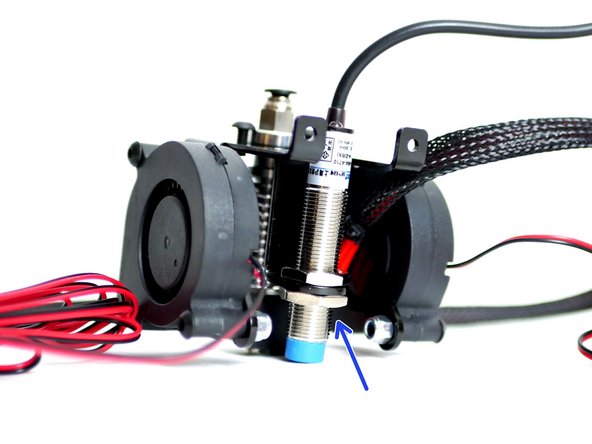
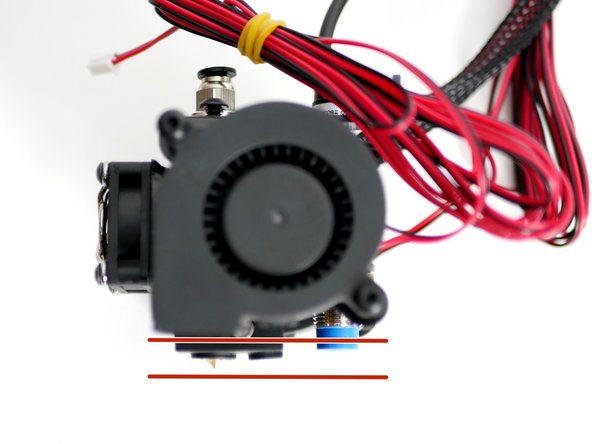
Clamp the probe onto the back of the Hotend Mount.
-
Keep the bottom of the probe a few millimeters above the tip of the nozzle.
-
-
-
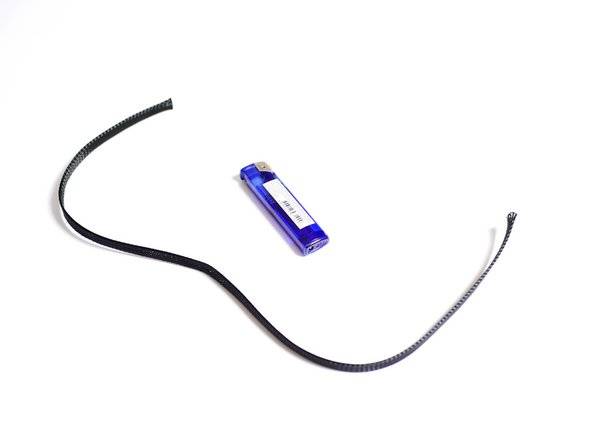
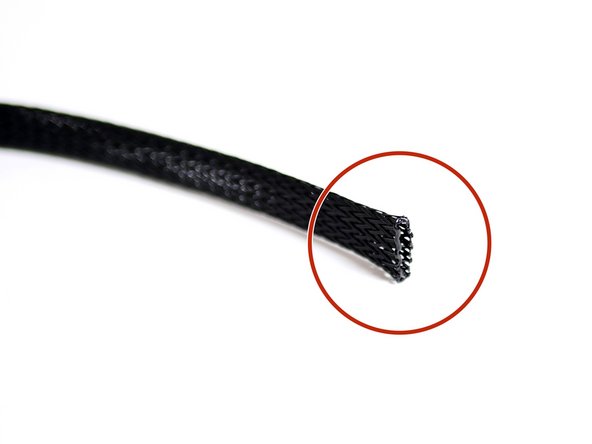
Cut 1 meter of the braided cable sleeving.
-
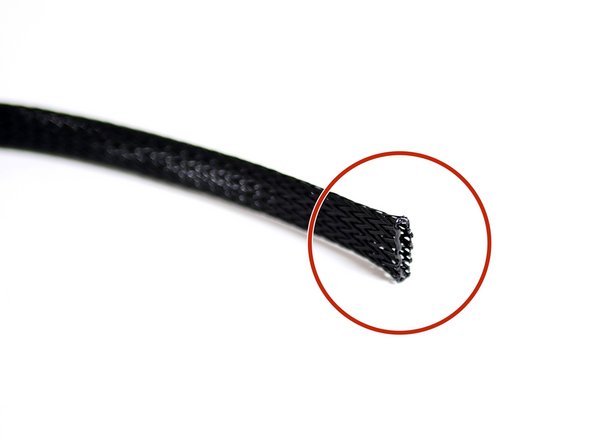
Melt the ends with a lighter to prevent fraying.
-
-
-
Cut 1 meter of cable sleeving.
-
Melt the ends with a lighter to stop them from fraying.
-
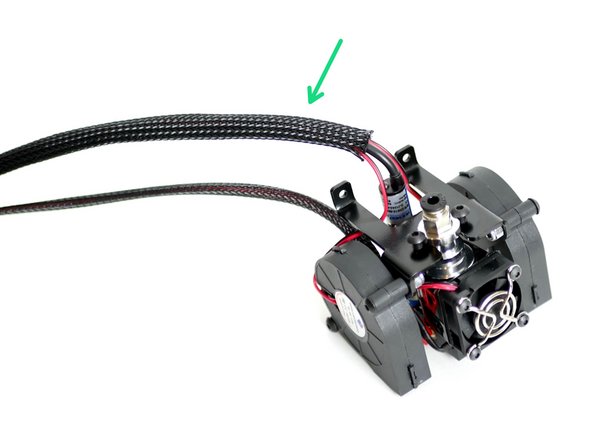
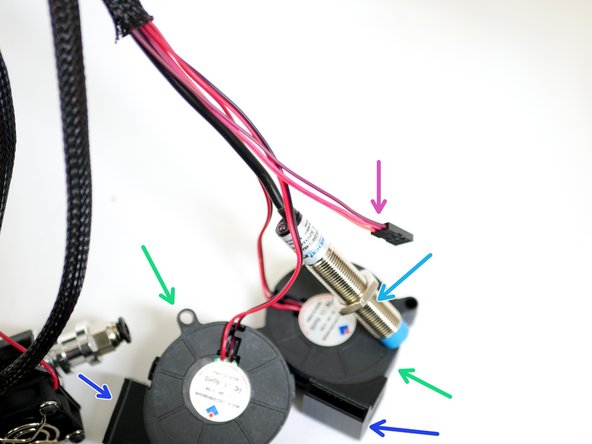
Slide the sleeving over the cables from:
-
Blower Fan (x2)
-
Probe
-
Servo Cable (From the Dual Extruder Upgrade box)
-
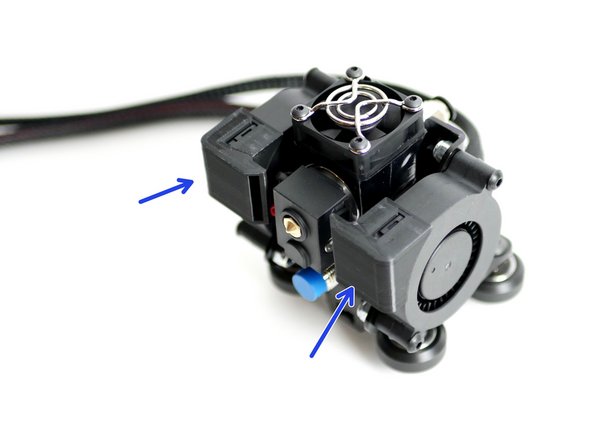
You can also snap on the fan shrouds here too.
-
Place this assembly to one side for now.
-
-
-
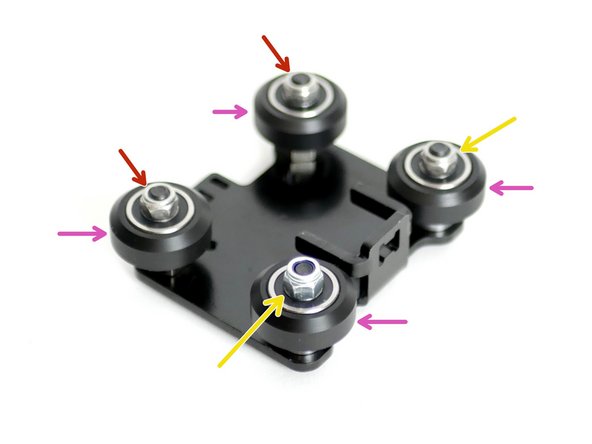
Assemble Y-Carriage rollers as shown in the images:
-
Four M5 x 25mm bolts
-
Two M5 Spacers
-
Two Eccentric Spacers
-
Four M5 Washers
-
Roller Assembly
-
Two M5 Nylocs - Tighten Firmly
-
Two M5 Nylocs - Tighten Loosely (eccentric spacer should still be able to turn)
-
-
-
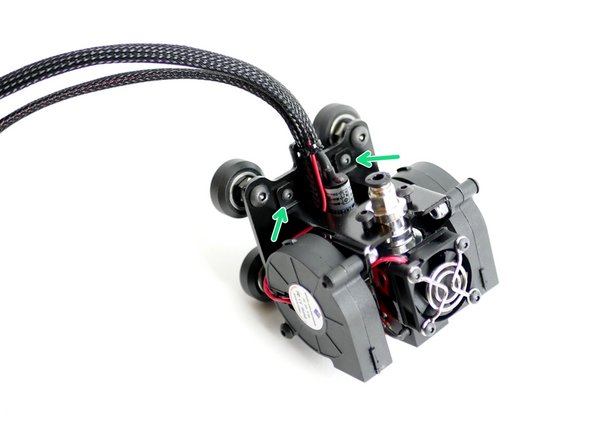
Fix the HotEnd Mount assembly onto the Y-Carriage.
-
M3 x 8mm bolt
-
Cancel: I did not complete this guide.
21 other people completed this guide.


