
-
-
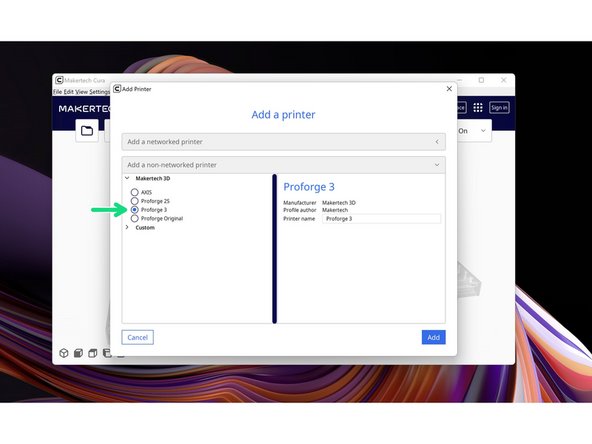
Download the new v5.2.1 of Makertech Cura for windows here.
-
Run through the install and setup wizards.
-
If you have an earlier version of Makertech Cura installed, delete it from your programme folder before installing the new one.
-
-
-
If you are running Mac OS or Linux the 3.5 profiles will be made available in the next release of the official Ultimaker Cura.
-
Follow the progress of this request here.
-
-
-
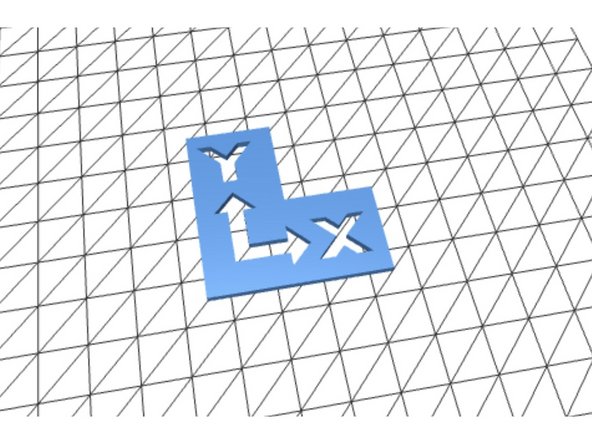
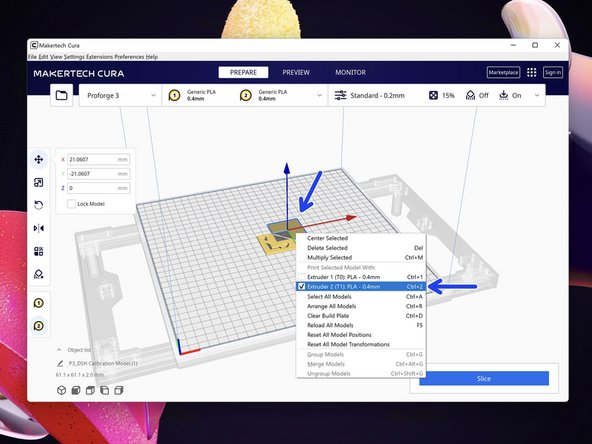
Right click this part of the model and set it to print with Extruder 2 (T1).
-
-
-
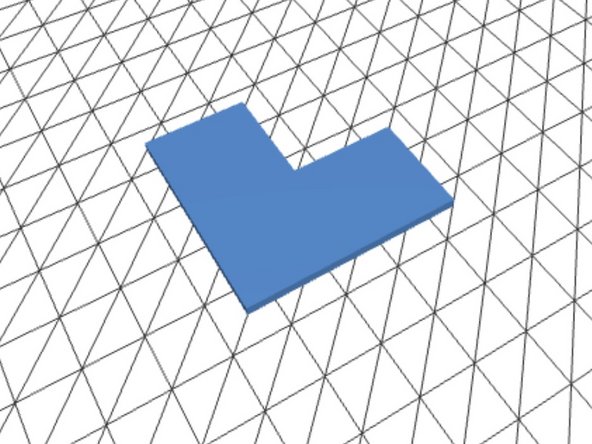
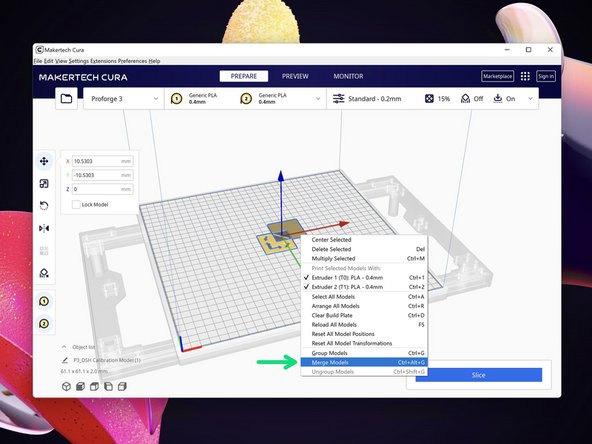
Use shift to select both parts of the model.
-
Right click either model and hit Merge Models.
-
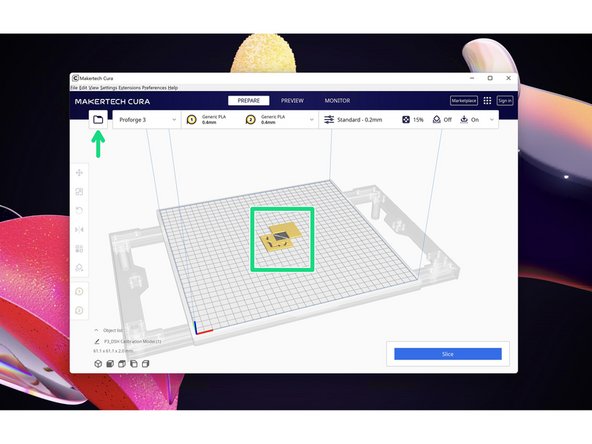
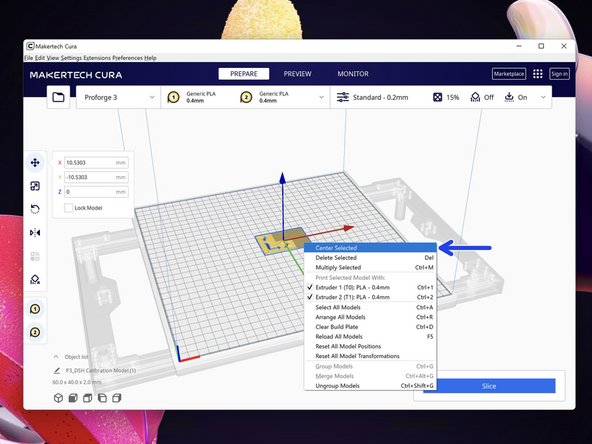
Once merged, right click on the model and hit Centre selected Model.
-
-
-
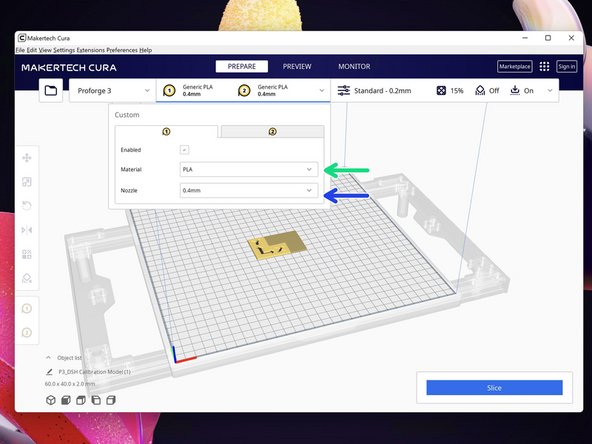
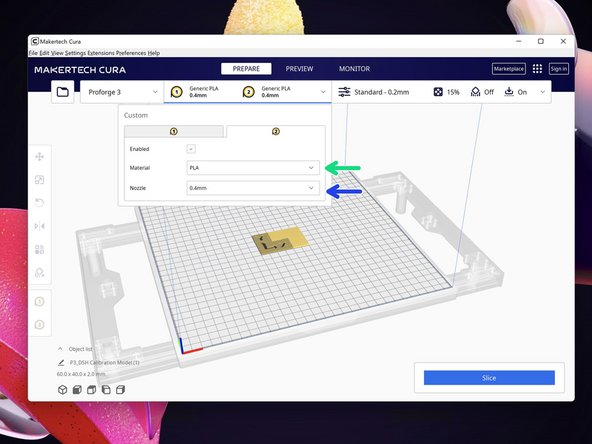
Select the material you are using, we recommend PLA or ABS for this first print.
-
Select the nozzle size you have installed.
-
-
-
The Prime Tower is not 100% necessary, but it does improve print quality when doing a dual print.
-
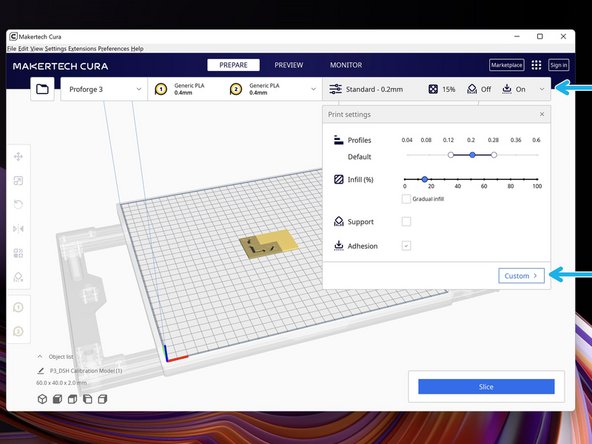
Go to custom settings.
-
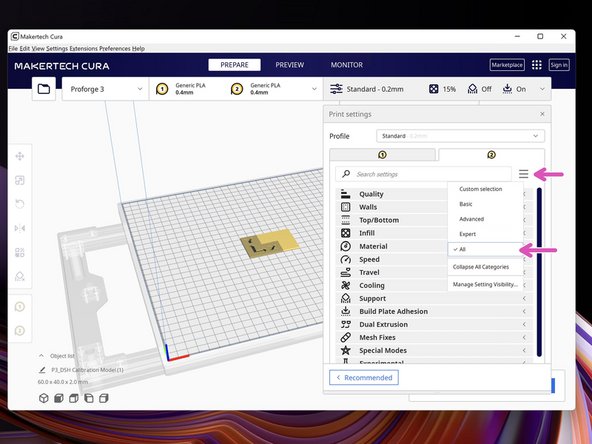
Click the menu icon and display ALL settings.
-
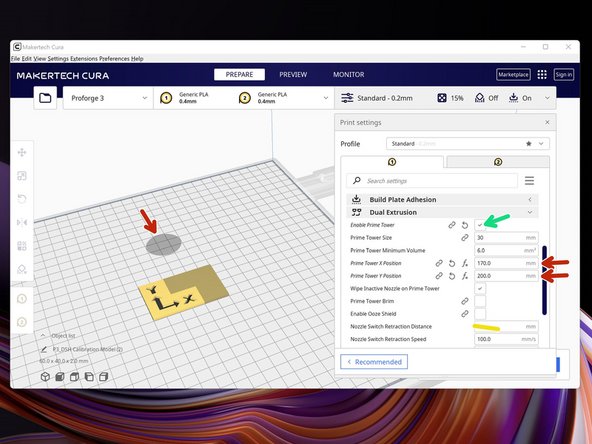
In the Dual Extrusion menu select "Enable Prime Tower"
-
Set the Prime Tower position.
-
On the build platform, you should see a shadow of where it will be placed. Aim to place it behind your model.
-
The prime tower should also be placed along the centre of the X-Axis, this is where switching is the most efficient. i.e. the X position should always be near 170.
-
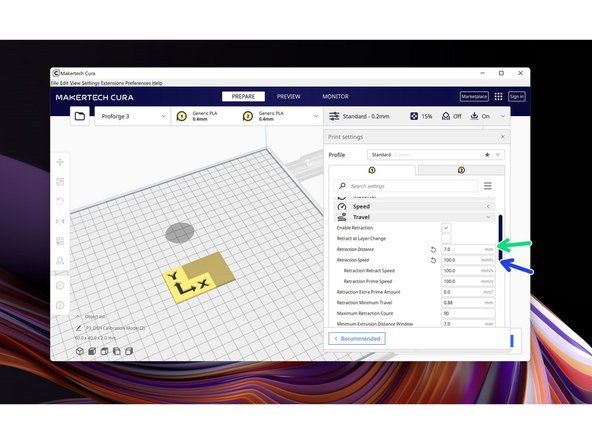
Set the nozzle switch retraction distance to 7mm.
-
-
-
The DSH is Bowden setup, this requires more aggressive retraction.
-
Set the Retraction amount to 7mm.
-
Set the retraction speed to 100mm/s.
-
-
-
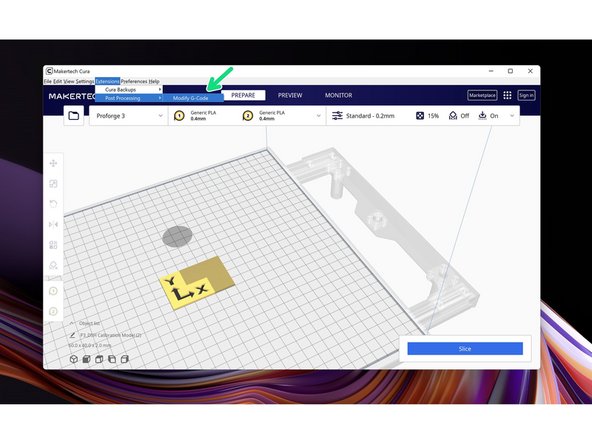
Finally, due to the way Cura creates gcode we need to add a post-processing script to our set-up.
-
This script replaces the wait for heat command with a simple heat command.
-
In the top menu bar go to Extensions -> Post Processing -> Modify G-Code
-
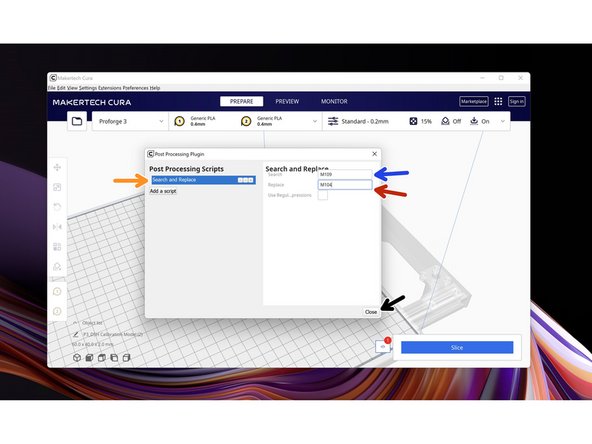
Go to Add a script -> Search and Replace
-
Search: M109
-
Replace: M104
-
Hit Close when done.
-
-
-
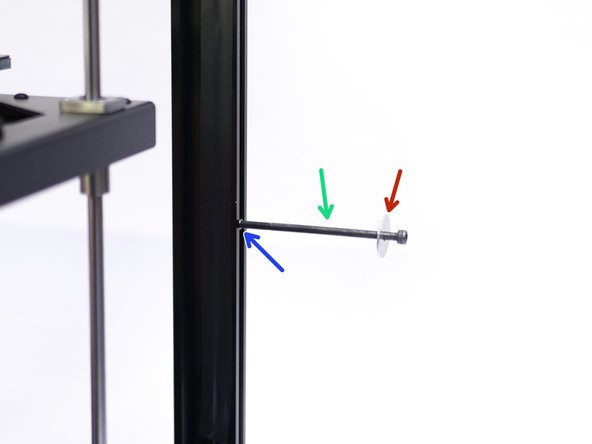
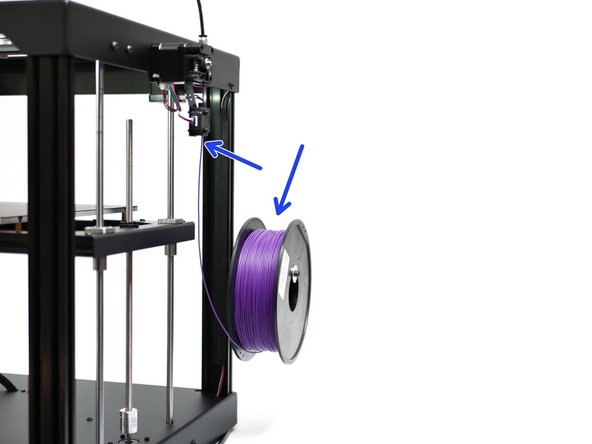
Fix the spool holders to the side of the Proforge 3 frame.
-
M5 x 100mm Bolt
-
M5 T-Nut
-
M5 Penny Washer
-
-
-
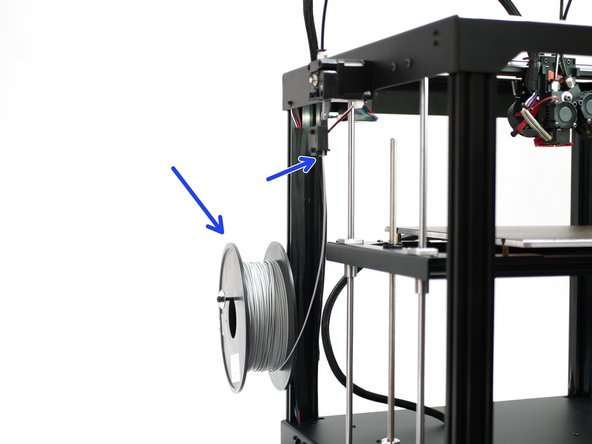
Load your filament. We're using ESun's PLA+ here.
-
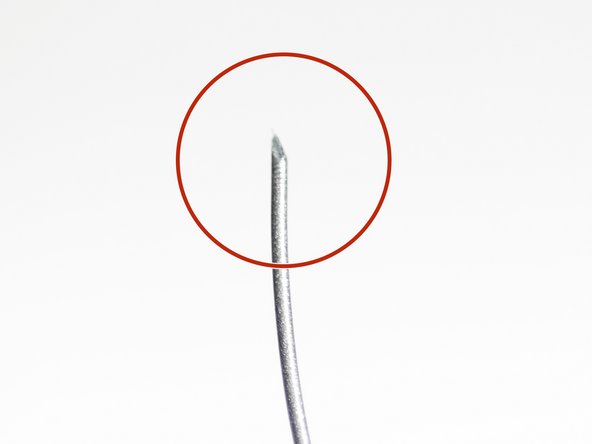
Use scissors or side cutters to create a sharp point and feed it into the extruders.
-
-
-
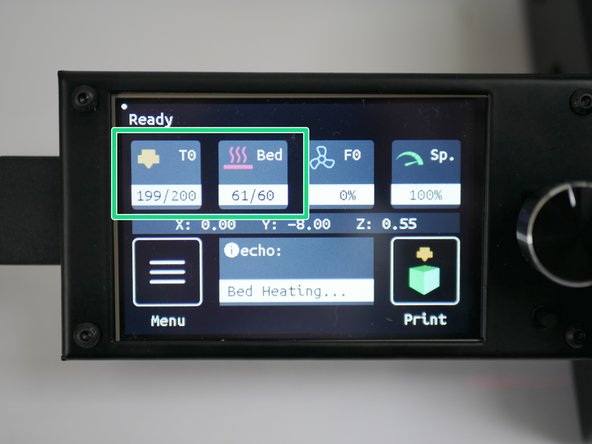
Pre-heat the hotends and bed to your printing temp.
-
In our case, 200C on both hotends and 60C on the bed.
-
-
-
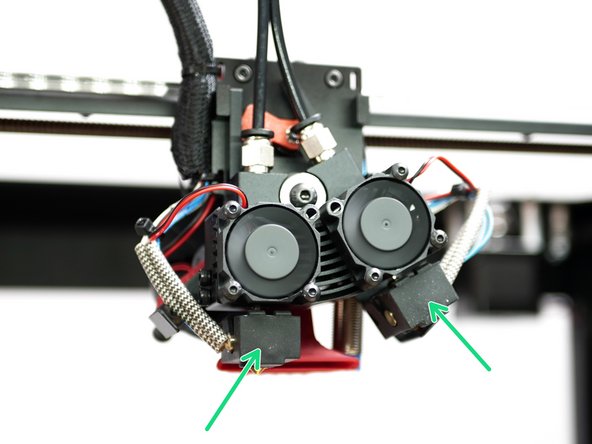
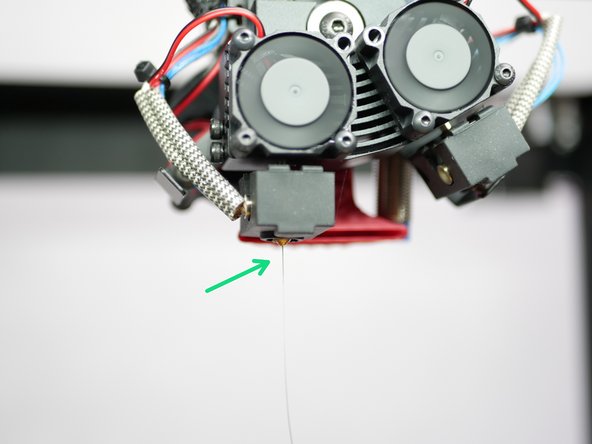
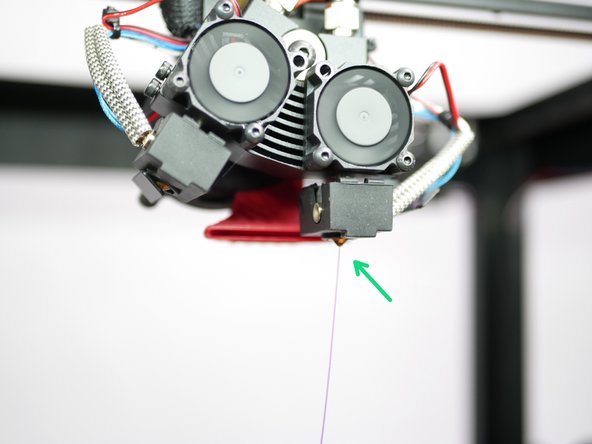
Run some filament through the hotends to check that you are getting a smooth flow of molten filament.
-
-
-
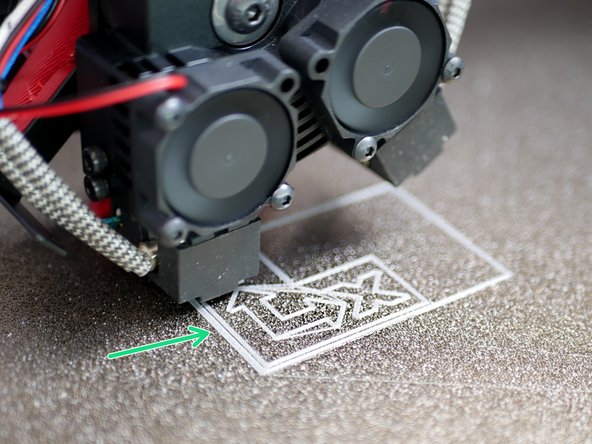
As your print begins check that a good first layer is being layed down.
-
If your nozzle is digging into the platform stop the print!
-
If you find your nozzle printing too high and the first layer not adhering well enough, stop the print!
-
-
-
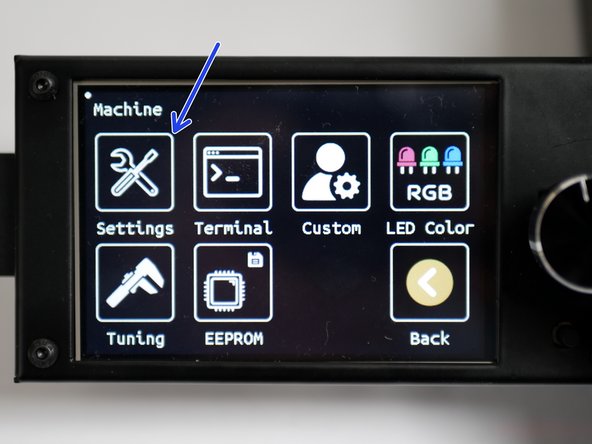
In the menu go to Settings -> Machine -> Setting
-
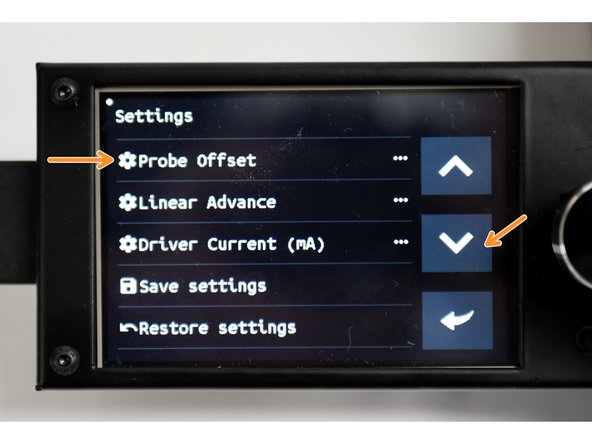
Scroll down to Probe Offset
-
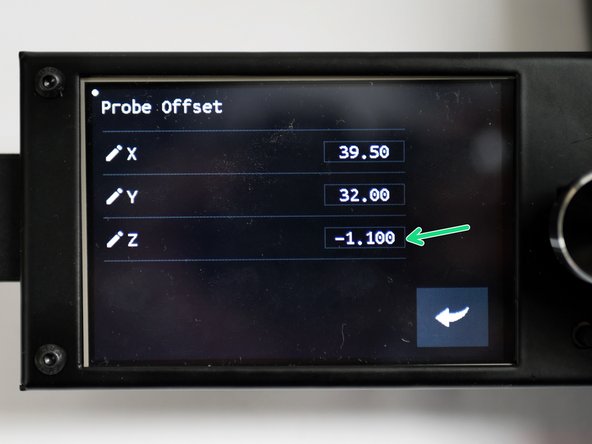
Adjust the Z-Offset
-
If the nozzle is digging into the platform, increase (+) the offset, so our initial -1.3 becomes -1.1
-
If the nozzle is too far away from the platform, decrease (-) the offset, so our initial -1.3 becomes -1.5
-
Save to EEPROM when done.
-
-
-
Congratulations you should have your Proforge 3 and Dual Switching Hotend all setup now!
-
If you find the two models to not be aligned perfectly, see the next few steps about calibration.
-
-
-
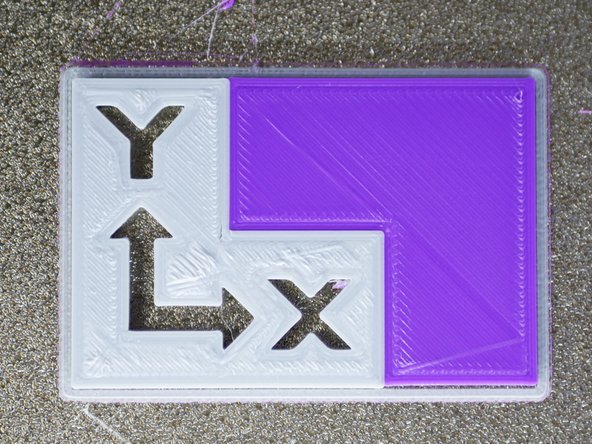
The calibration print should self align. The DSH is CNC machined to a high degree of precision. If you find gaps or overlaps in your print, we recommend first investigating that everything is OK mechanically.
-
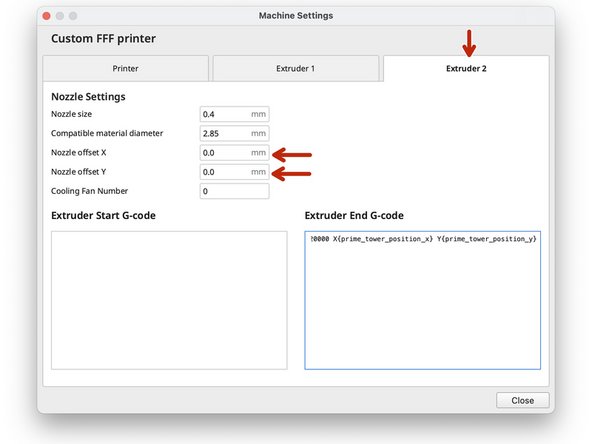
If everything is mechanically OK, then we will adjust the X/Y offsets in Cura with the aim of getting the two parts to line up.
-
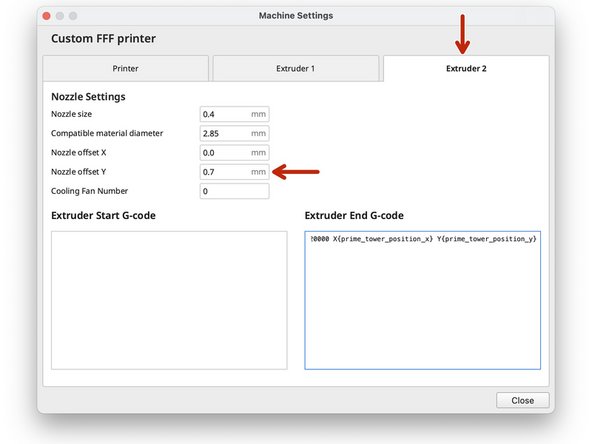
Offsets are entered in Machine Settings under the Hotend #2 Tab.
-
-
-
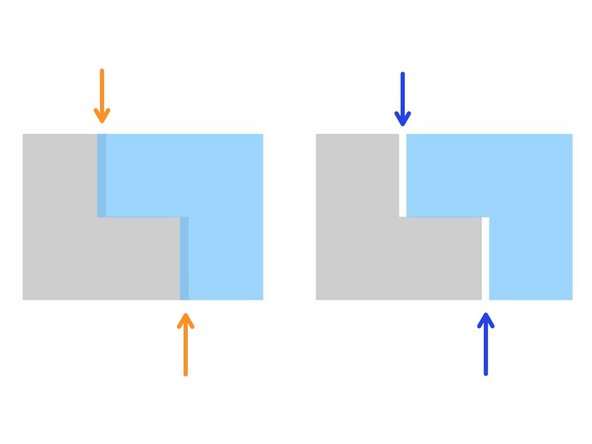
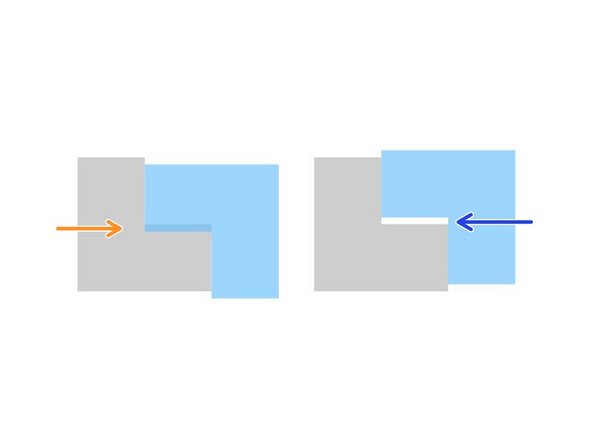
Overlapping in X Direction:
-
Decrease/Negative X-Offset
-
Gap in X Direction:
-
Increase/Positive X-Offset
-
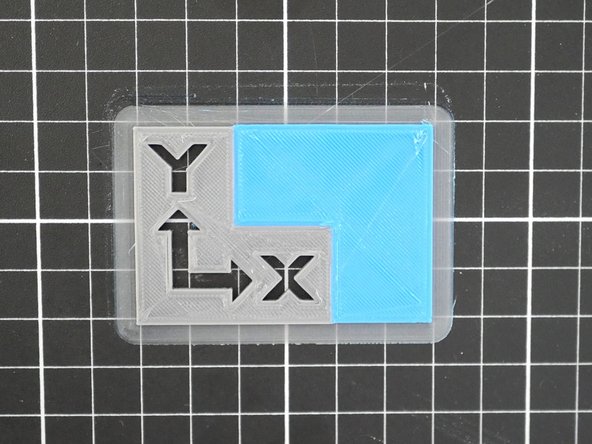
In this example case the print was fine in the X-Direction, so we left our X-offset as 0.
-
For example, if there had been a gap of 0.25mm, our offset would have been 0.25mm.
-
An overlap of 0.25mm would have meant an offset of -0.25mm.
-
-
-
Overlapping in Y Direction:
-
Decrease/Negative Y-Offset
-
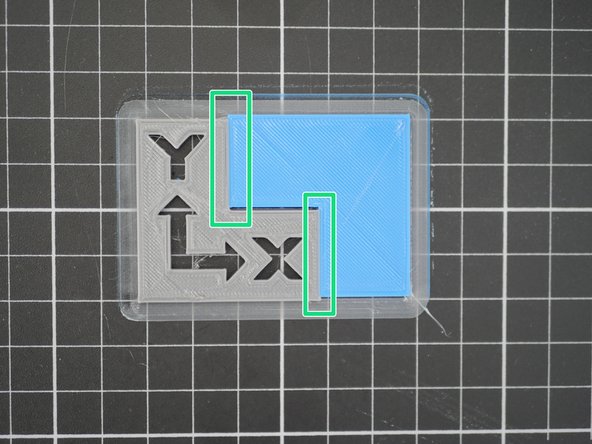
Gap in Y Direction:
-
Increase/Positive Y-Offset
-
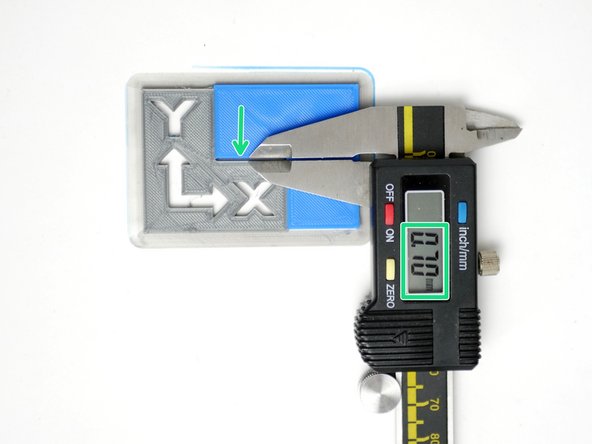
In our case the print had a gap in the Y Direction, so we set our Y-offset to 0.7mm.
-
If there had been an overlap of 0.7mm, our offset would have been -0.7mm.
-
-
-
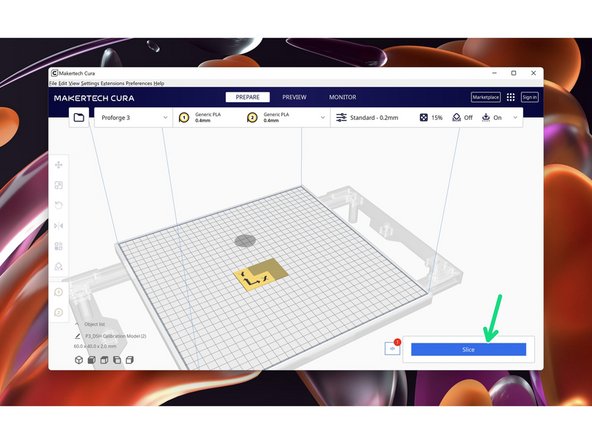
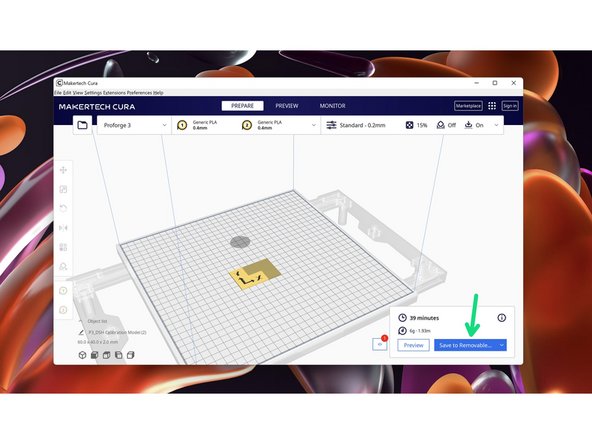
Re-slice the model in Cura and copy it onto the SD Card.
-
Congratulations! After printing the model again with the dialled in offsets you should have the DSE all setup.
-


Cancel: I did not complete this guide.
4 other people completed this guide.

8 Comments
Same here, servo won’t move like it suppose to anymore and can’t make the switch
Dries Douterloigne - Resolved on Release Reply
Me too.
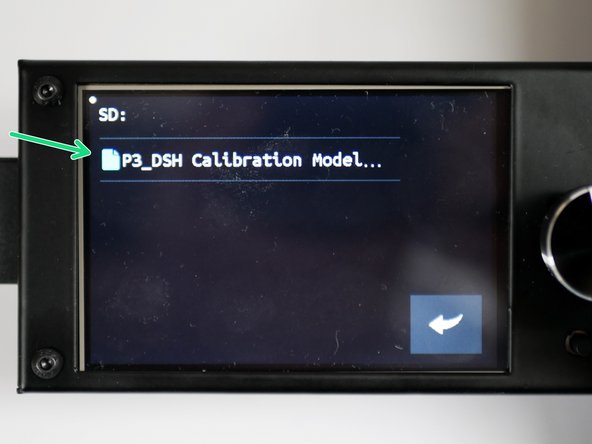
I start printing the Calibration Model.
And when it switch 2 times.
It don't change anymore.
Even I restart printer.
It doesn't move anymore.
Alan Wu -
At first, the DSH had no issues switching from one head to the other. After finishing the setup, however, it now has trouble completing the switch in either direction. I’ve also noticed that the servo motor gets quite hot. Not painful to the touch, but pretty close. Is it possible that the servo should be on only for switching sides and then be disabled in order to keep it cool? The shape of the rotator seems like it will hold the end steady. Alternatively, is it possible I got a bad servo? I’ve tried to reduce the resistance by bending wires and such, but it doesn’t seem to help at this point.
I tried the option “DEACTIVATE_SERVOS_AFTER_MOVE” in the “configuration.h”. (Not use Makerteck's official firm)
In my environment, new problem was occur. When hotends were in situation heating up, no problem. But, in the stable stage, affect by PID's control noize, servo was starting unexpect movement.
I will check out this problem more.
Tyagama -