-
-
Begin by downloading the following files/software:
-
Marlin Firmware
-
Touch Screen Firmware
-
USB Drivers
-
PrintRun - Printer Control Software
-
Download All Here
-
The downloads are in a compressed .zip format, you will need to use 7Zip to extract these files on PC.
-
-
-
You will also need to download and install the Arduino IDE.
-
-
Follow the install instructions and install the latest Arduino IDE software to your computer.
-
-
-
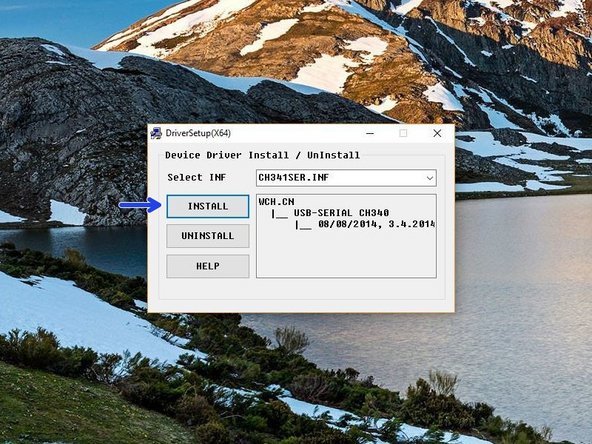
In the USB driver folder on PC double click on the CH341SER Driver - PC.EXE file. On MAC see the Readme.pdf file in the Mac folder.
-
You may need to right click, "run as admin" to open.
-
Once open, click INSTALL.
-
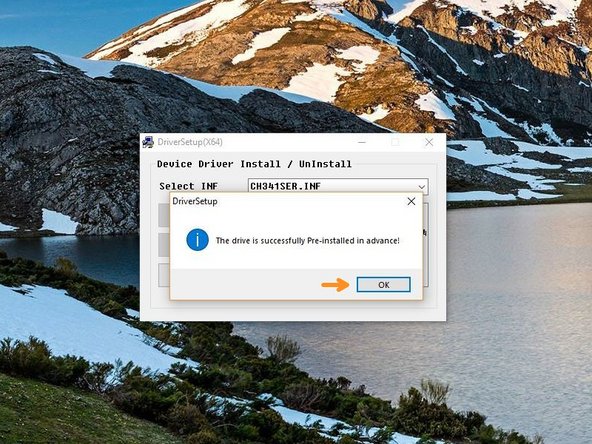
Once done, you should get a success message, click OK and close the programme.
-
-
-
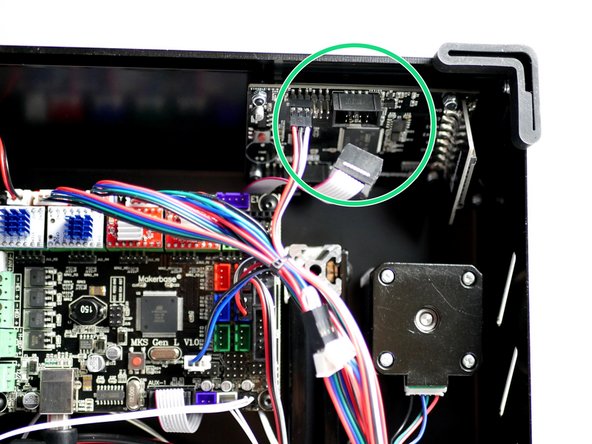
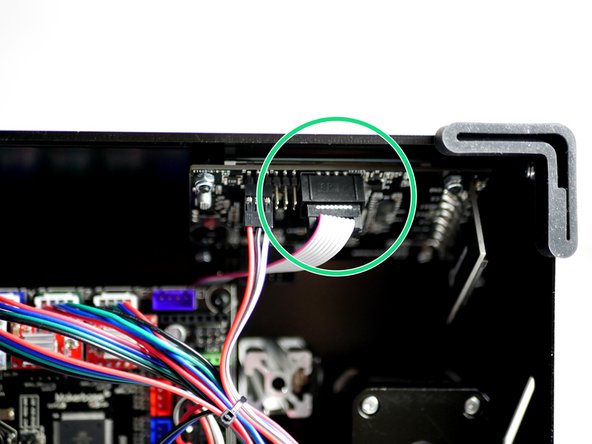
Disconnect the touch Screen display from the control board.
-
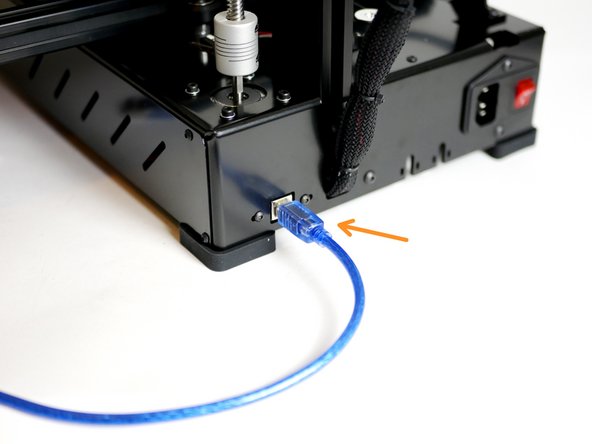
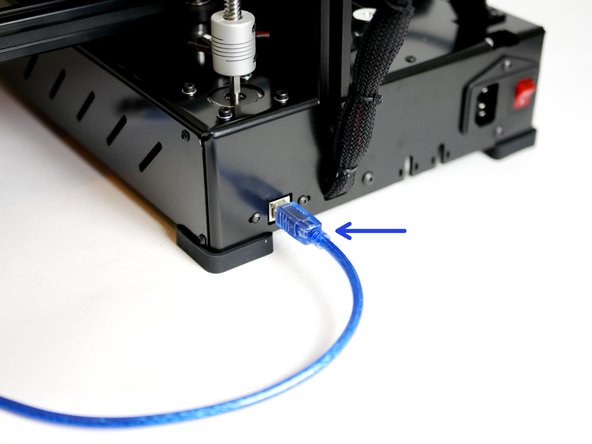
Connect the printer to your computer via the blue USB cable.
-
-
-
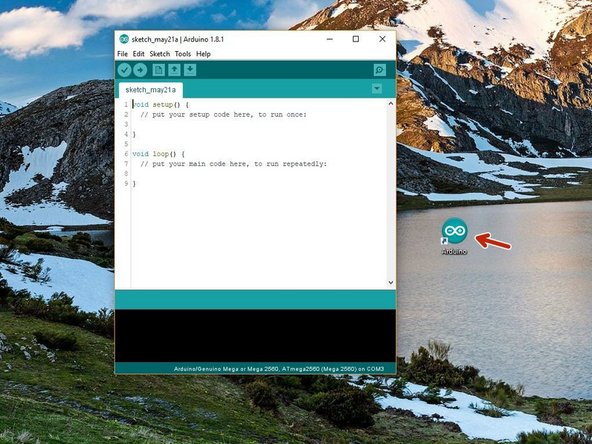
Open the Arduino IDE that you installed in step 2.
-
Right click, Run as Admin
-
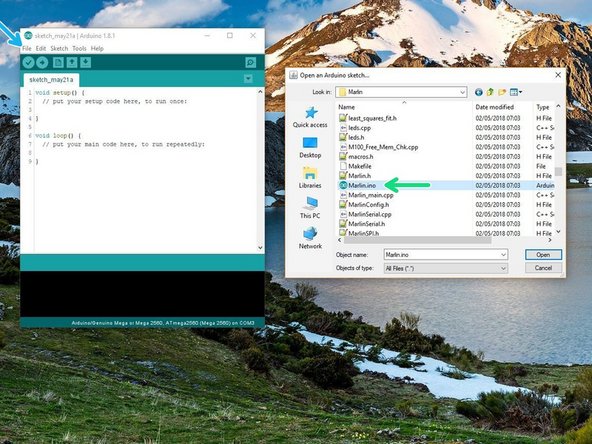
Go to File -> Open
-
Navigate to Marlin -> Marlin.ino in the Printer Firmware folder that you downloaded in step 1.
-
Select the correct firmware depending on whether you are building the Proforge 2 or 2S.
-
-
-
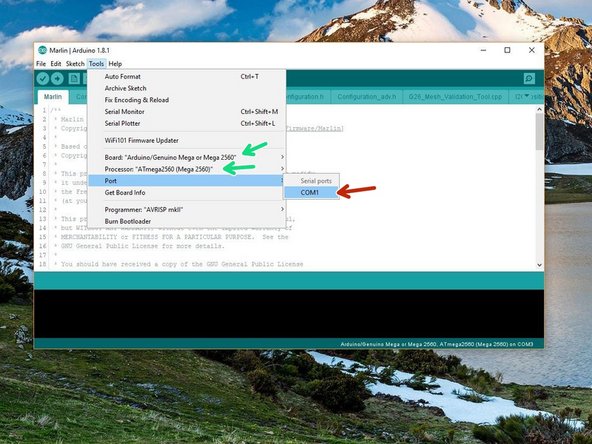
Go to Tools -> Port and select the port the Proforge 2/2S is connected to.
-
There should only be one but if you have others disconnect the Proforge from your computer to deduce the correct COM port.
-
Set the Board and Processor to Mega 2560
-
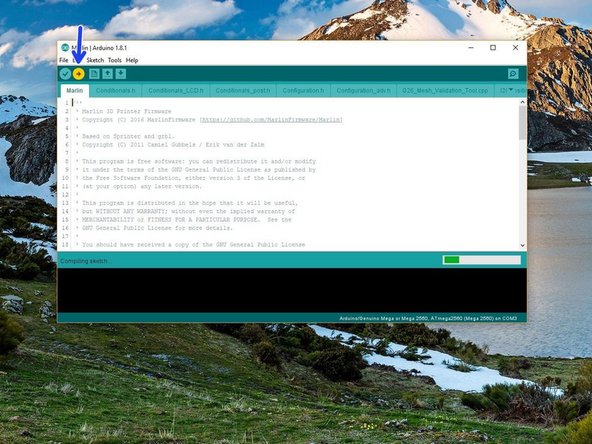
Click upload.
-
-
-
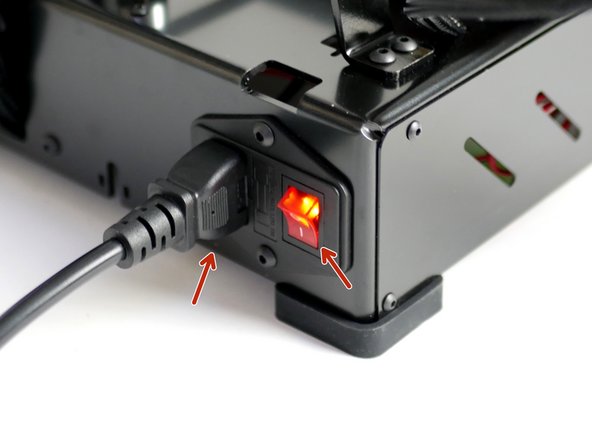
Once the firmware has done uploading keep the USB connected and power up the Proforge 2/2S via the mains power cable.
-
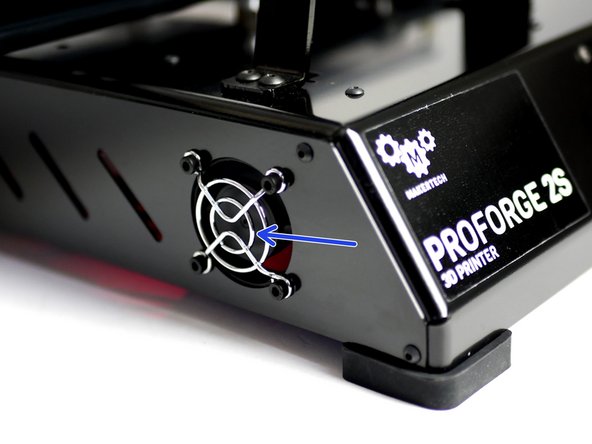
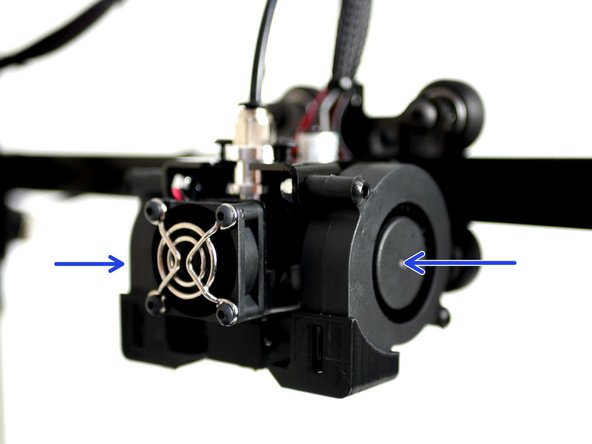
Check that the Hotend fan is spinning.
-
Check that the electronics fan is also spinning.
-
-
-
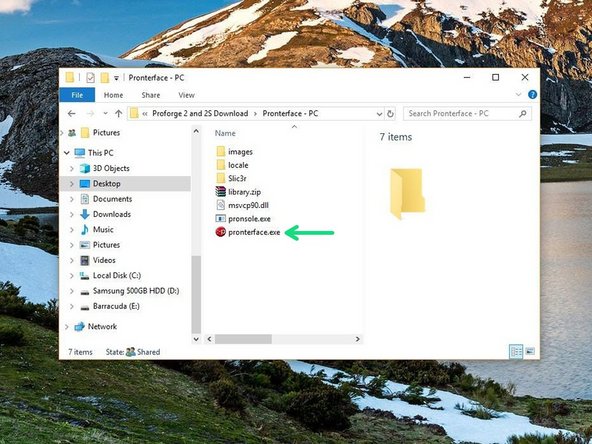
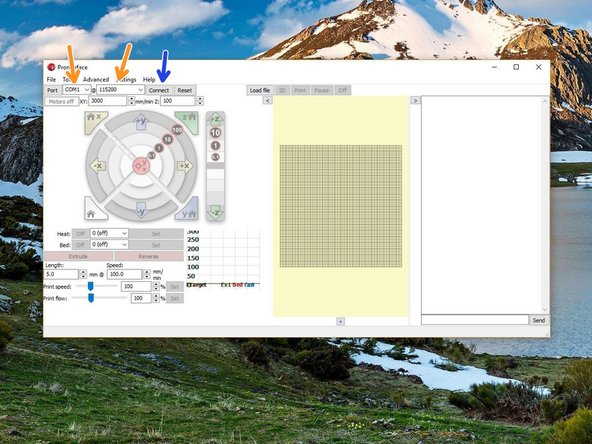
Launch Pronterface directly from its folder.
-
Select your COM port, and set the baudrate to 250000.
-
Connect to the Proforge 2/2S.
-
-
-
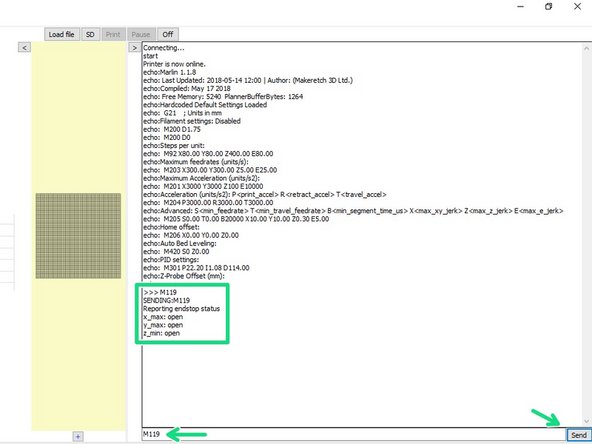
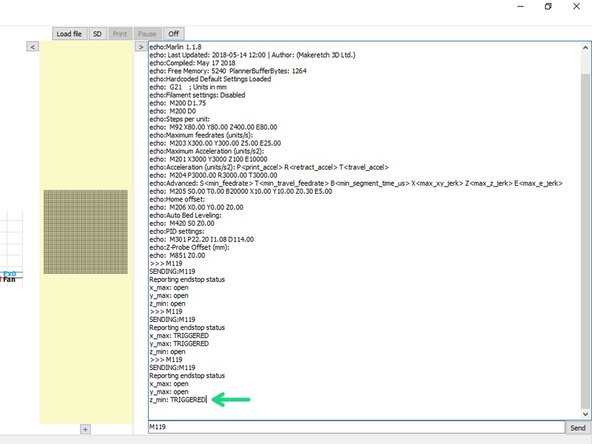
Once connected send an M119 command through the terminal on Pronterface.
-
It should read back open for both the endstops and probe.
-
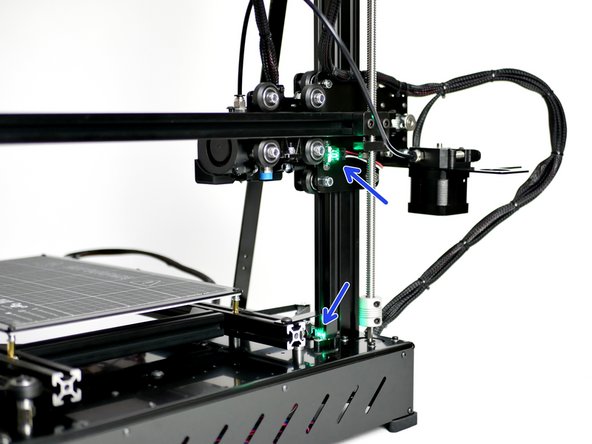
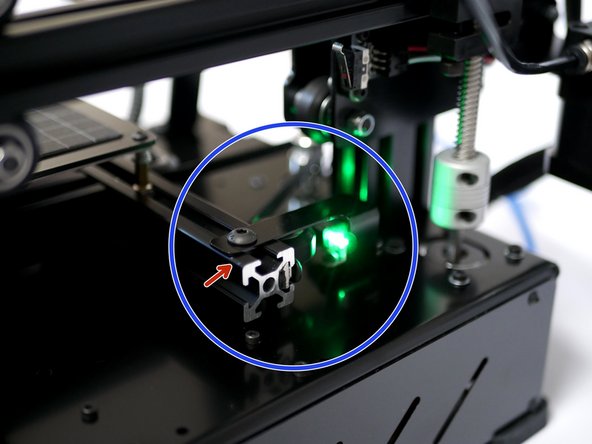
Move the axes so to trigger the X & Y endstops. A green light should shine.
-
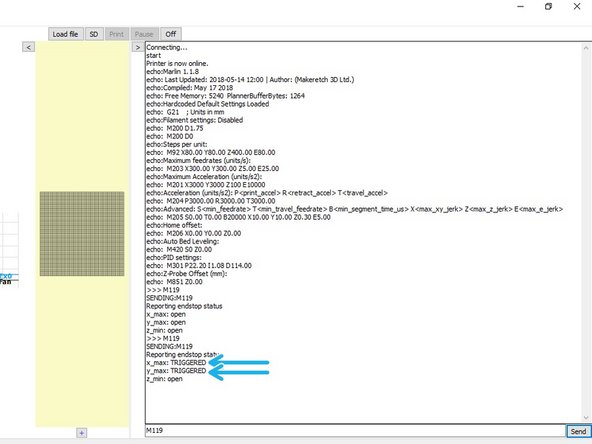
Send the M119 command again - the X & Y endstops should return with a TRIGGERED message.
-
-
-
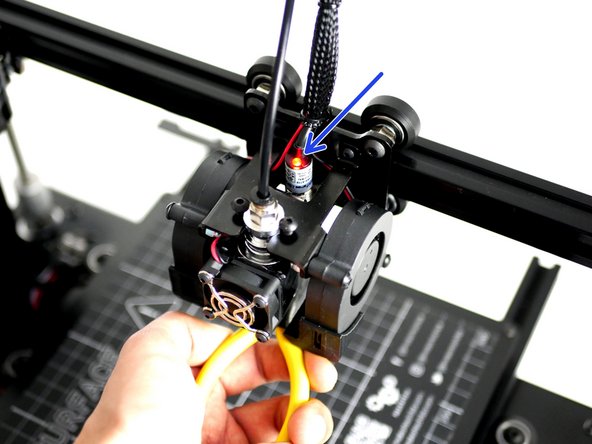
Whilst holding a metal object under the probe (a red light should shine) send the M119 command.
-
Pronterface should return: z_min: TRIGGERED.
-
-
-
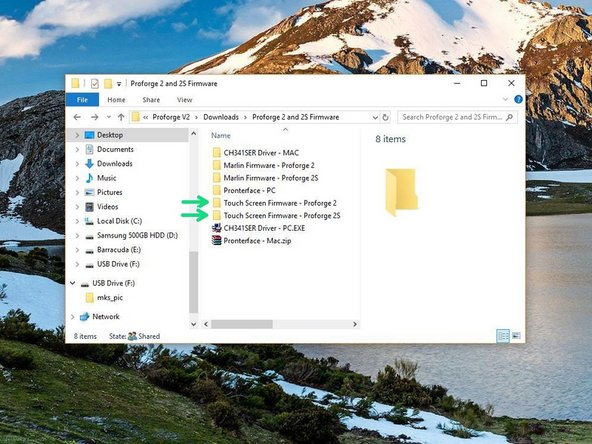
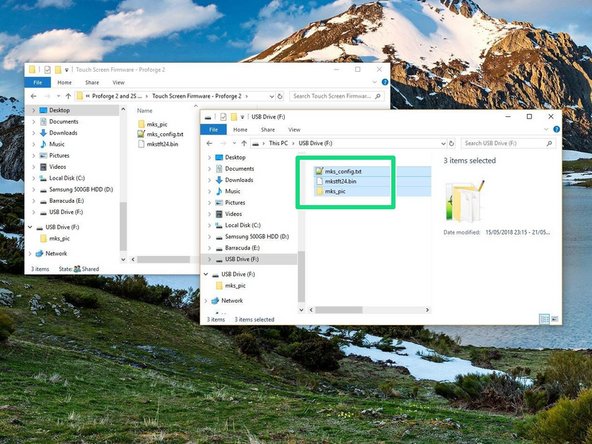
Copy the contents of the Touch Screen Firmware folder (depending on whether you're building a Proforge 2 or 2S) to the included SD card.
-
Make sure only the contents of the folder is on the SD card.
-
-
-
Power off the Printer and unplug the USB cable from the Proforge.
-
Reconnect the Touch Screen to the control board.
-
-
-
Insert the SD card (with Touch Screen Firmware on it) into the Proforge 2/2S.
-
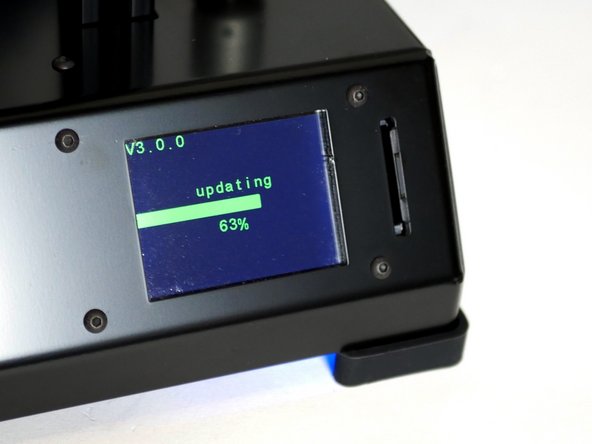
Power up again the Proforge 2/2S. The Touch Screen display should now power up and begin installing the firmware immediately.
-
Wait for the install on the Touch Screen to finish, it should only take a minute.
-
-
-
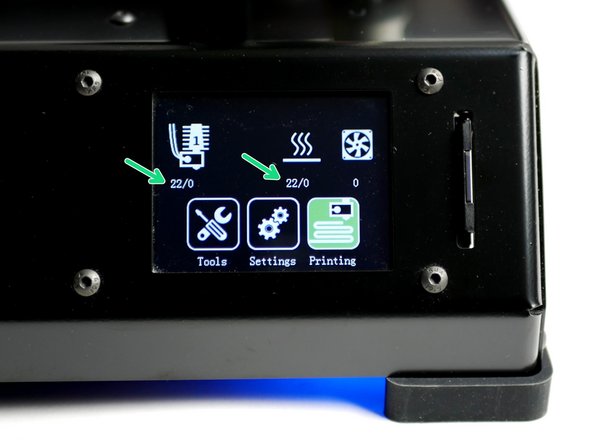
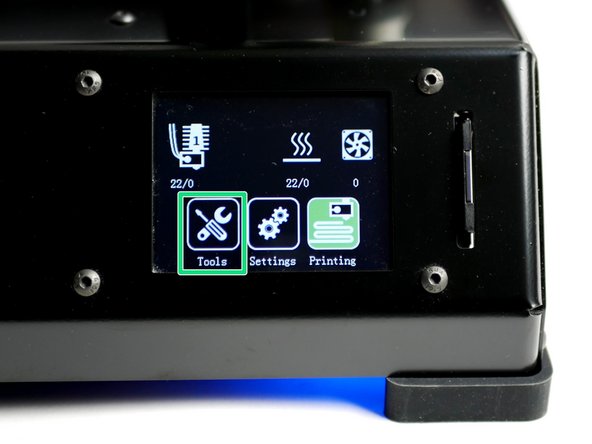
Once done uploading you should have a screen that looks like this.
-
Check that you are getting correct temperature readings (Celsius), ie. room temperature.
-
-
-
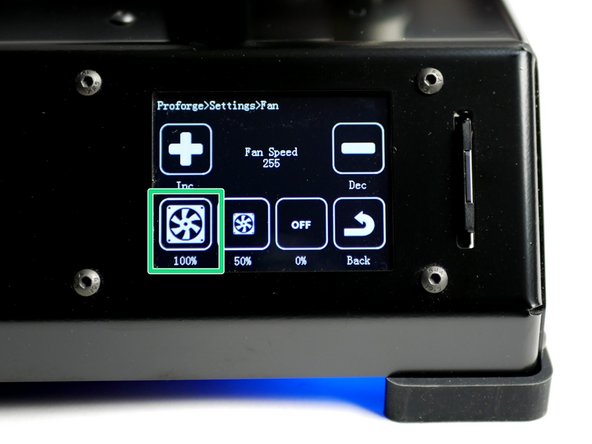
Go to Settings -> Fan
-
Power up to 100%
-
Both of the blower fans should start running.
-
-
-
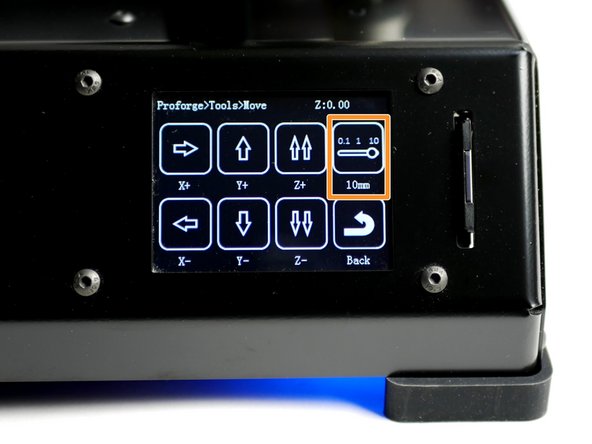
On the touch screen go to Tools -> Move.
-
Press the toggle switch to set motion to 10mm.
-
-
-
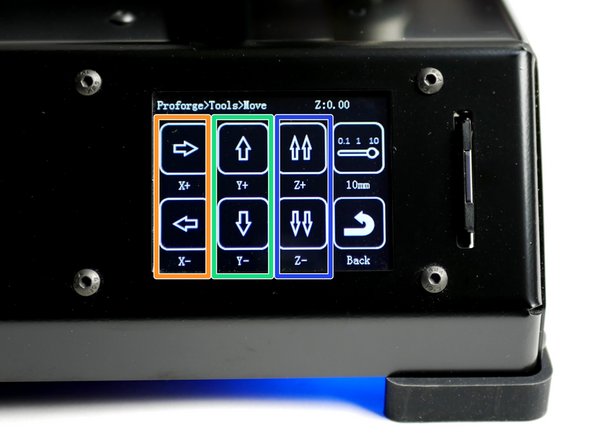
X-Axis: Pressing the right arrow will move the bed to the left, and vice versa.
-
This is correct as the nozzle position has moved to the right relative to the bed.
-
Y-Axis: Pressing the forward arrow will move the hotend towards the endstop and vice versa.
-
Z-Axis: Pressing the double up arrow will move the gantry up and vice versa.
-
You will not be able to move to a negative position from your original starting position - this is normal.
-
-
-
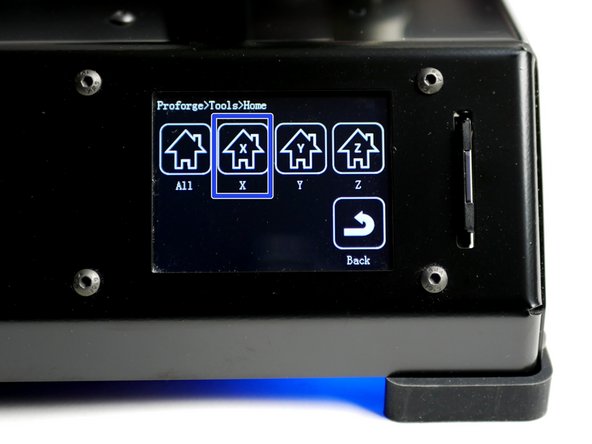
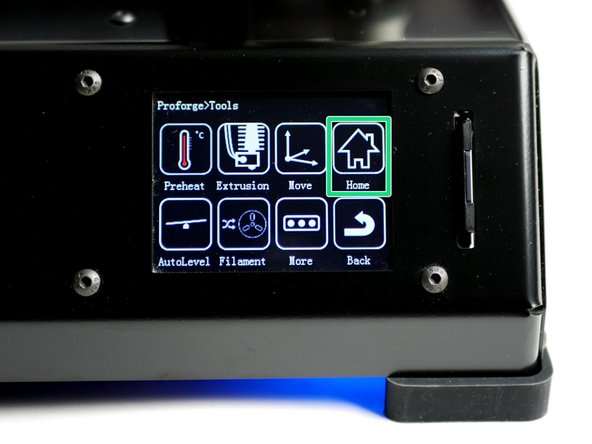
Using the touch screen go to Tools -> Home.
-
Home X
-
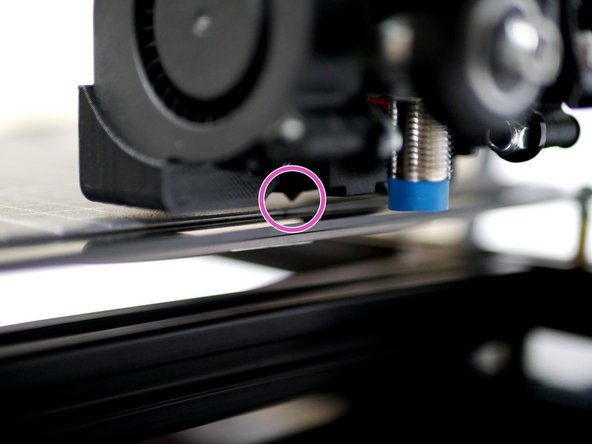
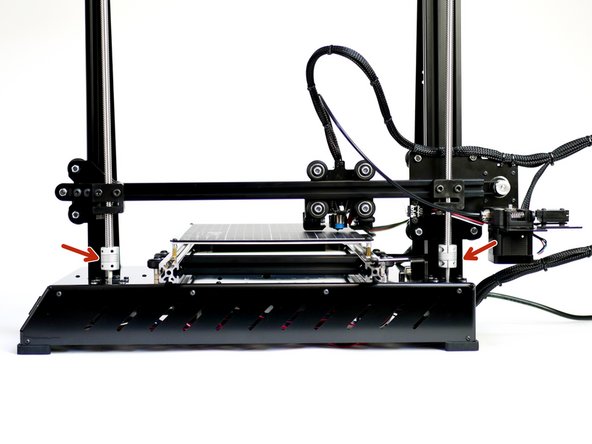
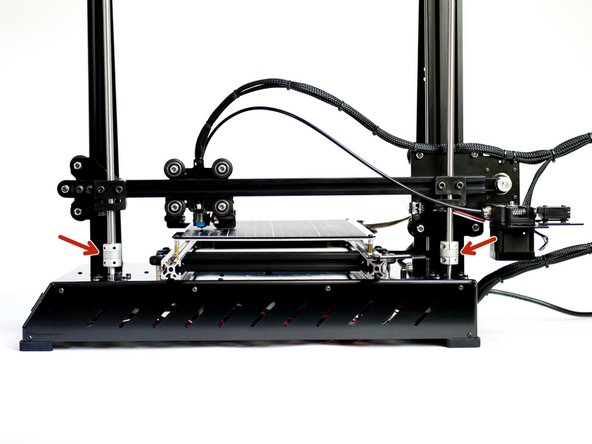
With X homed the nozzle should land above the right edge of the print surface.
-
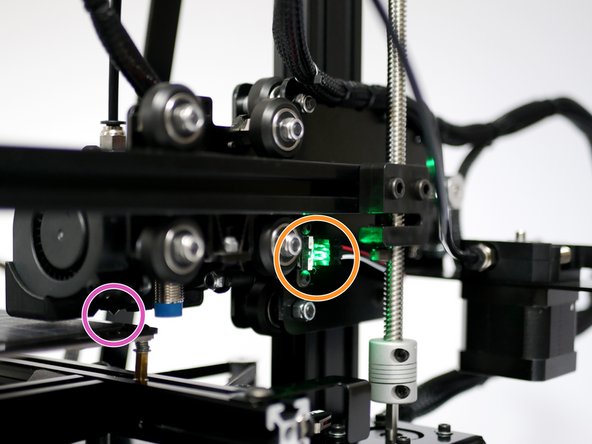
If you find the nozzle not lining up correctly in the X direction adjust the endstop trigger to achieve better alignment. The distance between the end of the beam and the edge of the metal part should be approximately 6mm.
-
-
-
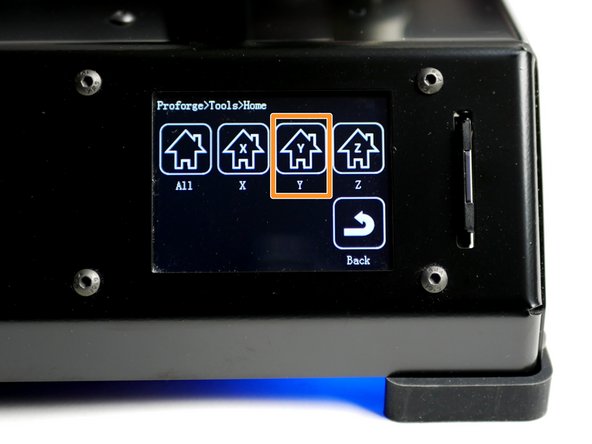
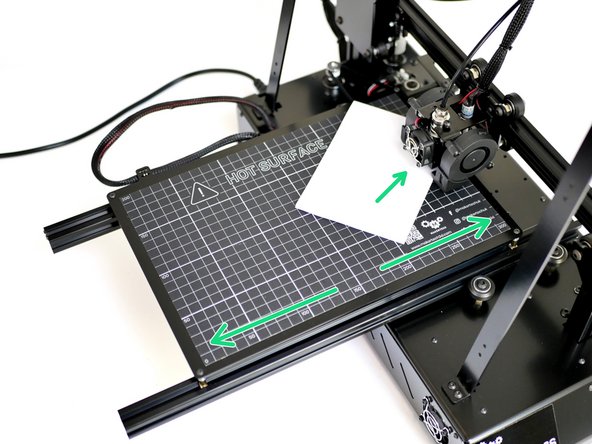
Home Y
-
The nozzle should land about 1cm from the top edge of the print surface, this is OK.
-
-
-
If you have the Flexplate upgrade make sure it is on the platform before starting.
-
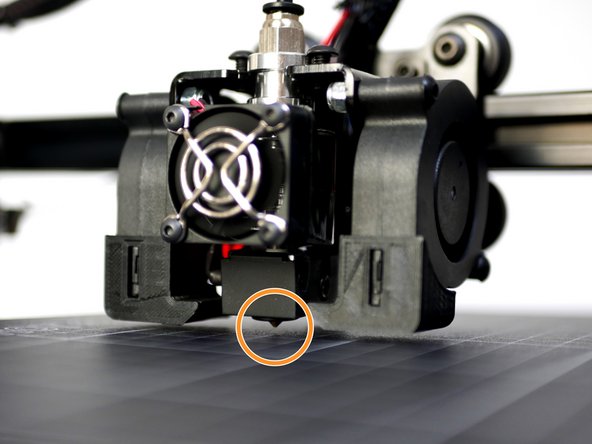
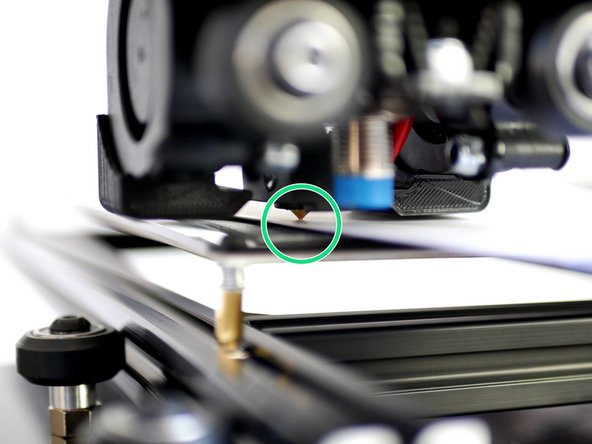
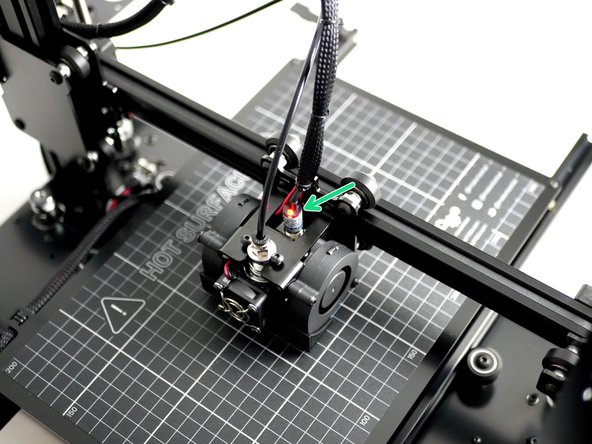
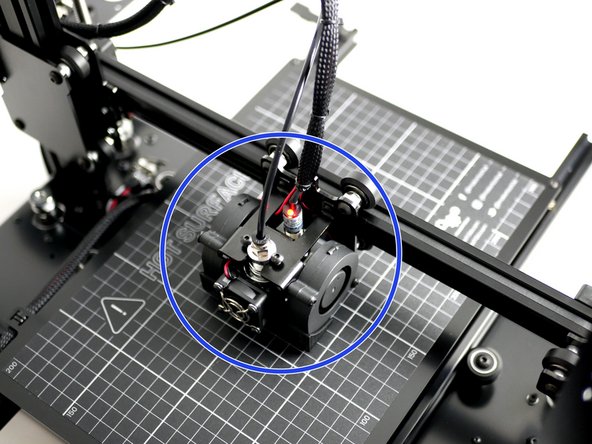
Lower the gantry so that the nozzle comes close to the print surface. Once close enough the red light on the probe should come on.
-
The nozzle tip should always remain above the surface when the probe is triggered. The bottom of the probe should always remain above the tip of the nozzle.
-
Nozzle too close or hits the print surface before the red light on the probe comes on:
-
Lower the probes position on the mount and check again.
-
Red light on probe but nozzle tip is too far away from the print surface:
-
Raise the probes position on the mount and check again.
-
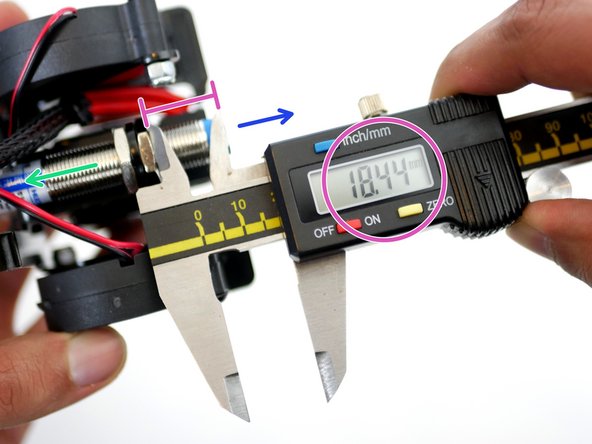
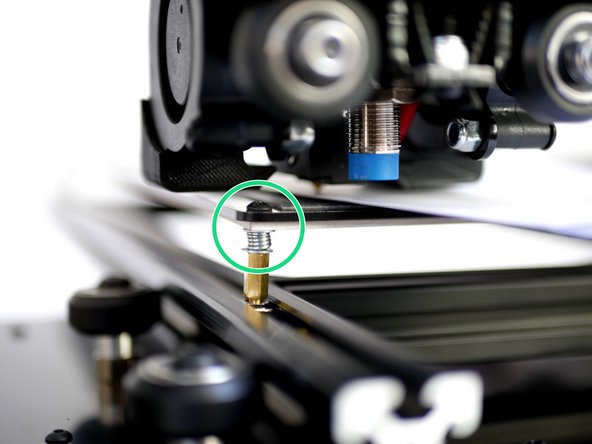
The optimal position of the probe is around 18mm from the bottom of the probe and the bottom of the lower nut as shown in the 3rd image.
-
-
-
The Proforge 2/2S features automatic bed-levelling but to help get more accurate results we need to first make sure that the bed is physically as level as it can be.
-
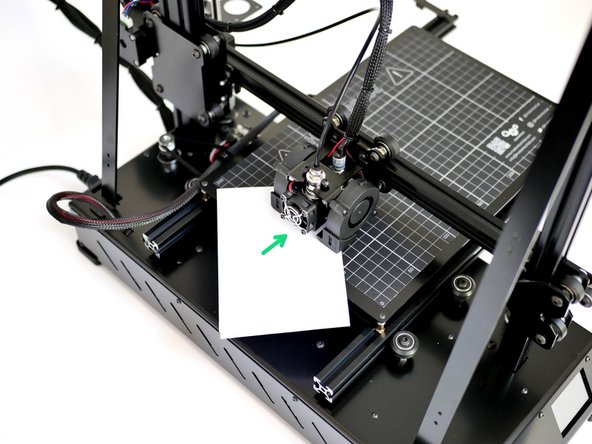
Adjust the z-motors so to get the distance between the nozzle and print surface along the y-axis (gantry) equal.
-
Use a folded piece of paper to feel the gap between the nozzle and print surface.
-
-
-
Next use the springs on the platform to level the print surface in the X-direction (or both the X & Y direction if you're building the Proforge 2).
-
Turn the screw anti-clockwise to raise that corner of the platform.
-
Use a folded piece of paper to feel the gap between the nozzle and print surface.
-
-
-
To check that the probe and bed is set up correctly we are going to Home all of the axes together.
-
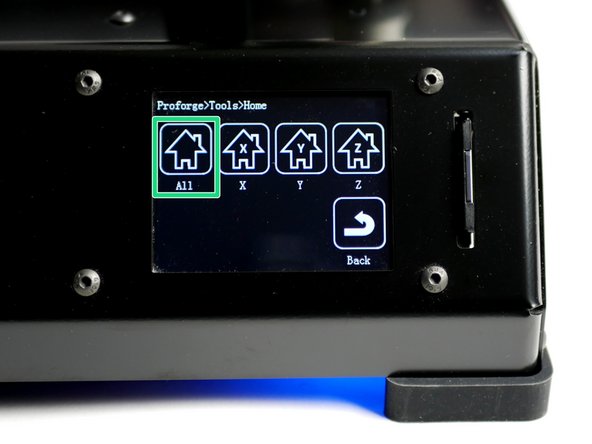
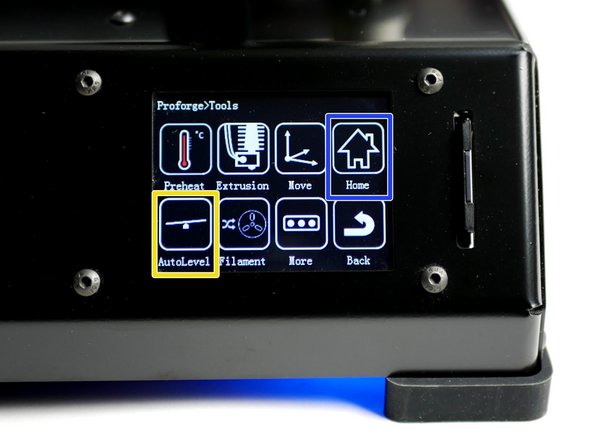
Using the touch screen go to tools -> Home -> Home All
-
X & Y will automatically home first. Then the probe should move to the centre of the platform and slowly lower until it's triggered.
-
The gantry will go up at first and then begin lowering - this is normal.
-
Have your finger ready on the power switch to power off in the event of a crash. If you do crash the hotend into the platform re-check your probe postioning - it's likely too far above the nozzle and needs lowering.
-
-
-
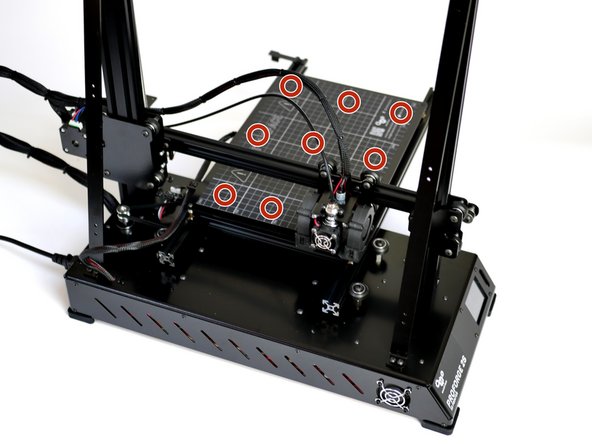
With a successful Z Home go to Tools -> auto-level. Press ONCE.
-
The axes will home again and the sensor will now go around the platform probing 9 points.
-
Again, have your finger ready on the power switch to power off in the event of a crash.
-
Once the Auto-levelling has been completed, re-home all of the axes to return the nozzle to the centre of the platform.
-
-
-
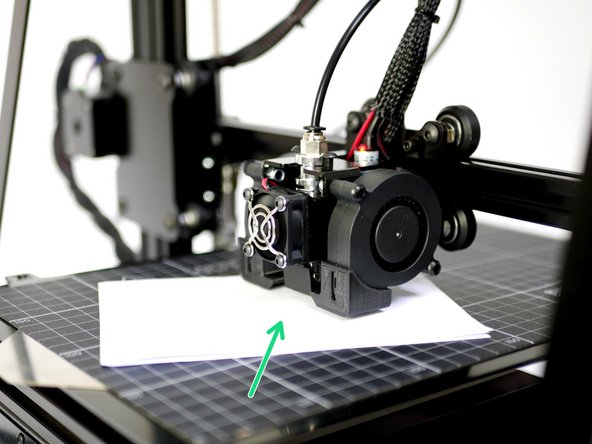
Take the folded piece of paper and place between the surface and nozzle.
-
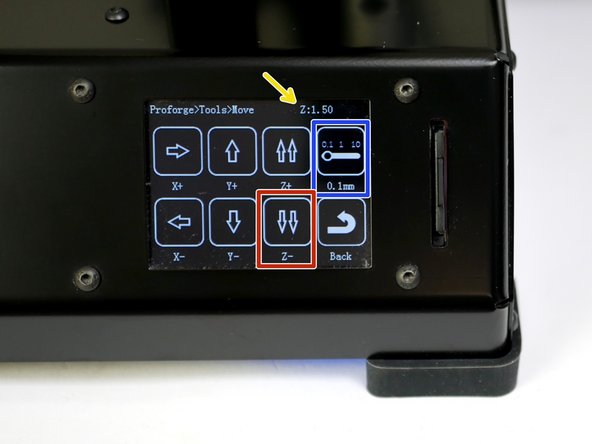
On the touch screen go to Tools -> Move and toggle the distance selector to 0.1mm.
-
Use the touch screen display to lower the nozzle (z-axis) in 0.1mm increments until it begins to grip the paper.
-
Make a note of the Z height displayed on the top right of the touch screen when the paper begins to be gripped. (This value will be 3.00mm to begin with, this is normal.)
-
In this case it ended up being 1.50mm when the paper began to be gripped, but this value will be different for everyone.
-
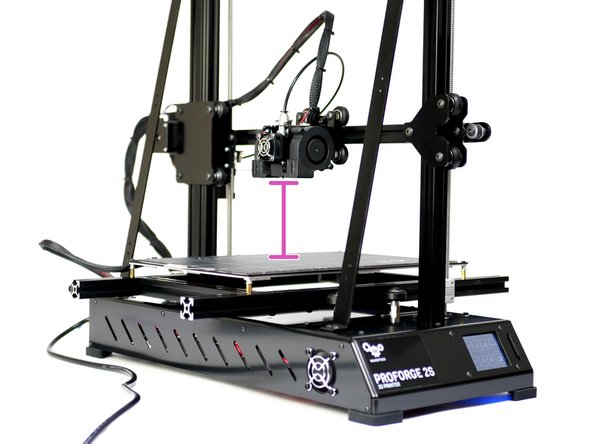
When done raise the nozzle up about 80mm.
-
-
-
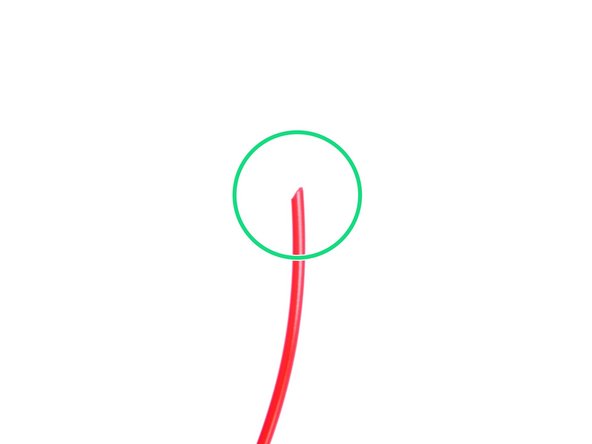
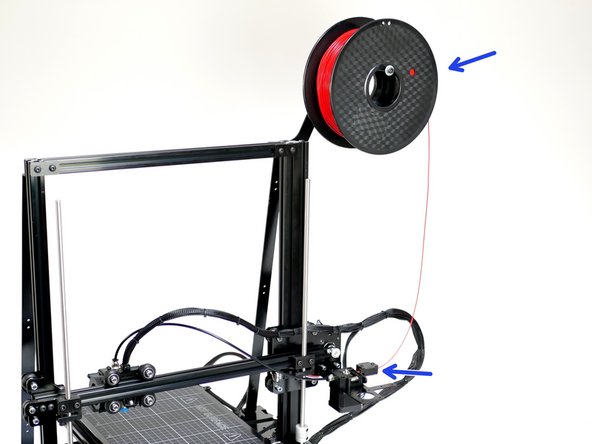
Take the included sample of PLA filament out of its packaging.
-
Use the included pliers to cut a sharp end.
-
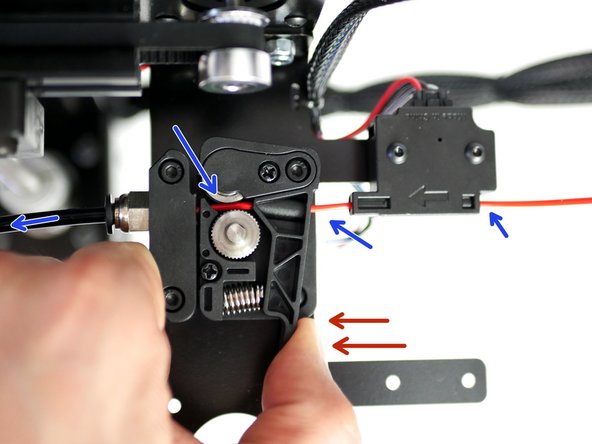
Place the spool of filament onto the spool holder and feed the filament through the filament sensor.
-
Press down the Idler arm and push the filament in through the feeder and through the PTFE tubing until it reaches the Hotend.
-
-
-
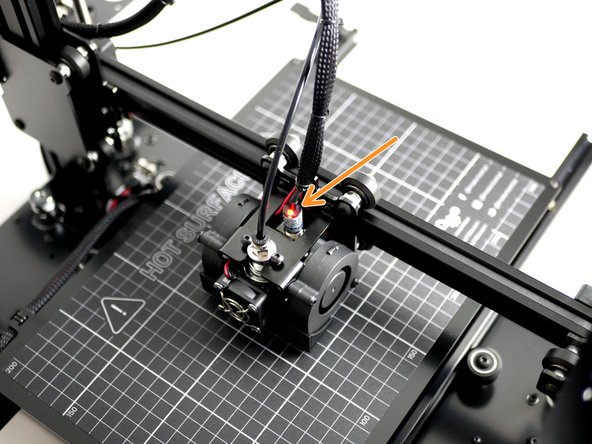
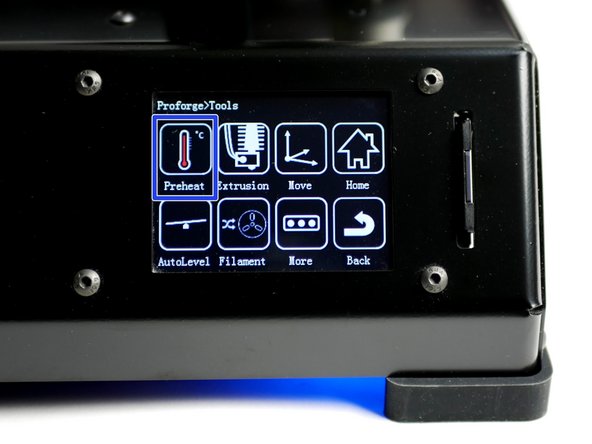
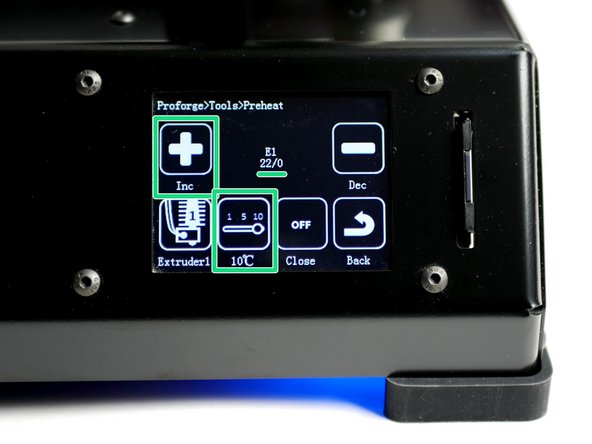
On the touch screen go to Tools -> Preheat
-
Heat the Hotend up to 200C.
-
Wait for the Hotend to heat up.
-
Caution - the Hotend will cause burns if touched while hot!!!
-
-
-
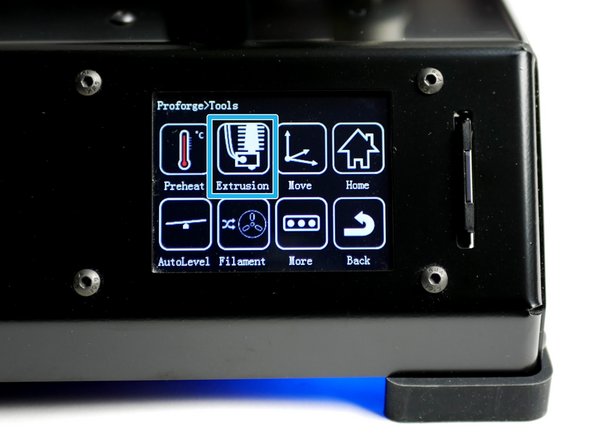
With the Hotend up to temp and the filament loaded, go to Tools -> Extrusion.
-
This is the length of filament that will be fed, each time you tap the down arrow.
-
This is the speed setting.
-
You should have a smooth and continuous flow of plastic coming out of the Hotend nozzle.
-
The extruded plastic will be hot!
-
NOTE: When powering down from a hot Hotend, power the hotend down first and let it cool to at least 100C before completely powering off - as this prevents the heat from rising up the hotend with the absense of the fan cooling it.
-
-
-
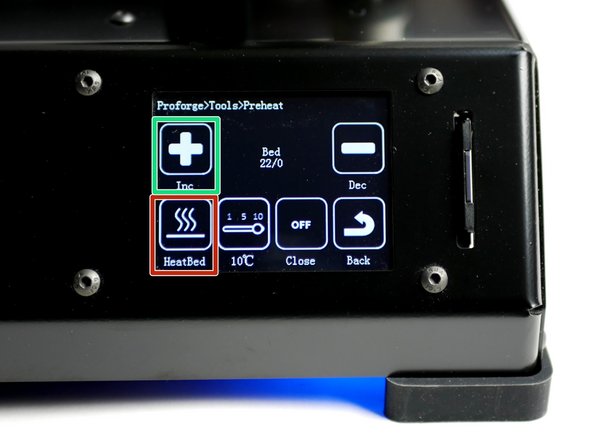
Go to Tools -> Preheat
-
Press the extruder icon to toggle to the bed.
-
Power on the bed by setting its temperature to 60C - typical for PLA printing.
-
The bed should begin to heat up.
-
Do not touch the bed when hot!!!
-