Difficulty
Moderate
Steps
13
Time Required
- Stage 10 - Programming 13 steps

In Progress
This guide is currently being written. Reload periodically to see the latest changes.

Private
This guide will not appear in search results and can only be viewed by team members!
Quiz
0
-
-
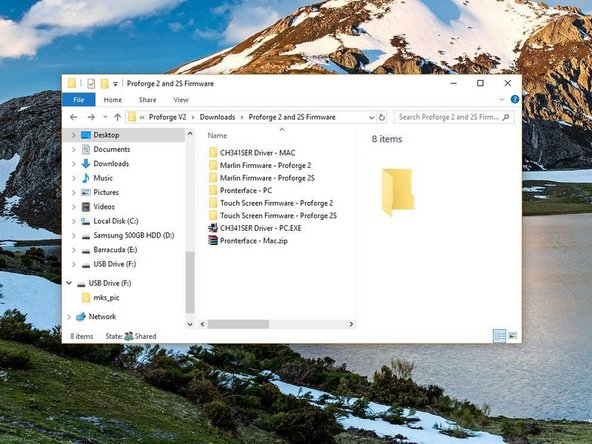
Begin by downloading the following files/software:
-
Marlin Firmware
-
Touch Screen Firmware
-
USB Drivers
-
PrintRun - Printer Control Software
-
Download All Here
-
The downloads are in a compressed .zip format, you will need to use 7Zip to extract these files on PC.
-
-
-
You will also need to download and install the Arduino IDE.
-
-
Follow the install instructions and install the Arduino IDE software to your machine.
-
The Firmware has been tested and is working with V1.8.5 of the arduino IDE.
-
-
-
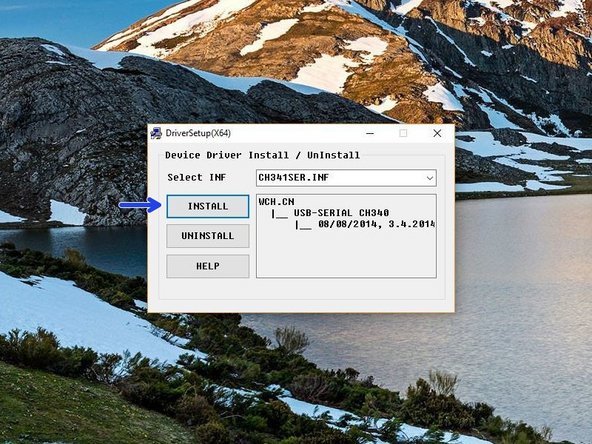
On PC double click on the CH341SER Driver - PC.EXE file. On MAC see the Readme.pdf file in the Mac folder.
-
You may need to right click, "run as admin" to open.
-
Once open, click INSTALL.
-
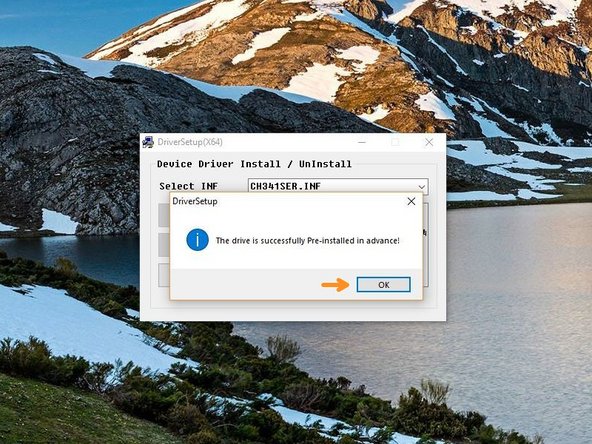
Once done, you should get a success message, click OK and close the programme.
-
-
-
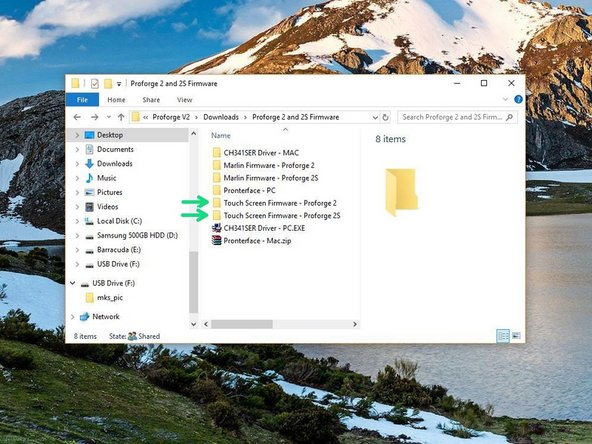
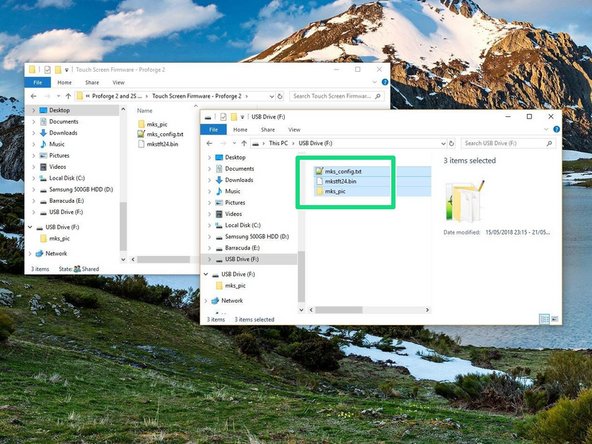
Copy the contents of the Touch Screen Firmware folder (depending on whether you're building a Proforge 2 or 2S) to the included SD card.
-
Make sure only the content of the folder is on the SD card.
-
-
-
Insert the SD card (with Touch Screen Firmware on it) into the Proforge 2/2S.
-
Connect the Proforge to you PC/MAC via USB.
-
Wait for the install on the Touch Screen to finish, it should only take between 1-2 minutes.
-
-
-
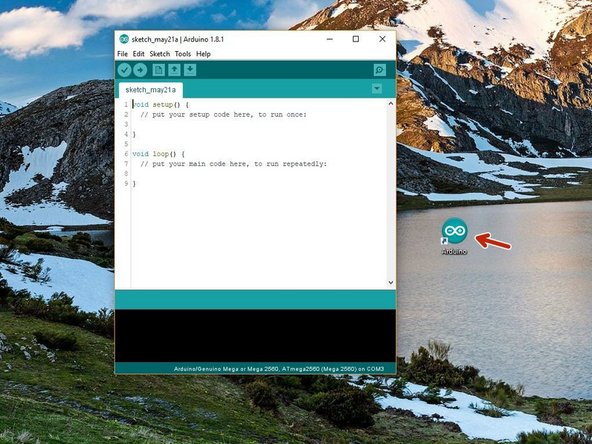
Open the Arduino IDE that you installed in step 2.
-
Right click, Run as Admin
-
Go to File -> Open and navigate to Marlin.ino in the Marlin Firmware folder that you downloaded in step 1.
-
-
-
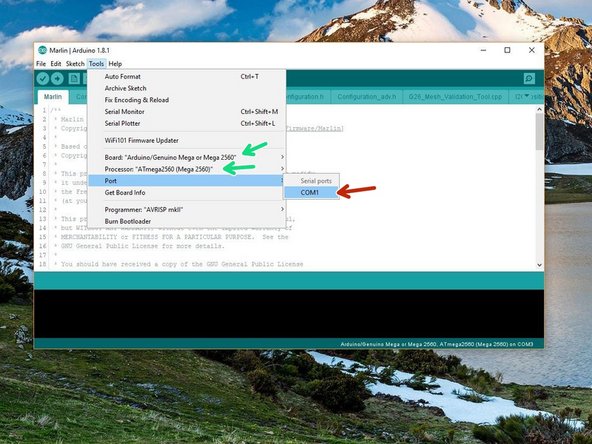
Go to Tools -> Port and select the port the Proforge 2/2S is connected to.
-
There should only be one but if you have other right click the windows start icon and open device manager to find the correct COM port.
-
Set the Board and Processor to Mega 2560
-
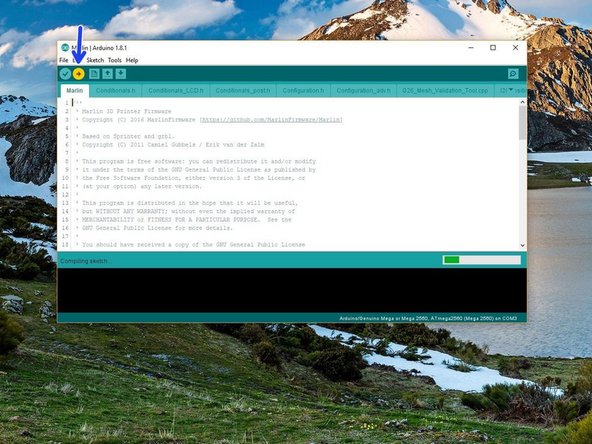
Click upload.
-
-
-
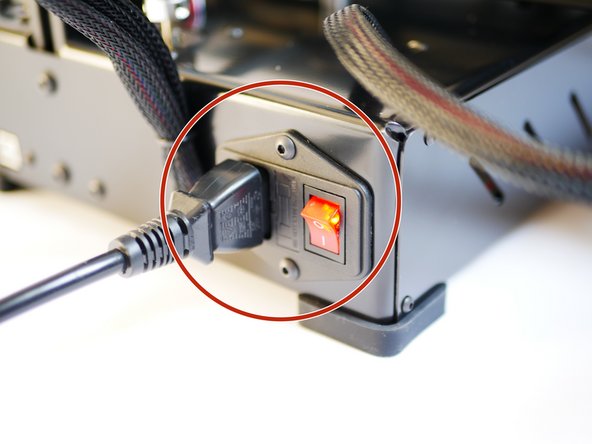
Once it has done uploading keep the USB connected and power up the Proforge 2/2S via the mains power cable.
-
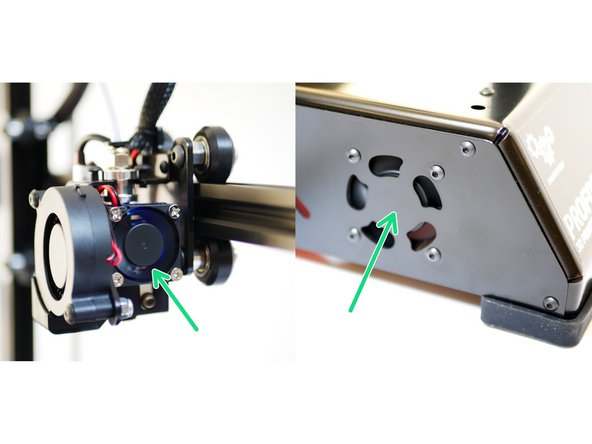
Check that the HotEnd fan is spinnning and that the electronics fan is also spinning.
-
Check that you are getting the correct temperature displaying on the screen (i.e. room temp.)
-
-
-
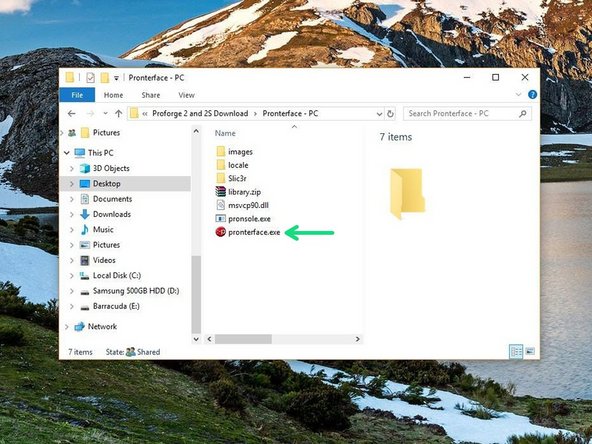
Launch pronterface directly form its folder.
-
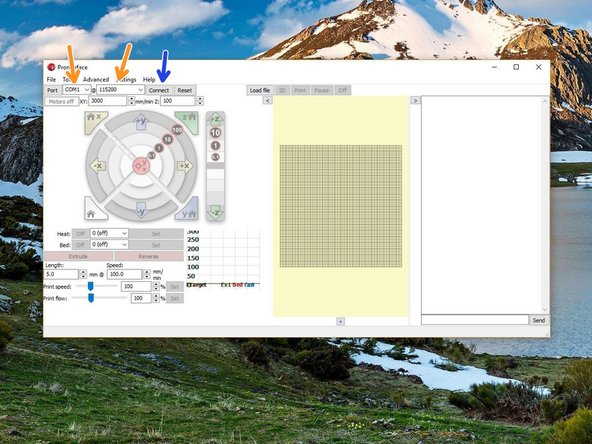
Select your COM port, and set the baudrate to 115200.
-
Connect to the Proforge 2/2S.
-
-
-
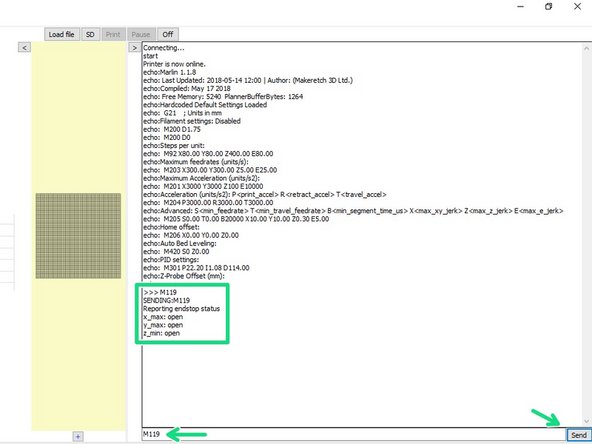
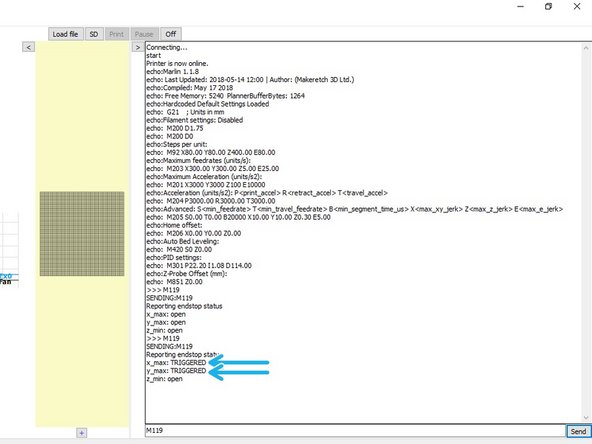
Once connected send an M119 command through the terminal on Pronterface.
-
It should read back open for both the endstops and probe.
-
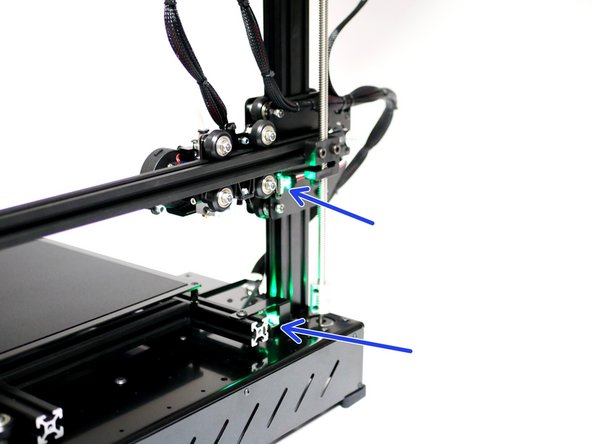
Move the axes so to trigger the X & Y endstops. A green light should shine.
-
Send the M119 command again - the X & Y endstops should return with a TRIGGERED message.
-
-
-
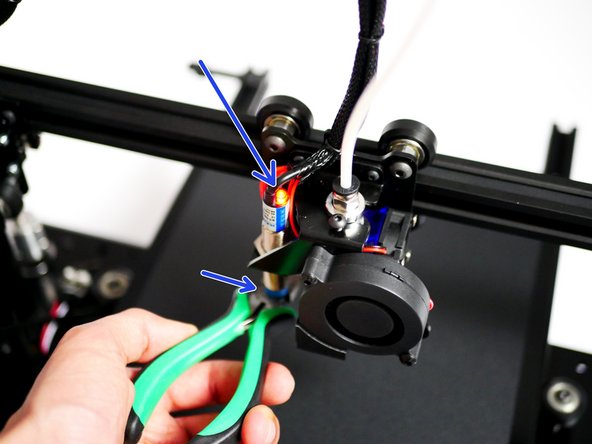
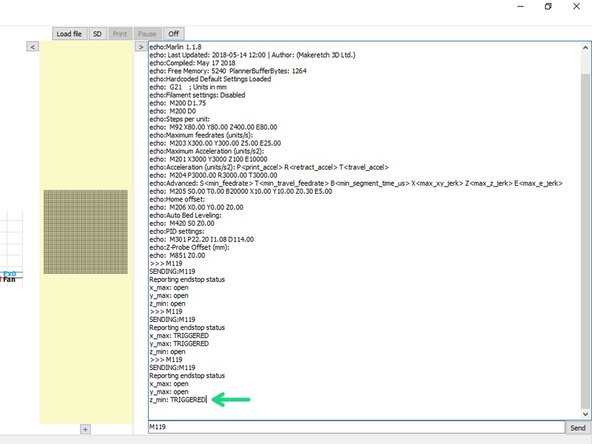
Whilst holding a metal object under the probe (a red light should shine) send the M119 command.
-
It should return: z_min: TRIGGERED.
-
-
-
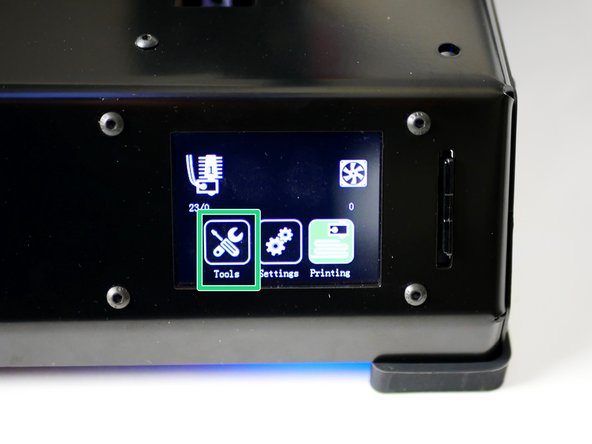
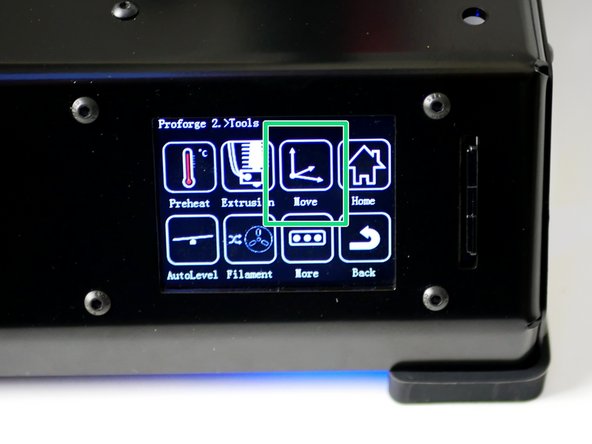
On the touch screen go to Tools -> Move.
-
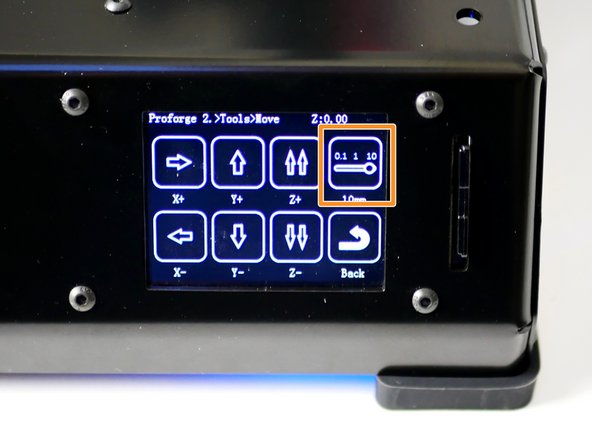
Press the toggle switch to set motion to 10mm.
-
-
-
X-Axis: Pressing the right arrow should move the bed to the left, and vice versa.
-
This is correct as the nozzle position has moved to the right relative to the bed.
-
Y-Axis: Pressing the forward arrow should move the hotend towards the endstop and vice versa.
-
Z-Axis: Pressing the double up arrow should move the gantry up and vice versa.
-
You will not be able to move to a negative position from your original starting position - this is normal.
-