Difficulty
Moderate
Steps
8
Time Required
- Linear Rail Upgrade 8 steps

In Progress
This guide is currently being written. Reload periodically to see the latest changes.

Private
This guide will not appear in search results and can only be viewed by team members!
Quiz
0
-
-
Check that you have all of the following:
-
3D Printed Parts (x4)
-
Rails (x4)
-
Fastener pack
-
5x8 Coupling
-
M4 Threaded Inserts (x11)
-
You will also need (not included):
-
Allen keys, Drill with metal bits (2mm/3mm), Pliers, Soldering Iron (for threaded inserts)
-
-
-
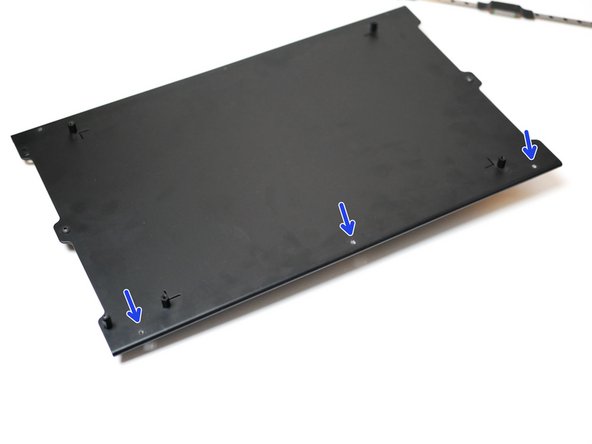
Begin by disassembling the platform from the base.
-
Do this by first untying the belt from the platform.
-
Then remove the heated bed and place it to one side, you don't need to disconnect its wiring.
-
If you have the Pi Camera installed, unmount it also, again you don't need to disconnect it from the pi board.
-
Finally, remove the old HDPE linear guides holding the platform in place.
-
The platform should now be free for the next step of drilling the holes for the linear rails.
-
-
-
Next, remove the tool carriage and Y-belt from the gantry. Do not cut the belt, it will be re-used.
-
Free the y-endstop from the gantry.
-
Disconnect the y-motor from its cable.
-
Use side cutters to break the cable ties holding the cables to the gantry.
-
Free the lead screw coupling from the z-motor shaft.
-
Finally remove the HDPE linear guides from the gantry and the entire gantry part should now be free.
-
-
-
If you have an extruder installed on the vertical pillar, remove it now.
-
Next, unfasten the bolts connecting the pillar to the support bracket at the top of the pillar.
-
Remove the the motor bolts at the bottom of the pillar.
-
The pillar should now come free.
-
-
-
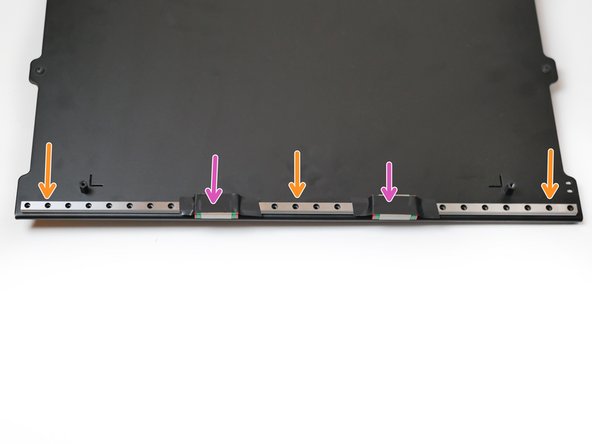
Use a 2mm metal drill to create 3 holes on either side of the platform.
-
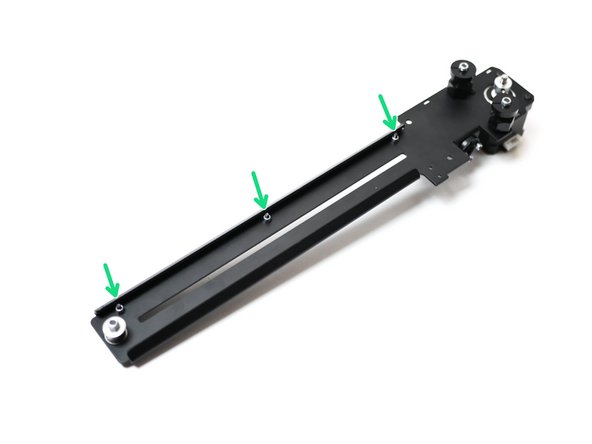
Place one of the 40cm rails on the platform, 4mm +/-1mm from the edge.
-
Use a pencil to mark out where you are going to drill.
-
Secure the rail as shown with three M2 x 10mm bolts and M2 Nyloc Nuts
-
Be very careful with the carriage, either secure or remove them very carefully. If they fall off and are hit, the ball bearings inside them will escape!
-
-
-
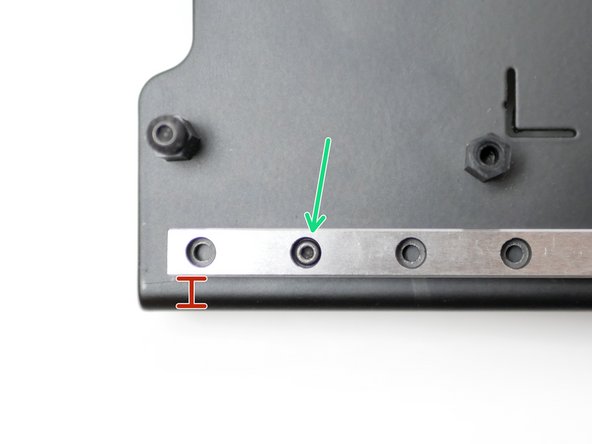
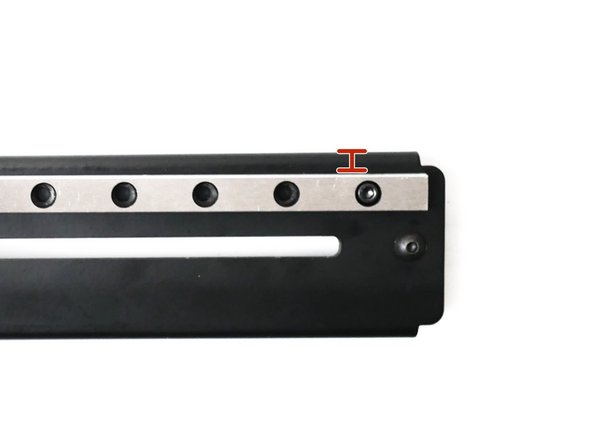
Use a 3mm bit to drill three holes into the gantry.
-
The rail should be fitted 5mm from the top edge of the gantry.
-
Secure with M3 x 12mm Cap and M3 Nyloc Nut
-
-
-
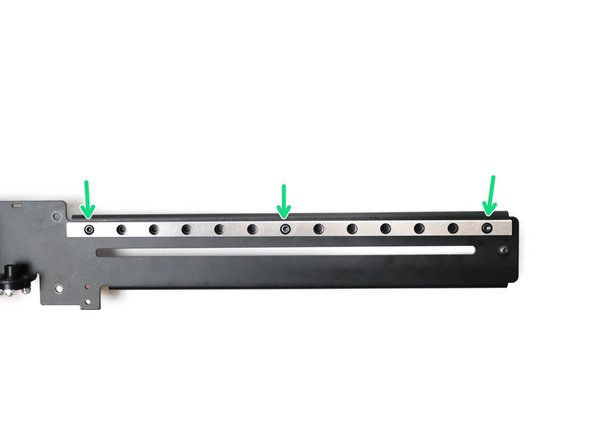
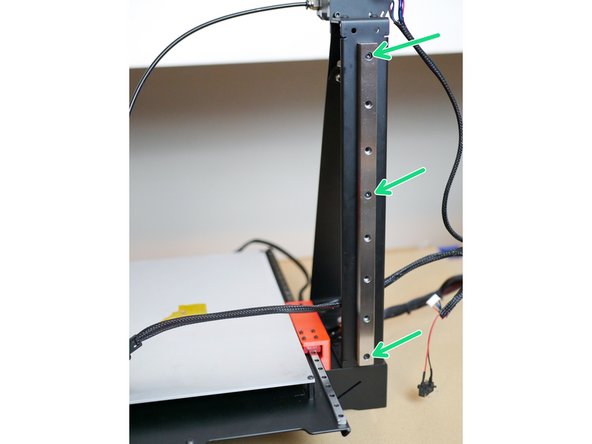
Align the thicker 15mm rail to the centre of the pillar and create marks for three holes.
-
Drill three 3mm holes into the pillar.
-
Secure the rail with three M3 x 12mm cap bolts and M3 nyloc nuts.
-
Re-install the z-pillar when done.
-
-
-
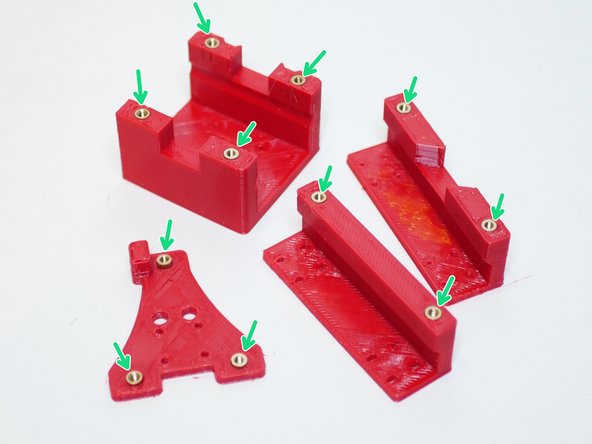
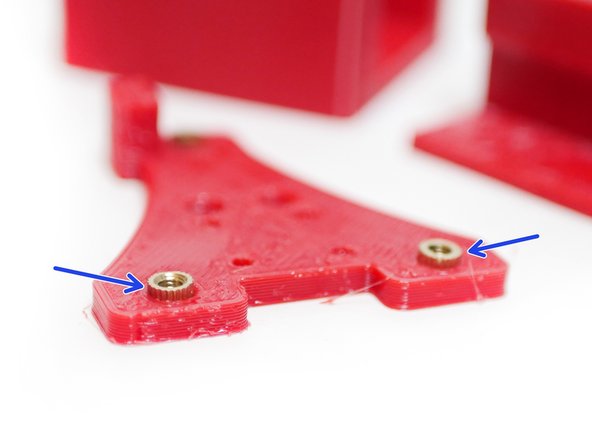
Using a soldering iron push the threaded inserts into the 3D printed parts as shown.
-
M4 Threaded Insert
-
Note that the inserts on the Tool Carriage part need to protrude out on the side shown.
-