-
-
Use two M2.5 x 6mm bolts to fix the servo onto the backplate.
-
Make sure that the servo shaft is centrally aligned with the backplate.
-
-
-
Insert an M5 x 20mm bolt with a needle bearing and shim.
-
M5 x 20mm Bolt
-
Thrust Bearing
-
Shim
-
On the other side of the heatsink slide on another thrust bearing.
-
-
-
Begin by preparing the backplate with two M3 x 30mm bolts as shown.
-
Drop an M5 nut into the back of the Backplate.
-
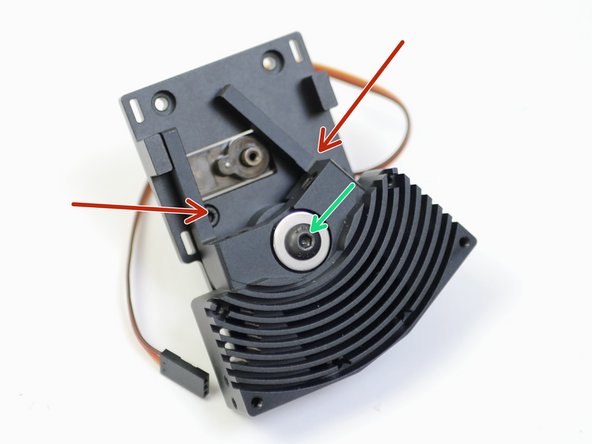
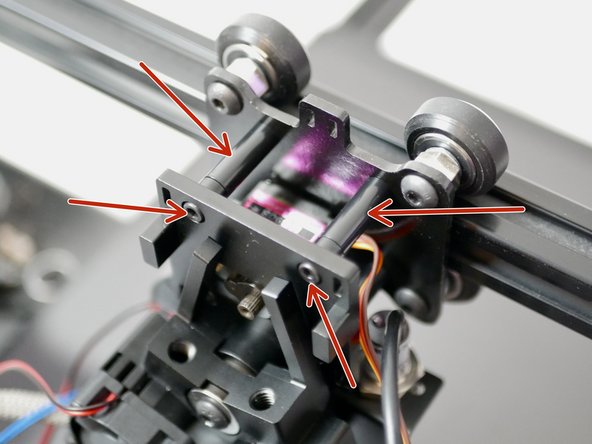
Fix the assembly together, making sure that there is no play in the switching motion.
-
The bolt should be tightened down enough to allow the heatsink to rock, but there shouldn't be any play along the axis of rotation or on the plane of contact.
-
-
-
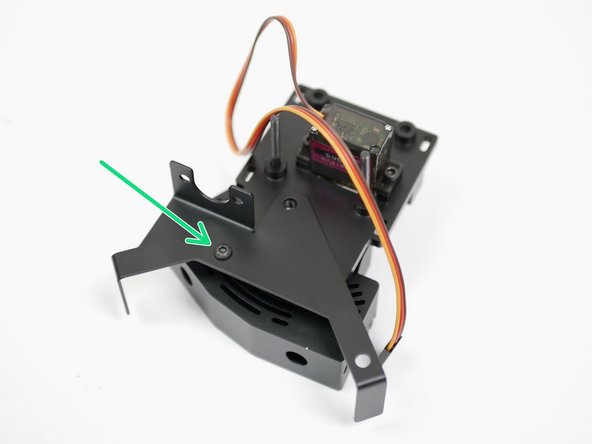
Fix the Probe and Fan mount onto the back of the backplate with an M3 x 6mm button head bolt.
-
This will be an M2.5 x 6mm bolt on v2.1 Switching Hotends.
-
-
-
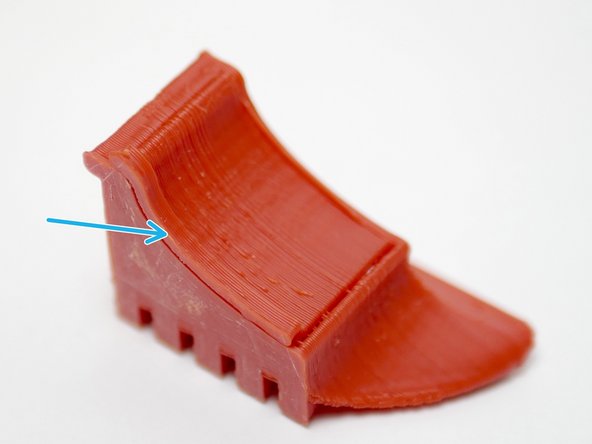
The part cooling fan shroud is a 3D-printed ABS part. Begin by removing the support with a pair of pliers by pulling on the tab.
-
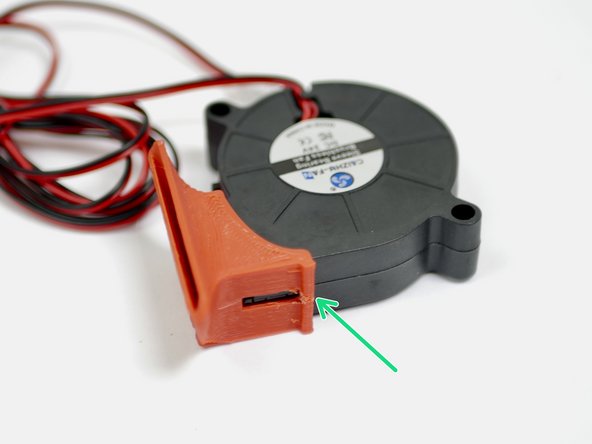
Fix the fan shroud onto the blower fan. The fan shroud is designed to snap in place.
-
-
-
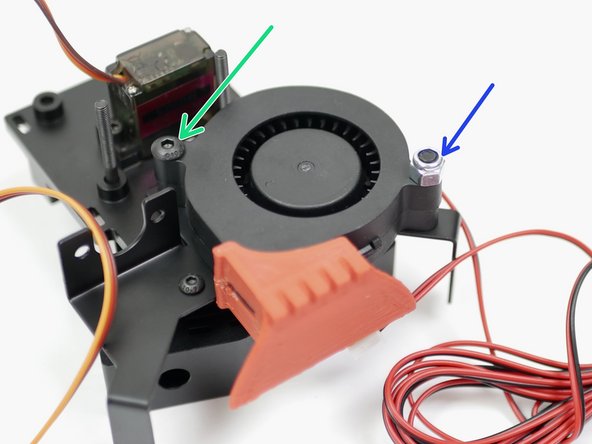
Fix onto the Backplate with an M4x22mm
-
Fix onto the Probe and Fan Mount with an M4 x 22mm bolt and M4 Nyloc nut.
-
-
-
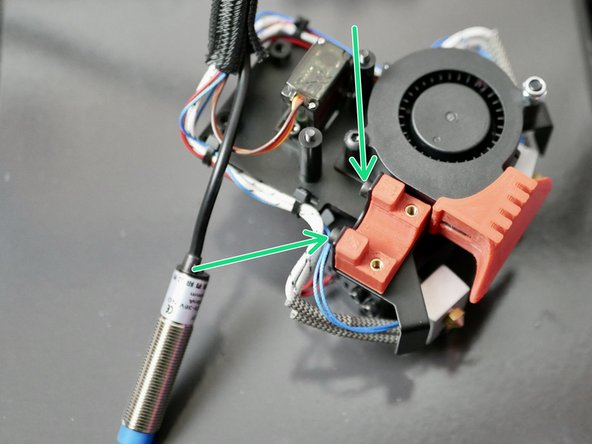
Fix the 3D printed probe mount to the metal mount like shown with two M3 x 6mm bolts.
-
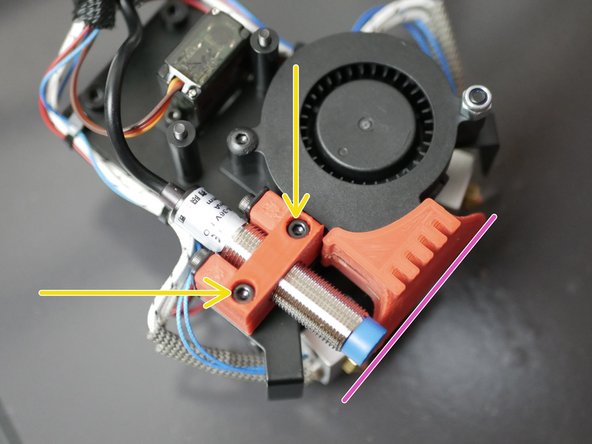
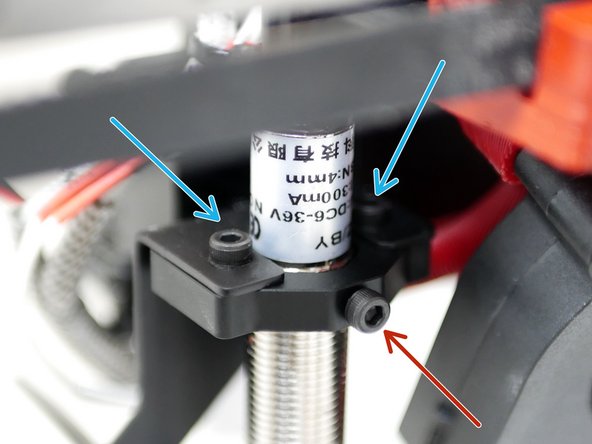
Remove the nuts and washers from the probe and fix the probe to the mount, again with two M3 x 6mm bolts.
-
Adjust the probe so that the bottom of it is level with the bottom of the fan shroud, like shown.
-
Note, we've had to back track a little here, that's why more of the assembly is done in the images.
-
-
-
The v2.1 update replaced the 3d printed mount with a CNC'd Aluminum one.
-
Mount it using two M2.5 x 6mm bolts.
-
Secure the probe to it using another M2.5 x 6mm bolt.
-
-
-
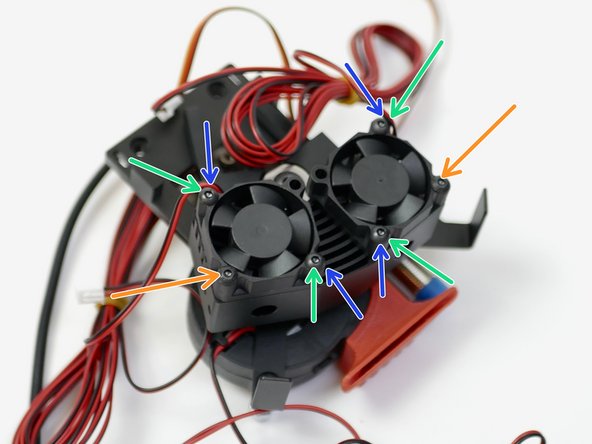
Fix the two 30mm fans onto the heatsink. Orientate the cables as shown.
-
M3 x 20mm bolt
-
M3 x 12mm bolt
-
The V2.1 update uses the following bolts in only these locations:
-
M3 x 30mm Cap Head Bolt
-
-
-
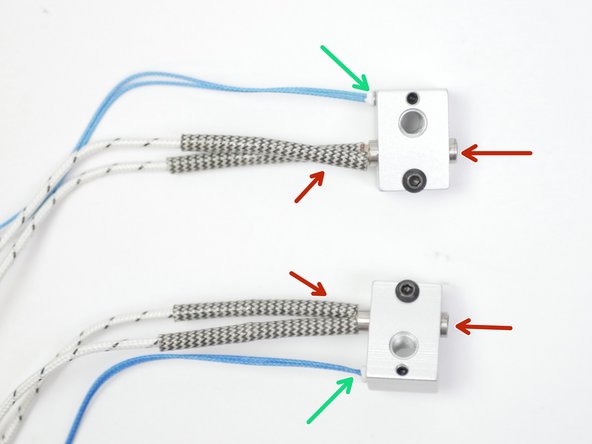
Take the two heater blocks and fix into them the two heater cartridges as shown.
-
Fix two thermistors to the blocks. We've shown two high temp. thermistors being installed here, but it is identical for the low temp thermistors too.
-
Make sure to match the orientation as shown in the photos. The two assemblies should mirror eachother.
-
-
-
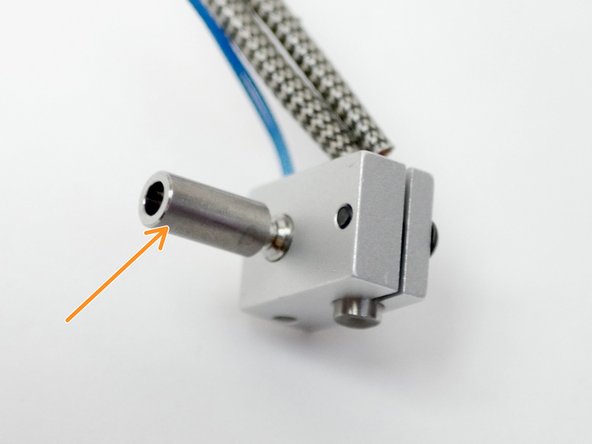
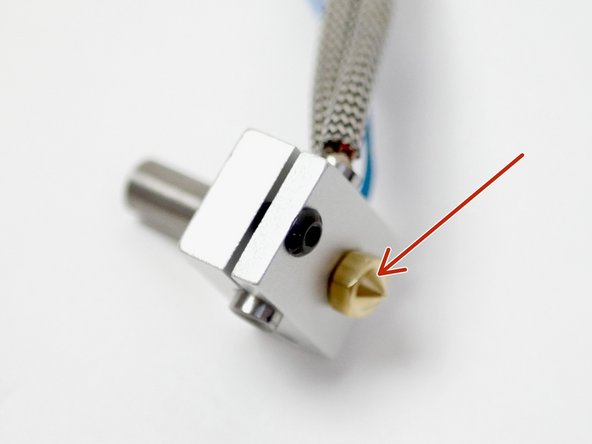
Fix onto both the heater blocks, the heat-break.
-
and the nozzle.
-
The v2.1 Update will also include a Copper/Titanium heat-break. It is installed in the same way.
-
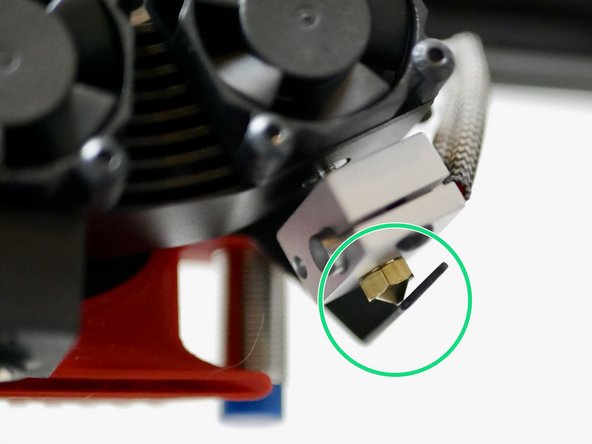
Make sure that the nozzle is tight against the heatbreak, but leave a slight gap between the nozzle and heater block when tightening. The nozzle will need to be tightened again when hot.
-
-
-
Take the two heater block assemblies from the previous step and install them into the heatsink.
-
Fix the heater block assemblies in place with two M3 x 12mm bolts. Make sure that the bottom of the heartbreak lines up with the face of the heatsink. The height will be adjusted later to match your print platform.
-
Note the orientation in the image. The heater side of the block should be facing forward.
-
-
-
Mount the assembly to your printer's tool carriage with four M3 x 30mm bolts and four M3 x 20mm spacers.
-
We are showing it being mounted onto the 2020 tool carriage from the Proforge 2S.
-
Tighten the bolts by beginning with the bottom two, you will have to tighten each one slightly, in turn, to prevent it from getting jammed up on the heatsink's horns.
-
-
-
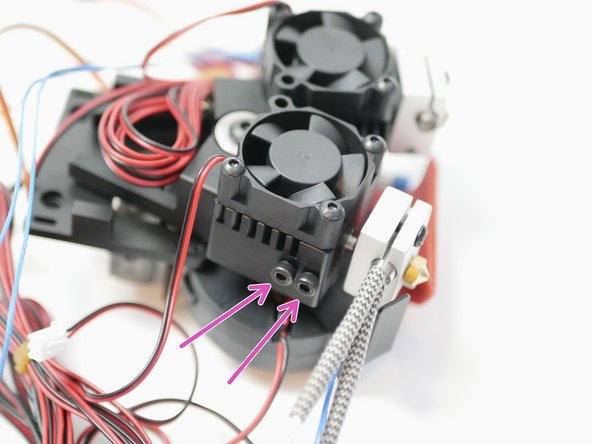
Take the heater assembly cables and route them along the sides of the backplate. Use cable ties to secure them in place like shown.
-
Heater, thermistor, 30mm fan cables.
-
Before firmly securing the cable ties, make sure that there is enough slack in the cables to allow the hotend to pivot.
-
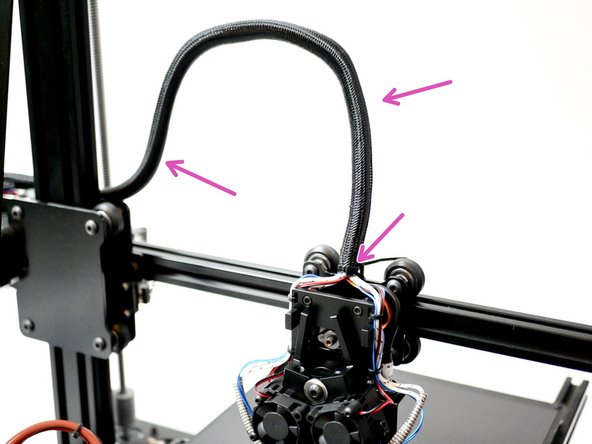
Take the probe, blower fan and servo cables and point them upwards.
-
-
-
Fix the servo extension cable to the servo's cable. Make a note of the cable's orientation.
-
Finally, use the braided cable sleeving to wrap the cables and route them down to your electronics main board.
-
-
-
Adjust the ooze shields by bending the metal sleds until they are able to make contact with the tips of both nozzles.
-
-
-
The Hotend covers simply slide in place over the heater blocks.
-